Creating a communication automation and attaching it to a movement
This article goes over the process of creating a communication automation in Conveya and linking it to a movement. This functionality allows you to automate messages related to specific events in your progammes/movements —for example, the start of a new movement or an update for stakeholders.
To use communications, you'll need to make sure you have movements created first.
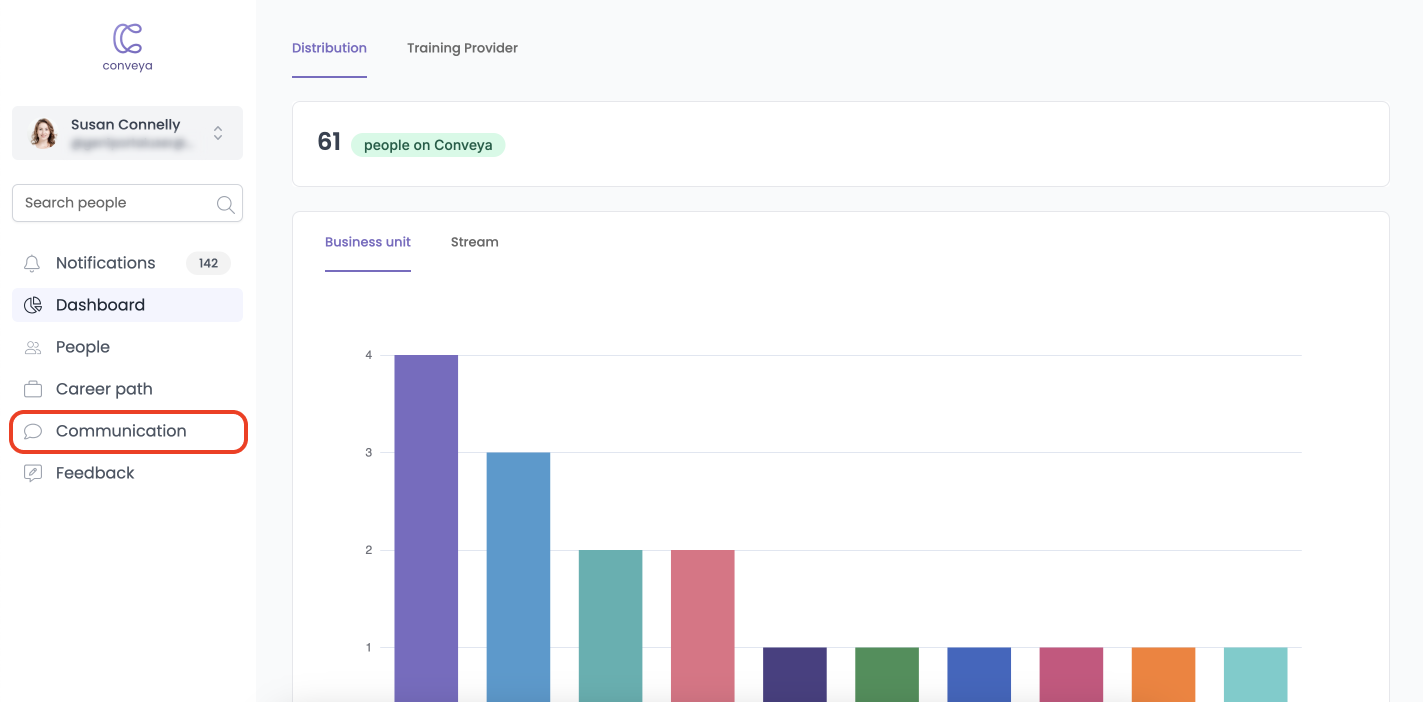
- Navigate to the communications page by clicking ‘communications’ on the menu on the left-hand side.
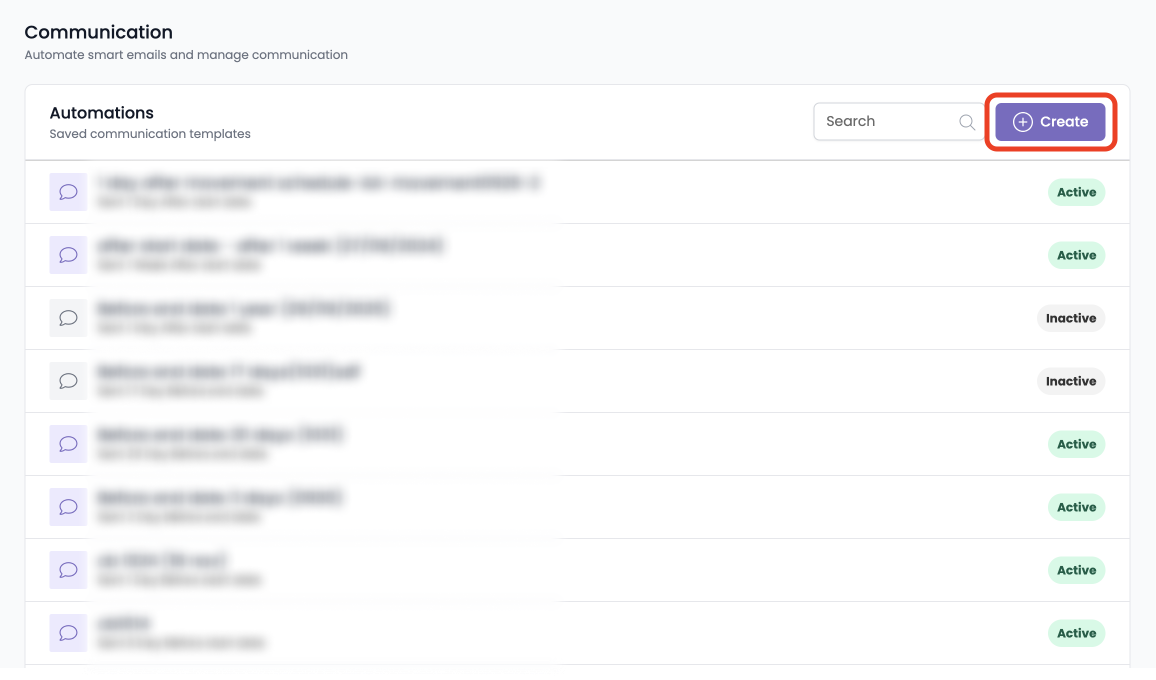
- At the top right of the communications page, click ‘Create’ — you’ll be taken to the automation builder.
- Give the communication a name, e.g. ‘New movement starting notification’
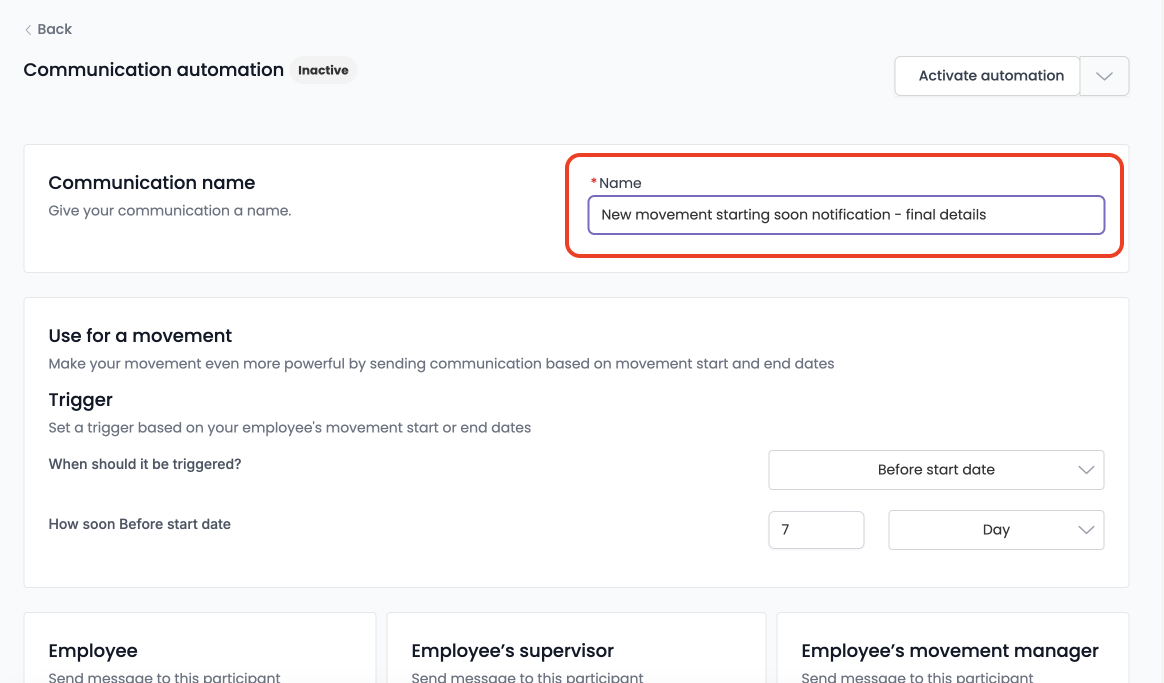
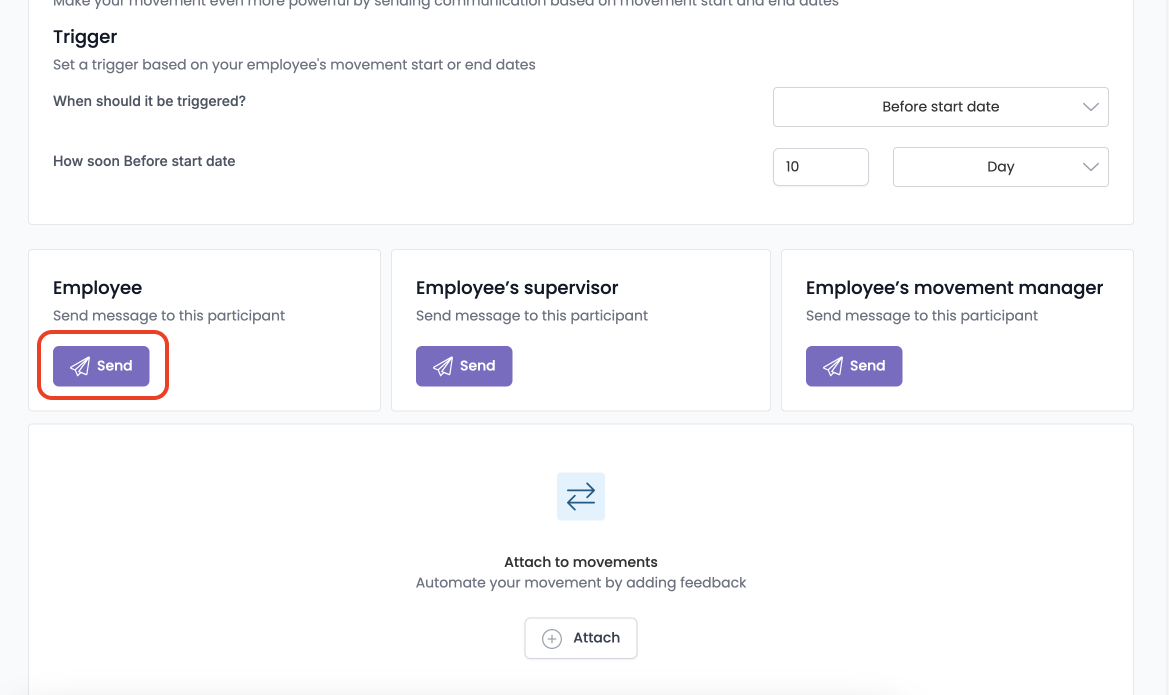
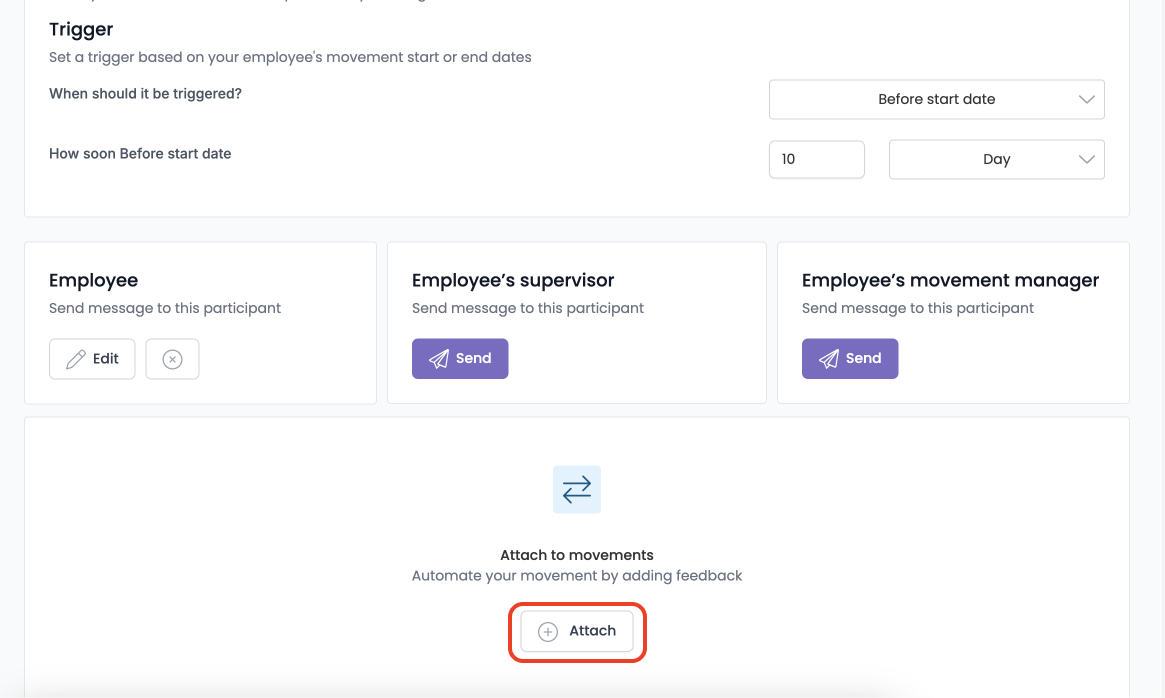
- Set the trigger for when the communication will be sent (this is relative to the start or end date of the movement you will attach this automation to).
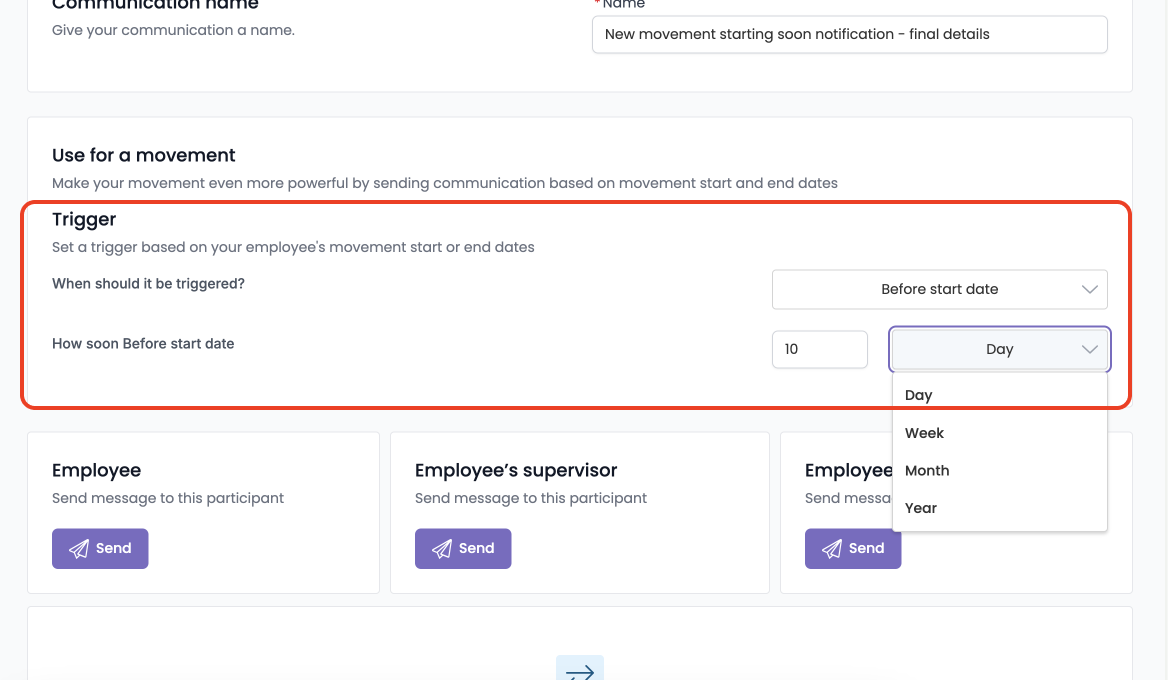
- Create the communications for the relevant stakeholders, in this example, we will do this for the employee we want the communication to be sent it.
- Click ‘Send’ within the employee box, this opens the slideover where you’ll enter the content for the communication,
- Enter the subject of the communication (this will be the subject of the email that will be received by the stakeholder).
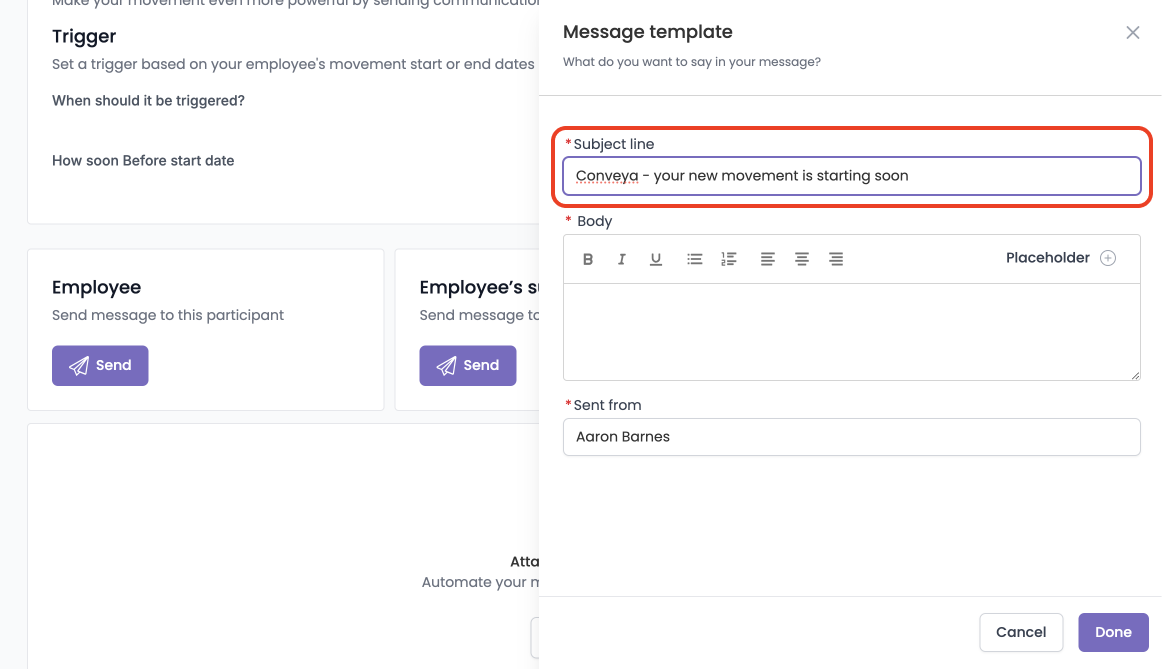
- Enter the body text for the email — this is the main content of the email.
ℹ️ Use the buttons on this box to format your communication, such as bullet point lists, underlining and making text bold.
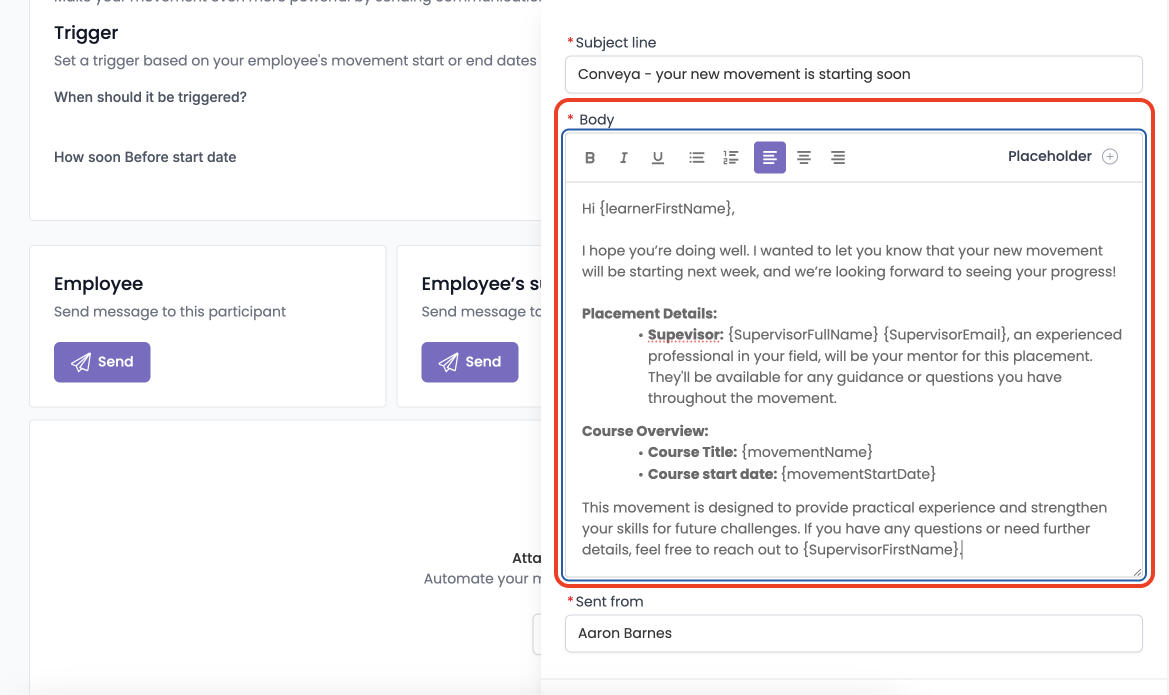
ℹ️ You can use placeholders to personalise the communication you are sending. Click ‘Placeholder’ and select one from the dropdown to add it to the email. For example, if you add the ‘learner first name’ placeholder — this will be replaced with the learners actual name when they receive the communication.
- Enter who the communication is sent from, i.e your name or early careers team at ‘company’
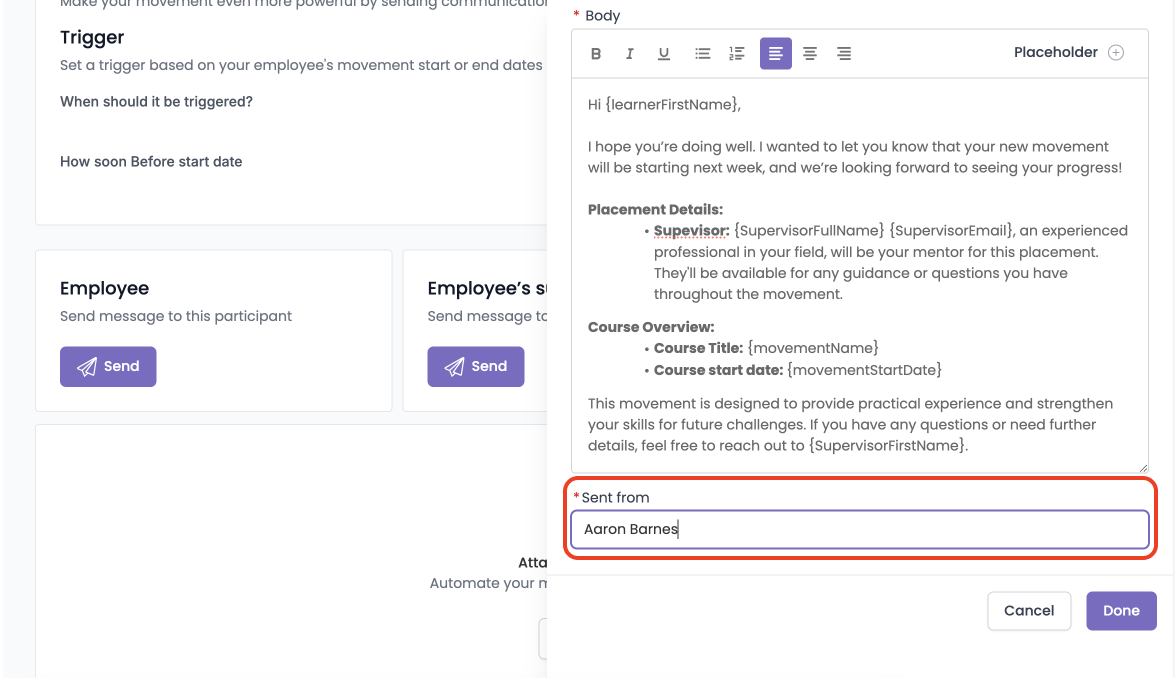
- Click ‘Done’ if you are happy with the communication you have created.
ℹ️ Need to make changes? Click ‘Edit’ to reopen the slideover and make any changes.
- Repeat steps 6 - 11 for any other stakeholders that should receive a communication as part of the same movement.
Attaching a communication automation to a movement step by step guide
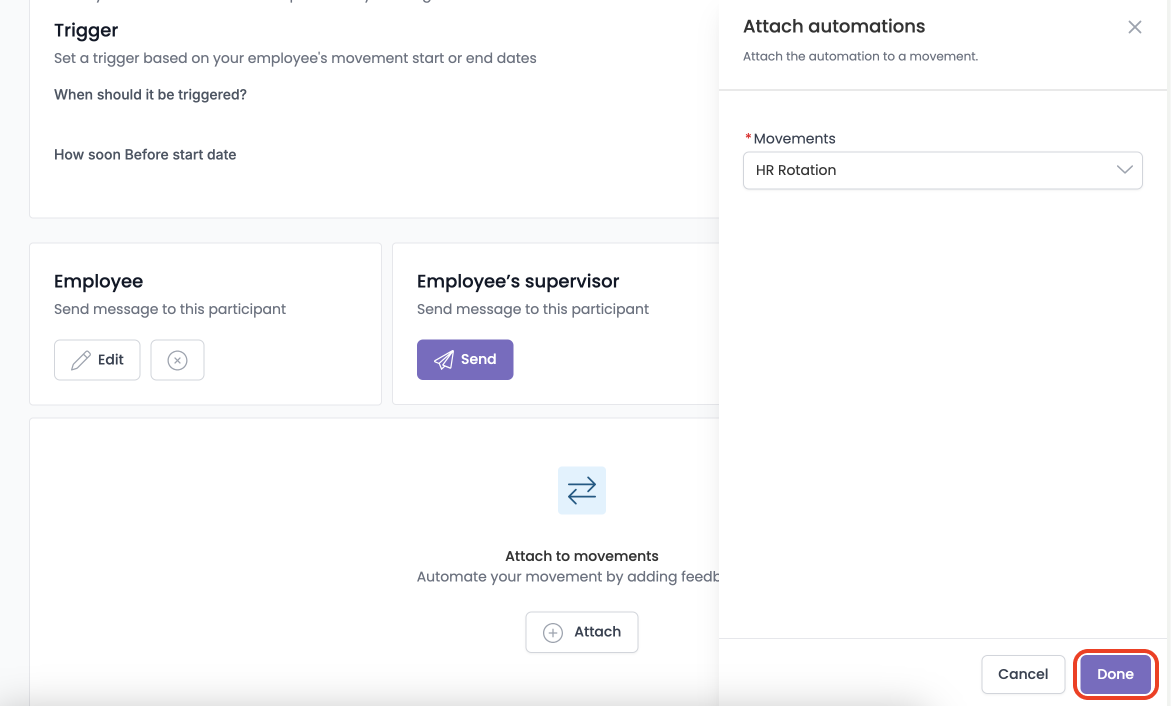
- At the bottom of the page, click ‘Attach’ in the attach movements section. This opens the movement attachment slideover.
- Click the dropdown and select the movement you wish to attach to communication automation to.

- Click ‘Done'
- You’ll be able to see the movement in which you have attached this communication automation to. Click ‘Activate automation’ at the top right of to apply the automation to the movement

- The movement has now been updated to include the communication automation attached.