Creating a movement
This article goes through the step-by-step process of creating and publishing a movement, attaching automations — ensuring it's ready for learner enrolment.
Step by step guide
- Click ‘Career Path’ from the menu sidebar.
- In the top-right corner of the page, click the arrow next to the 'Schedule Movement' button.

- Select Create Movements — this will take you to the Movement Creator page.
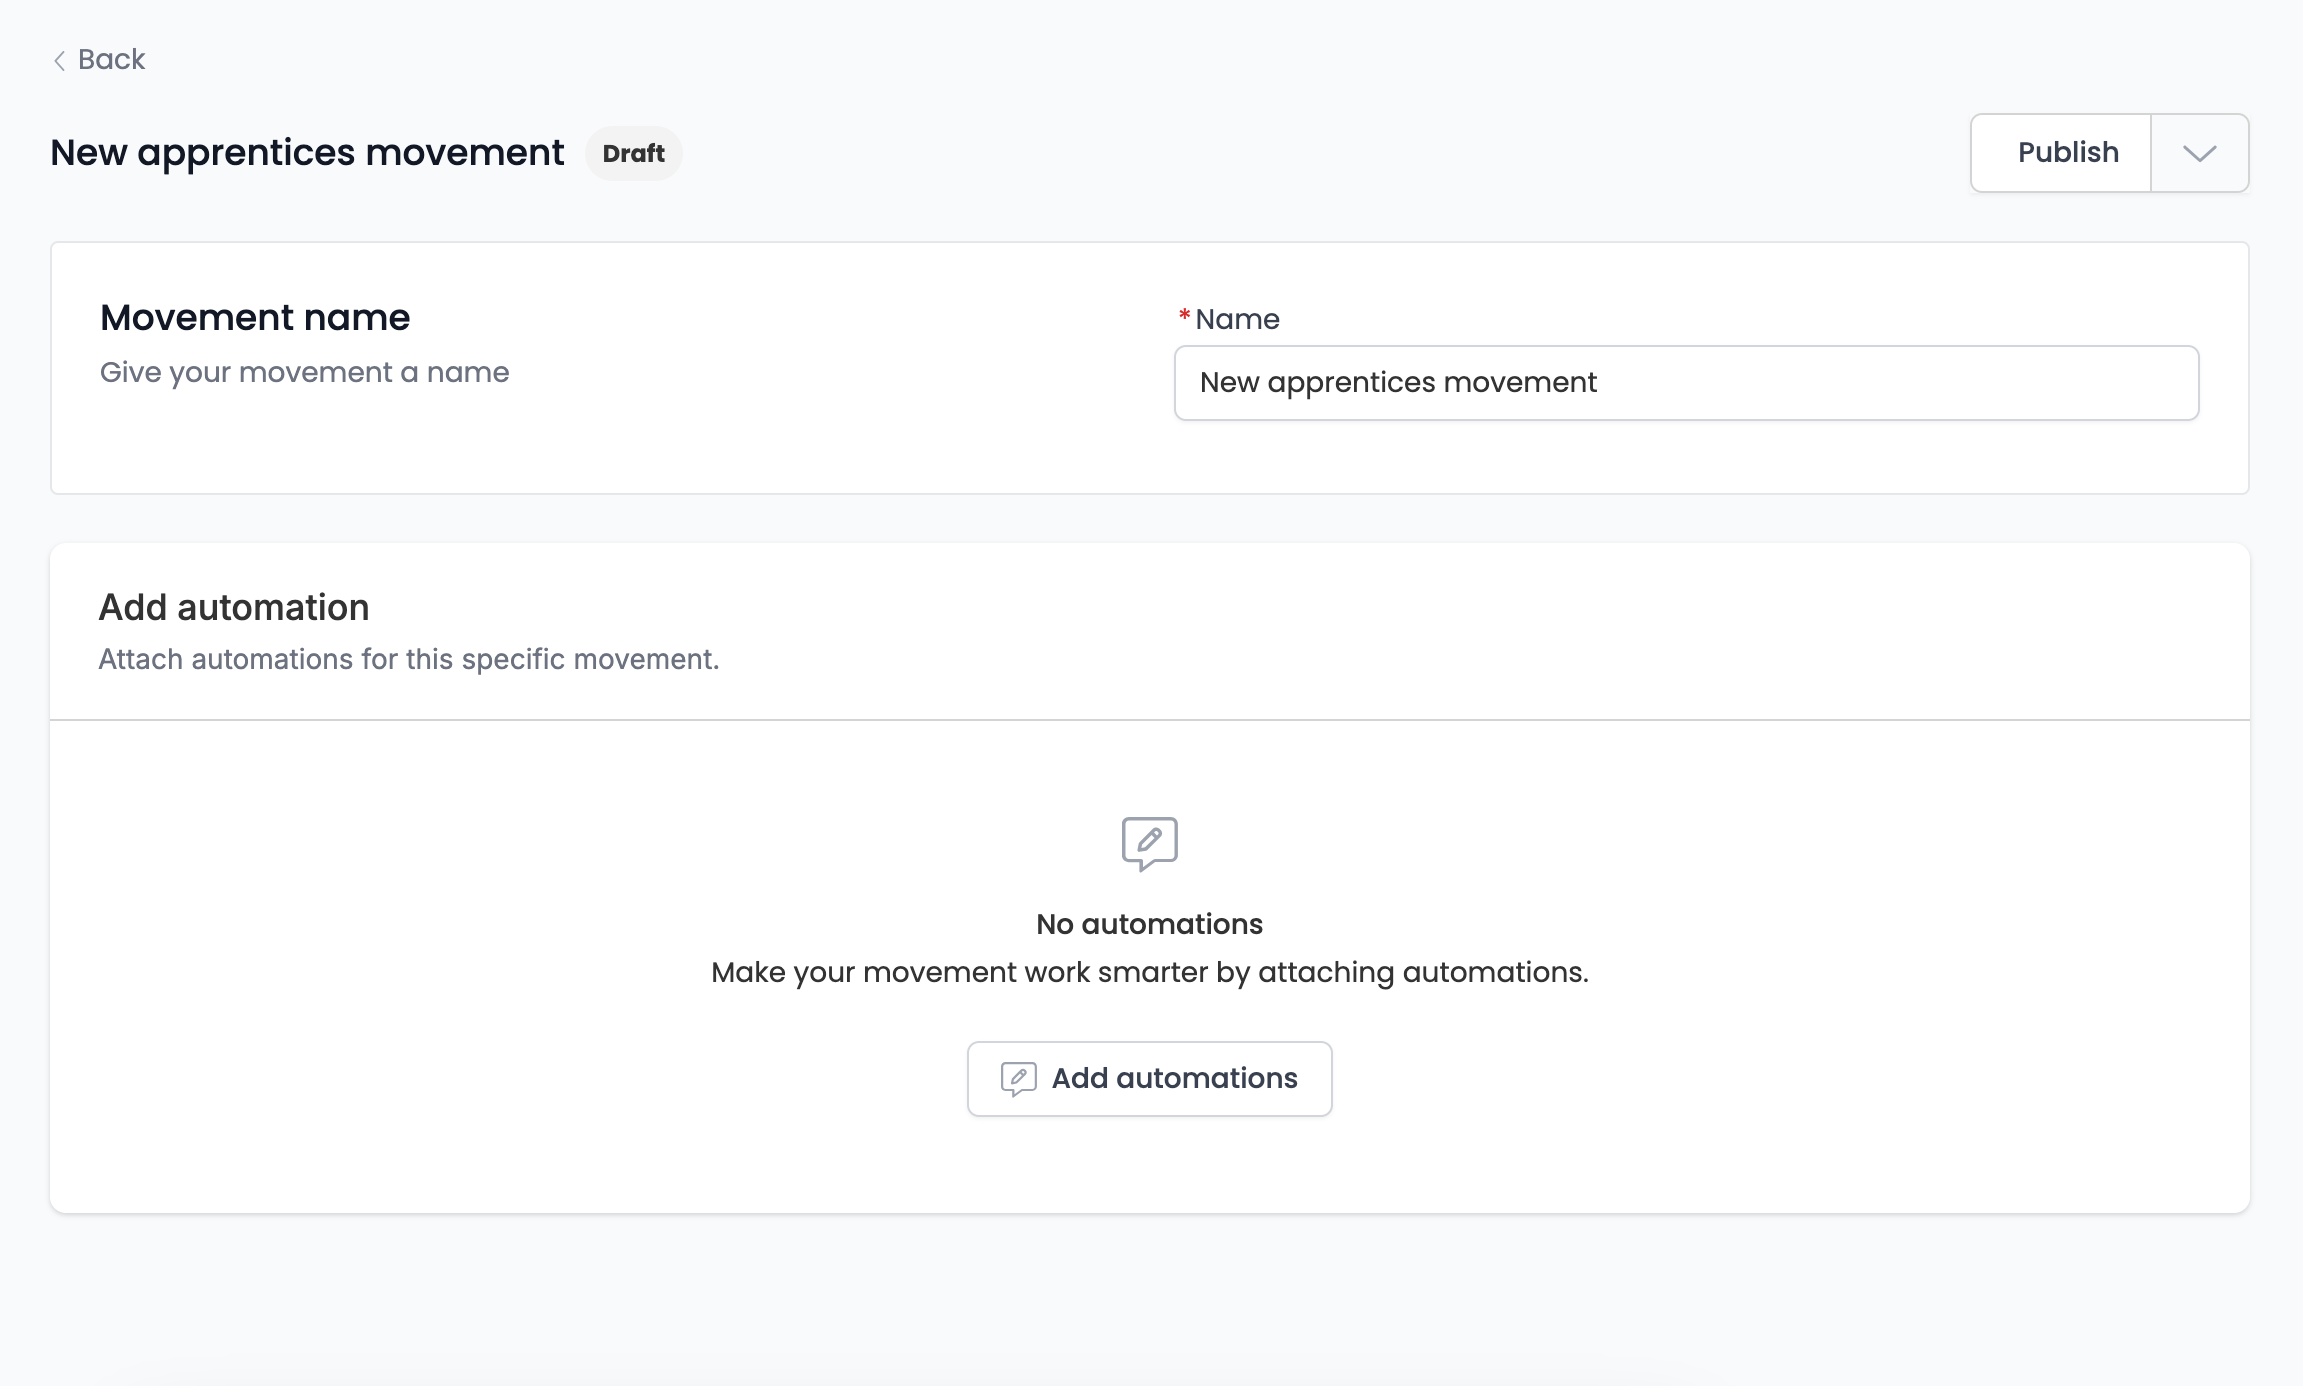
- Enter a name for your movement
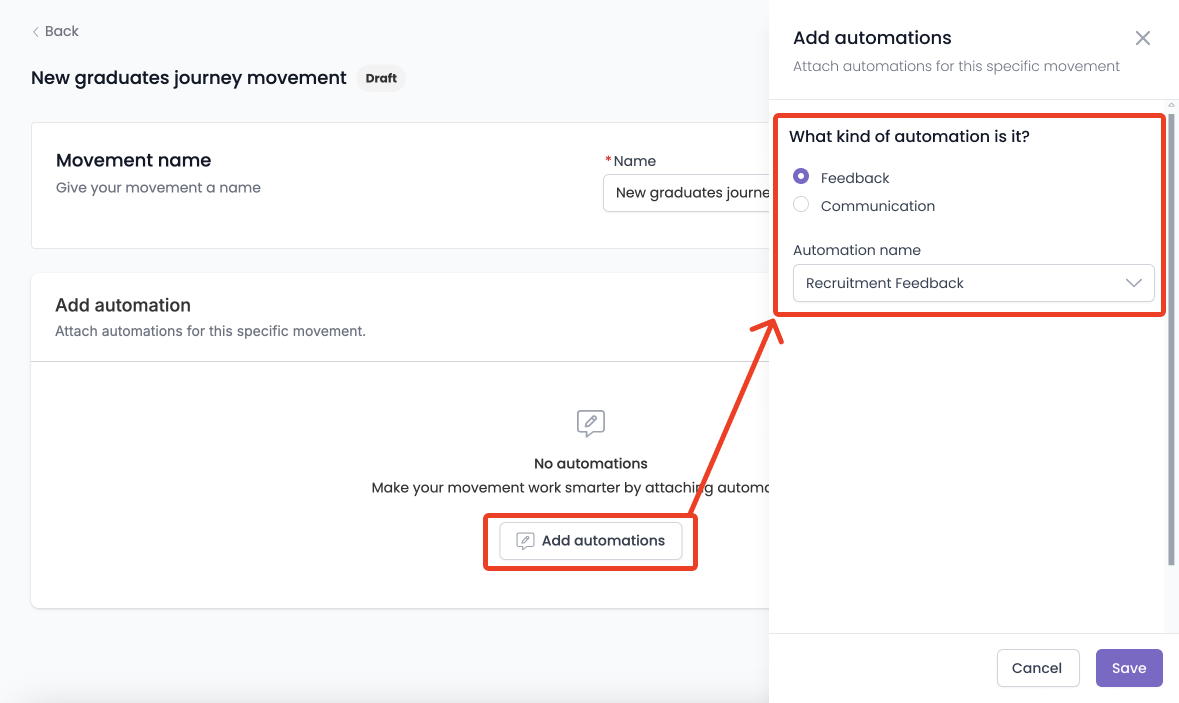
- Attach the automations you want to run with your movement. Use the 'What kind of automaton is it?' selector to choose between feedback or communication automations in the dropdown menu, displaying those you have created.
For guidance on creating feedback/communication templates and automations, refer to our Feedback Knowledge Base & Communications Knowledge Base section.
If your automation is not appearing on the list of automations, you must edit the automation settings to include it to be used as part of a movement.
- Click ‘Publish’
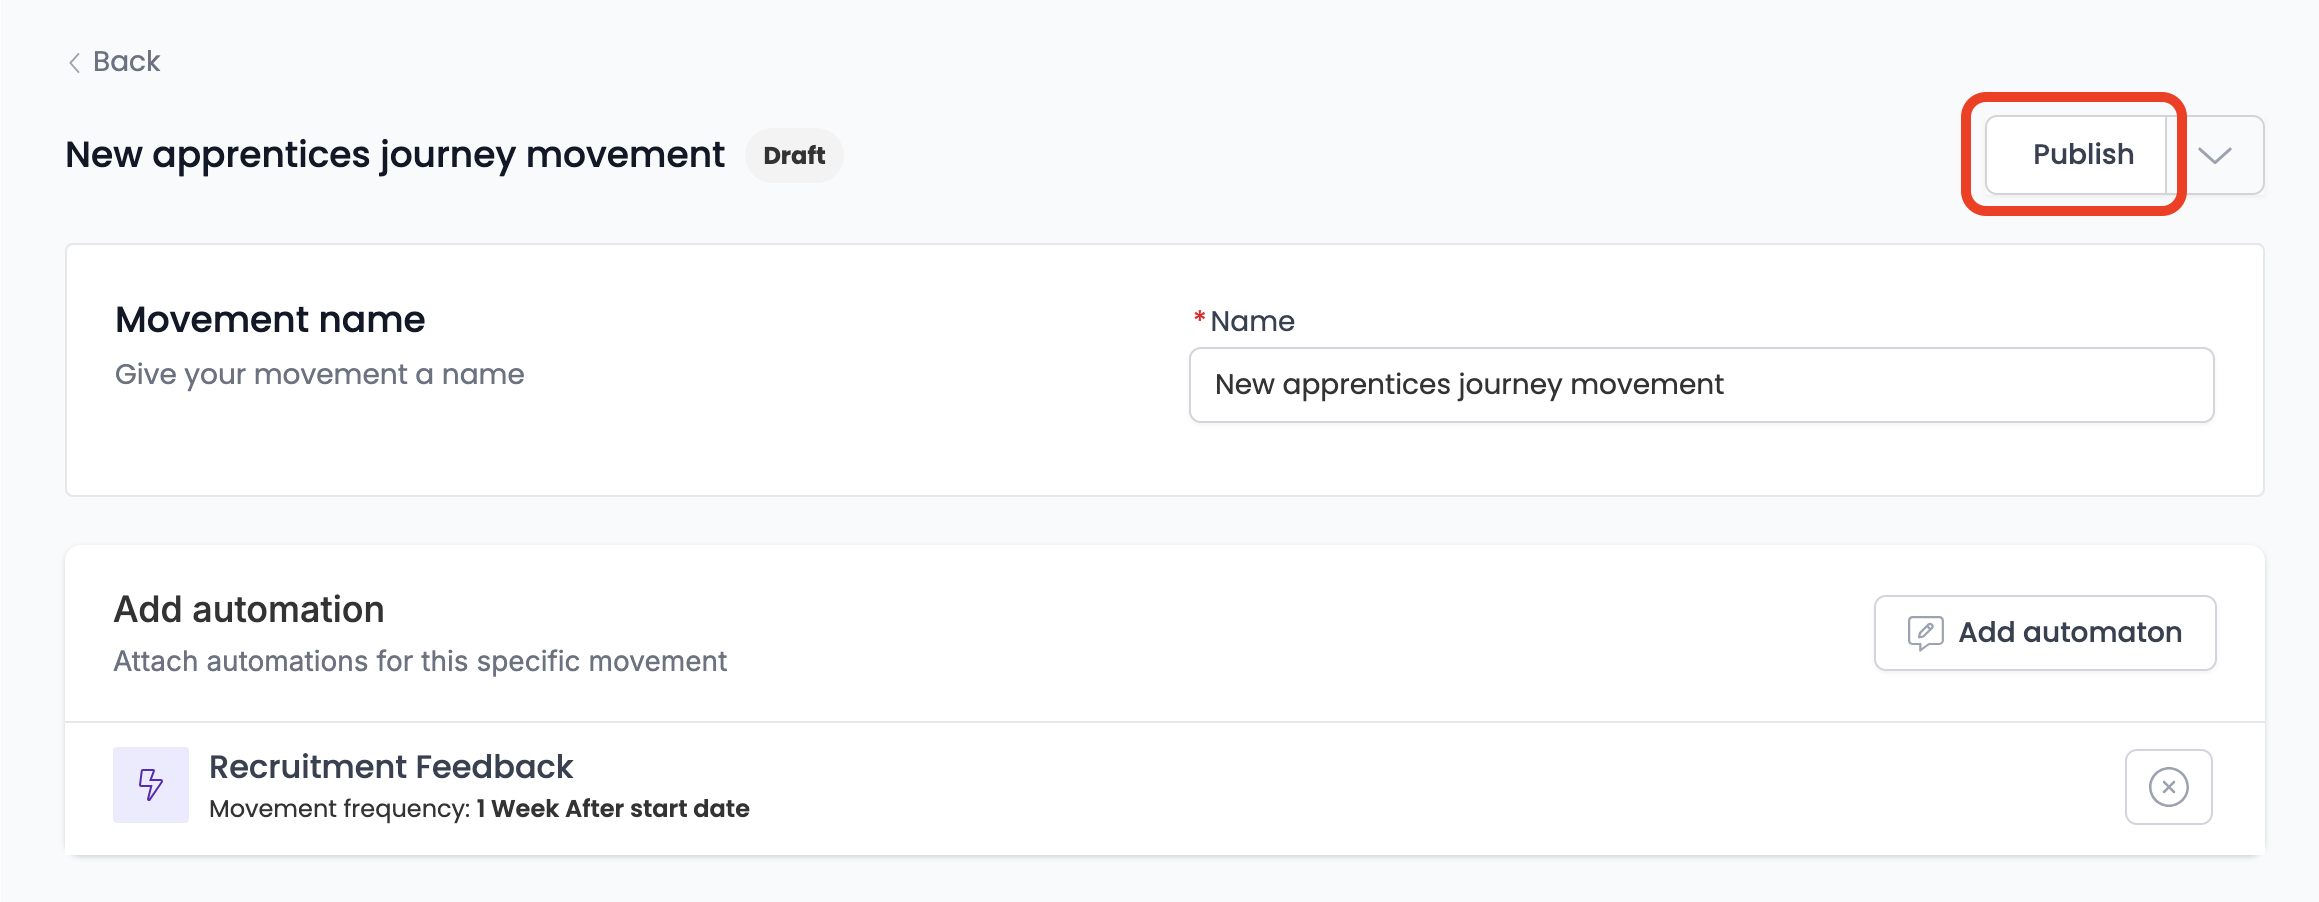
The movement has now been published and is ready to enrol learners. (View article)

Related Articles
| Scheduling a movement and enrolling learners | View article |
| About the movement page | View article |
| Viewing a movement | View article |
| Deactivating or deleting a movement | View article |