Creating a feedback automation
Send out feedback requests automatically based on predefined schedules. This ensures consistent and timely employee input without the need for manual intervention.
Step by step guide
- Click the automation tab at the top right of the feedback page.
- Click ‘Create’ at the top right to open the automation builder.
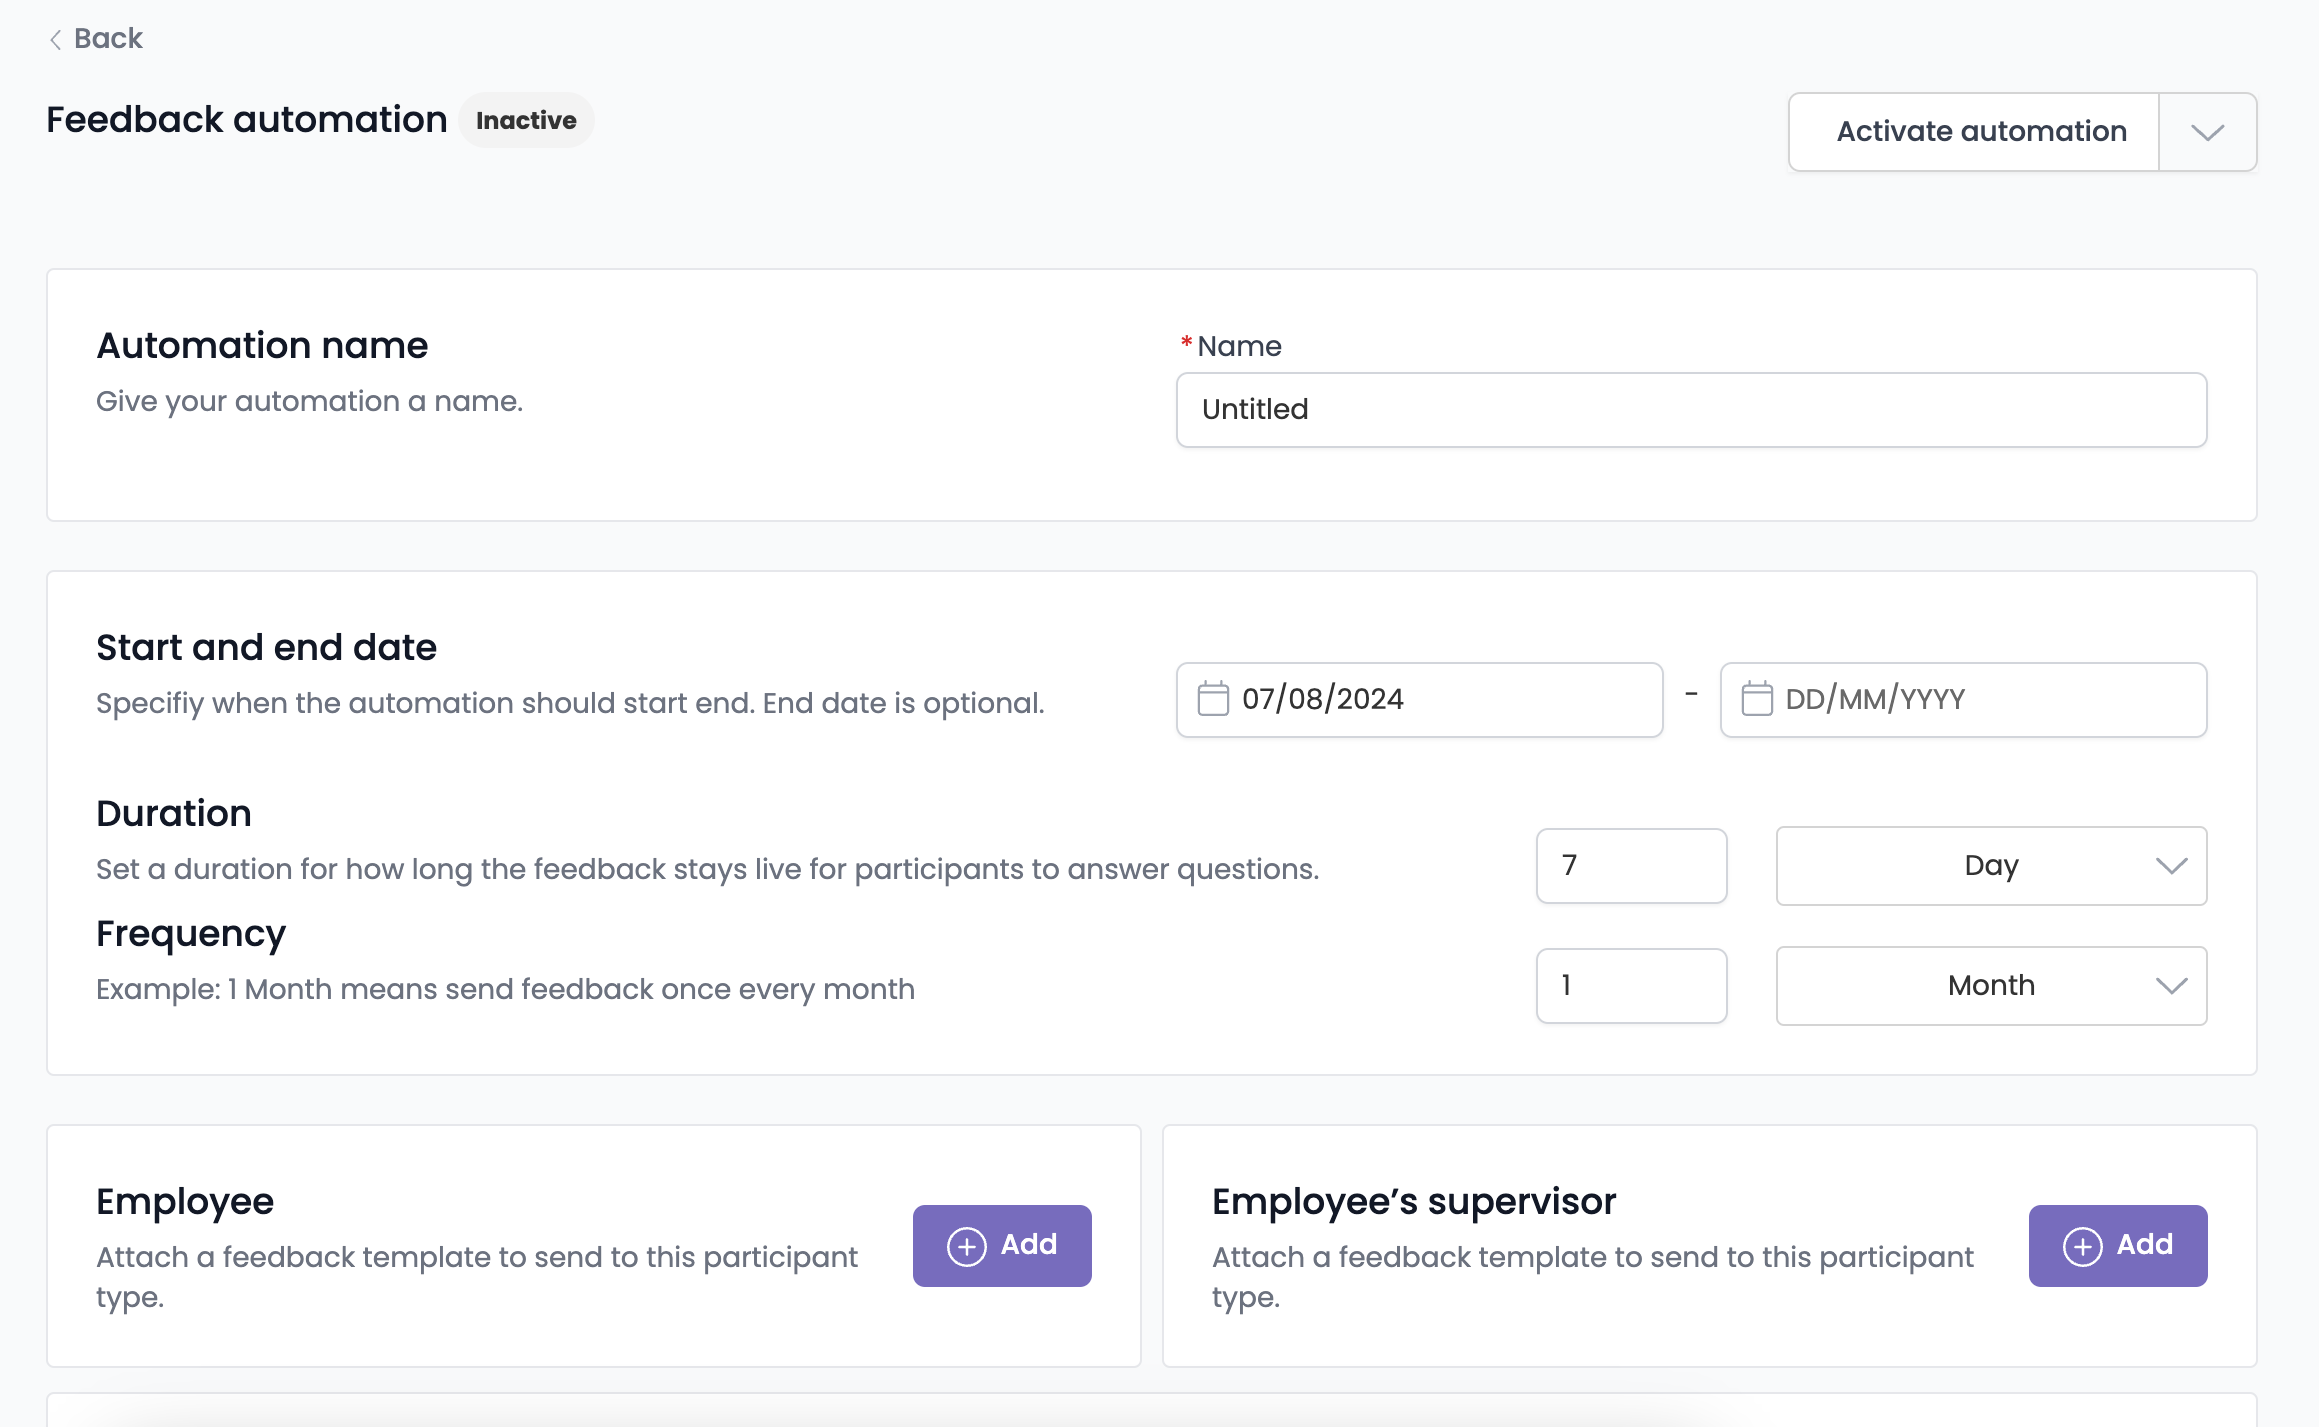
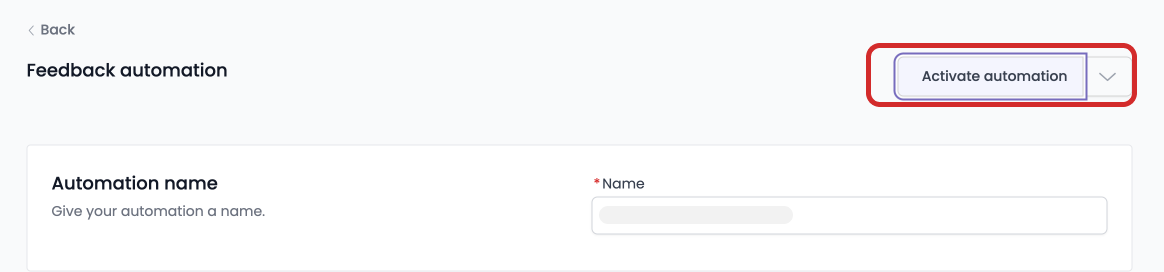
- Enter the name for this automation
- Set the start & end date (end date optional) for this automation — this is the duration for which your feedbacks will be sent within.
- Select the duration — this is how many days you will give your employees to submit their feedbacks.
- Set the frequency of the automation — this is how often the feedback will be sent out within the specified start and end date.
- Click ‘Add’ to open a slide-over to select the feedback template to be sent within this automation
- Click the ‘Feedback Template’ dropdown and select the feedback template you want to send.
- Add a message to this feedback — this will show within the email that the employee will receive asking for feedback to be completed.
- Enter the name/organisation this feedback is sent from.
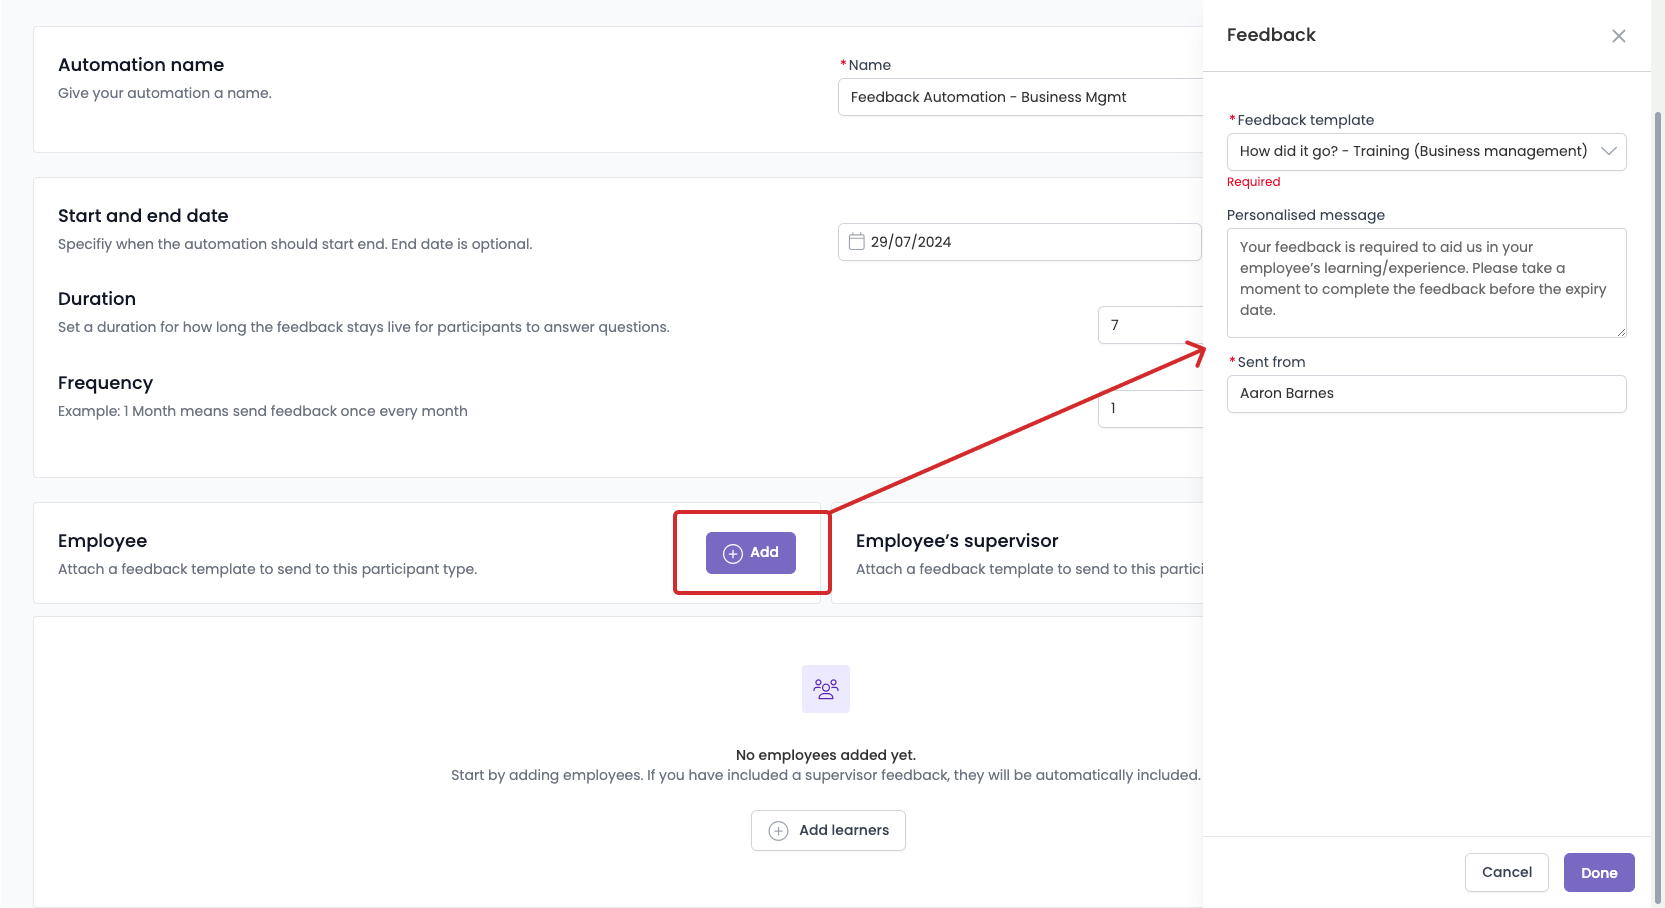
- (Optional) If you wish to survey the supervisor of learners in the same automation, do the same as step 7 for the employee’s supervisor but ensure you attach a feedback template that is relevant for supervisors.
- Click ‘Add Learners’. You’ll be taken to a screen with a list of employees to be selected and added as part of the feedback automation.
- Select the employees you wish to add to the feedback automation.
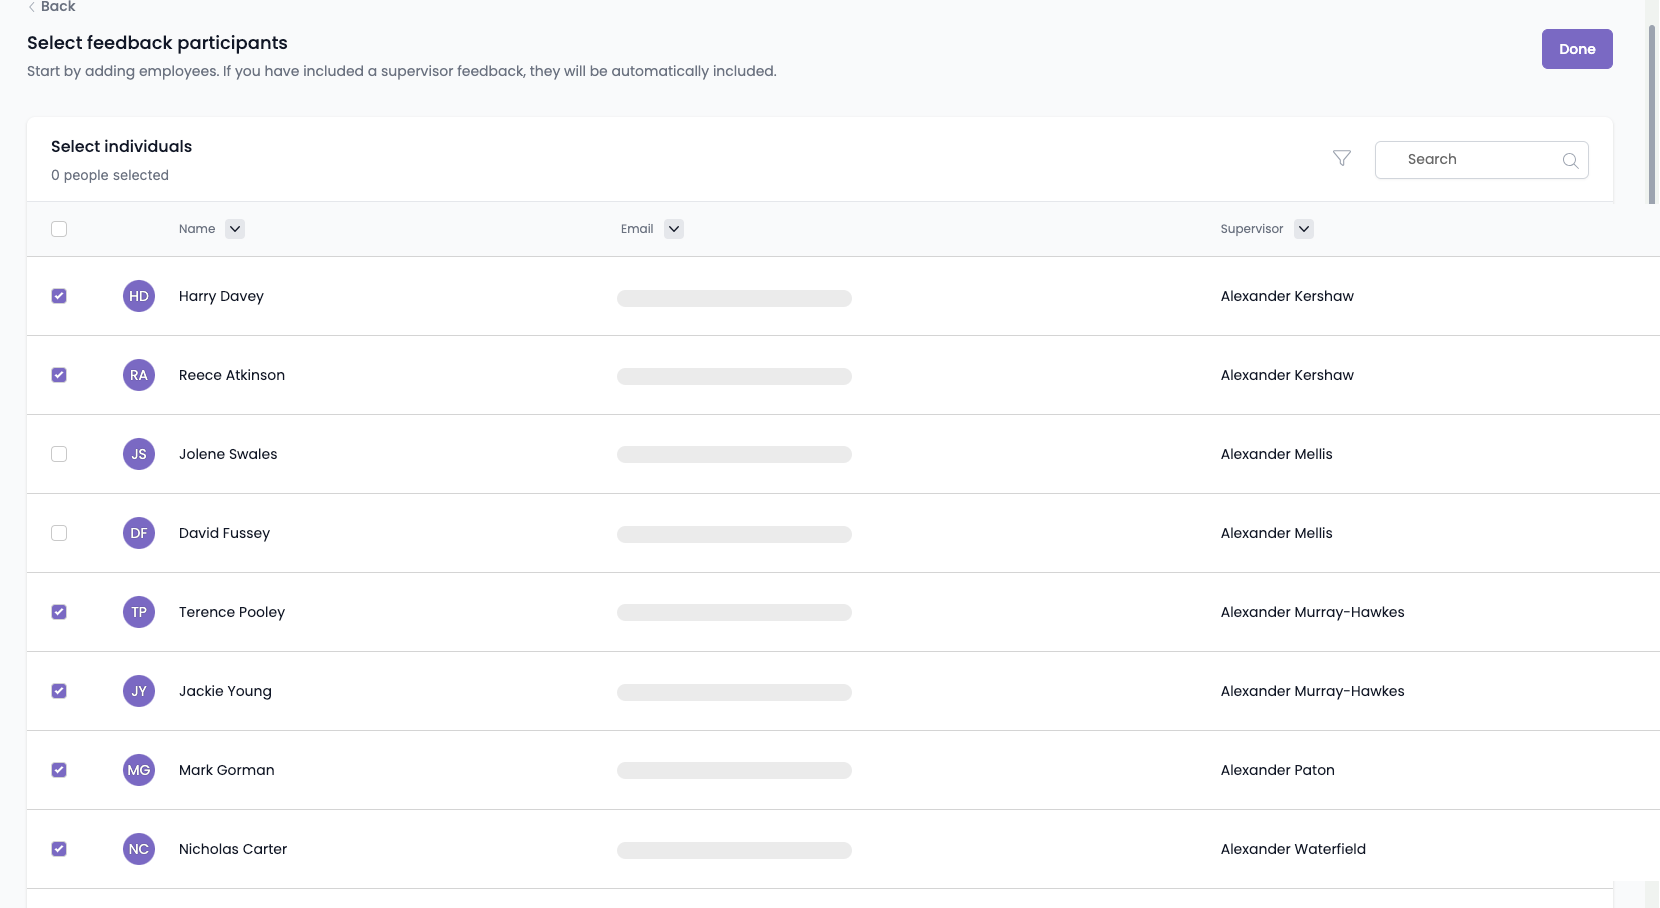
ℹ️ If there is a supervisor associated with selected employees, these supervisors will be sent the feedback template you have added to be sent to supervisors.
- Click ‘Done’ to add the employees to the automation.
- Review the details of your automation
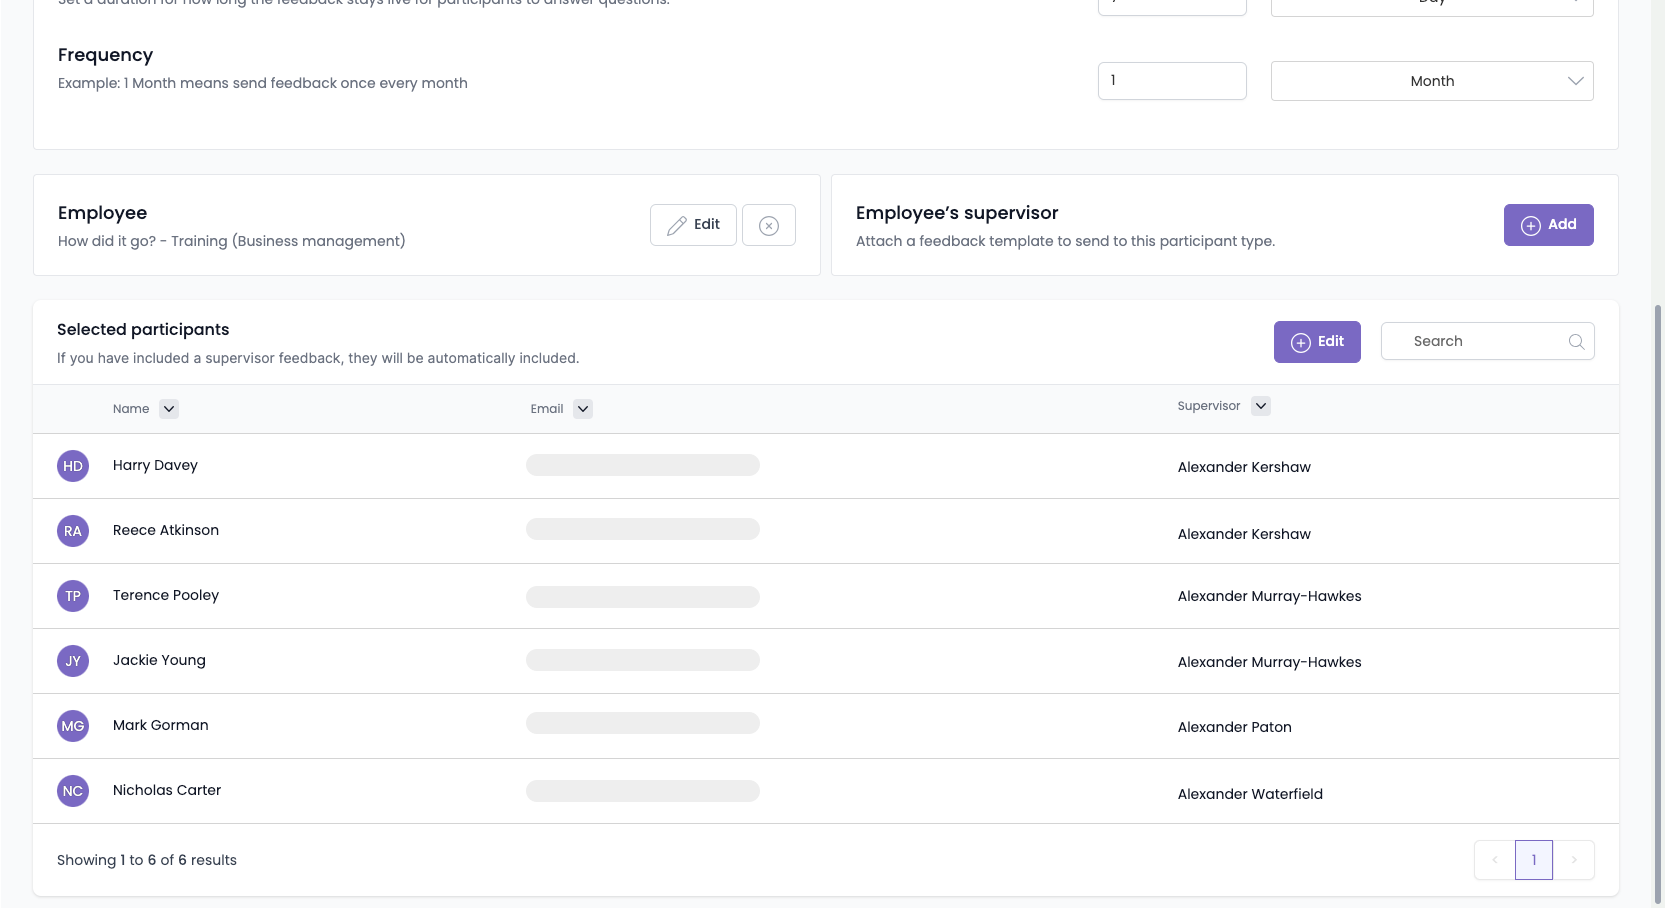
- Click ‘Activate automation’
- Your feedback automation is now active!
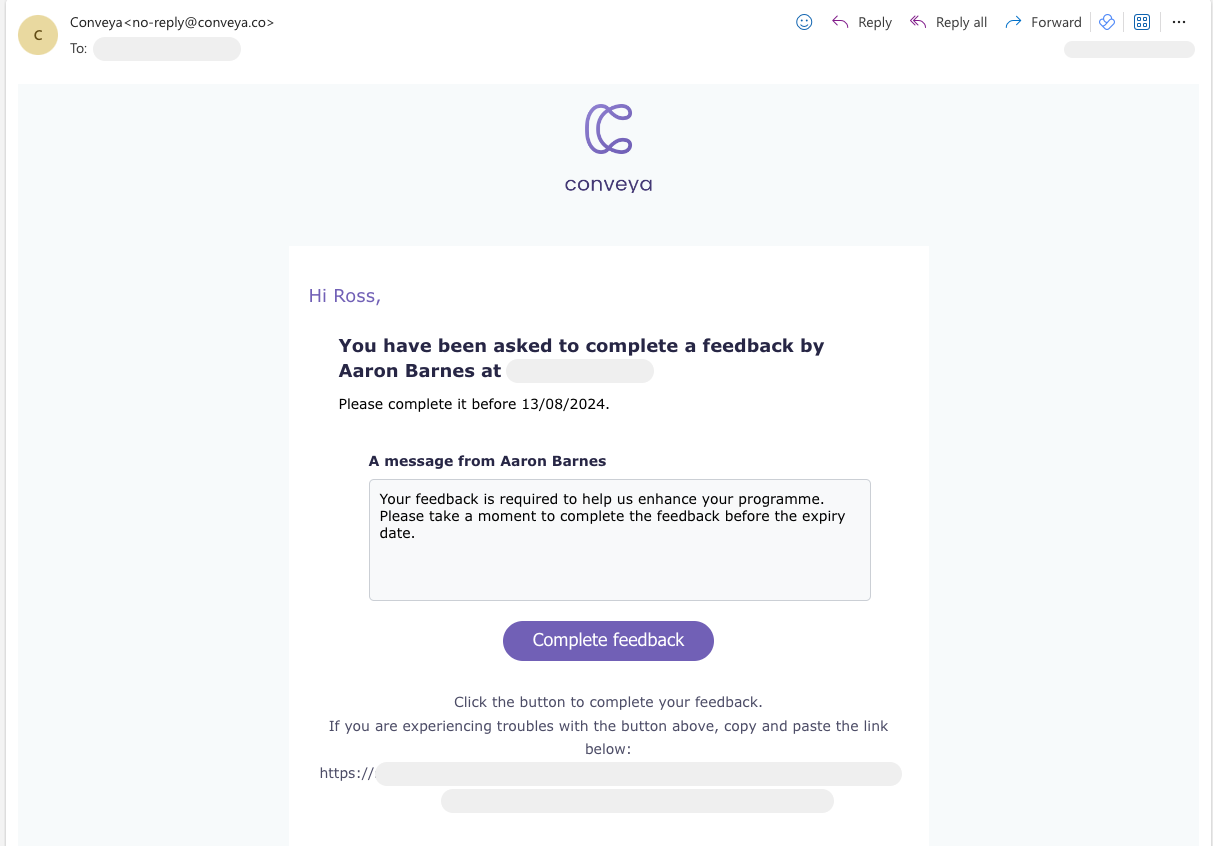
Feedback email
Below is a preview of how the email requesting a learner to complete a feedback will look. The learner will be notified who has sent them the feedback, the date they must complete the feedback by and the custom message you have added to the feedback.
Deactivating or deleting an automation
If you no longer wish for an automation to run, you can deactivate or delete it in three easy steps.
- Open up the automation you wish to delete/deactivate.
- Click the small arrow next to the ‘Update’ button.
- Click either delete or deactivate automation.
Related Articles
| About the feedback page | View article |
| Creating a feedback template | View article |
| Feedback answer types & scoring | View article |
| Viewing feedback | View article |