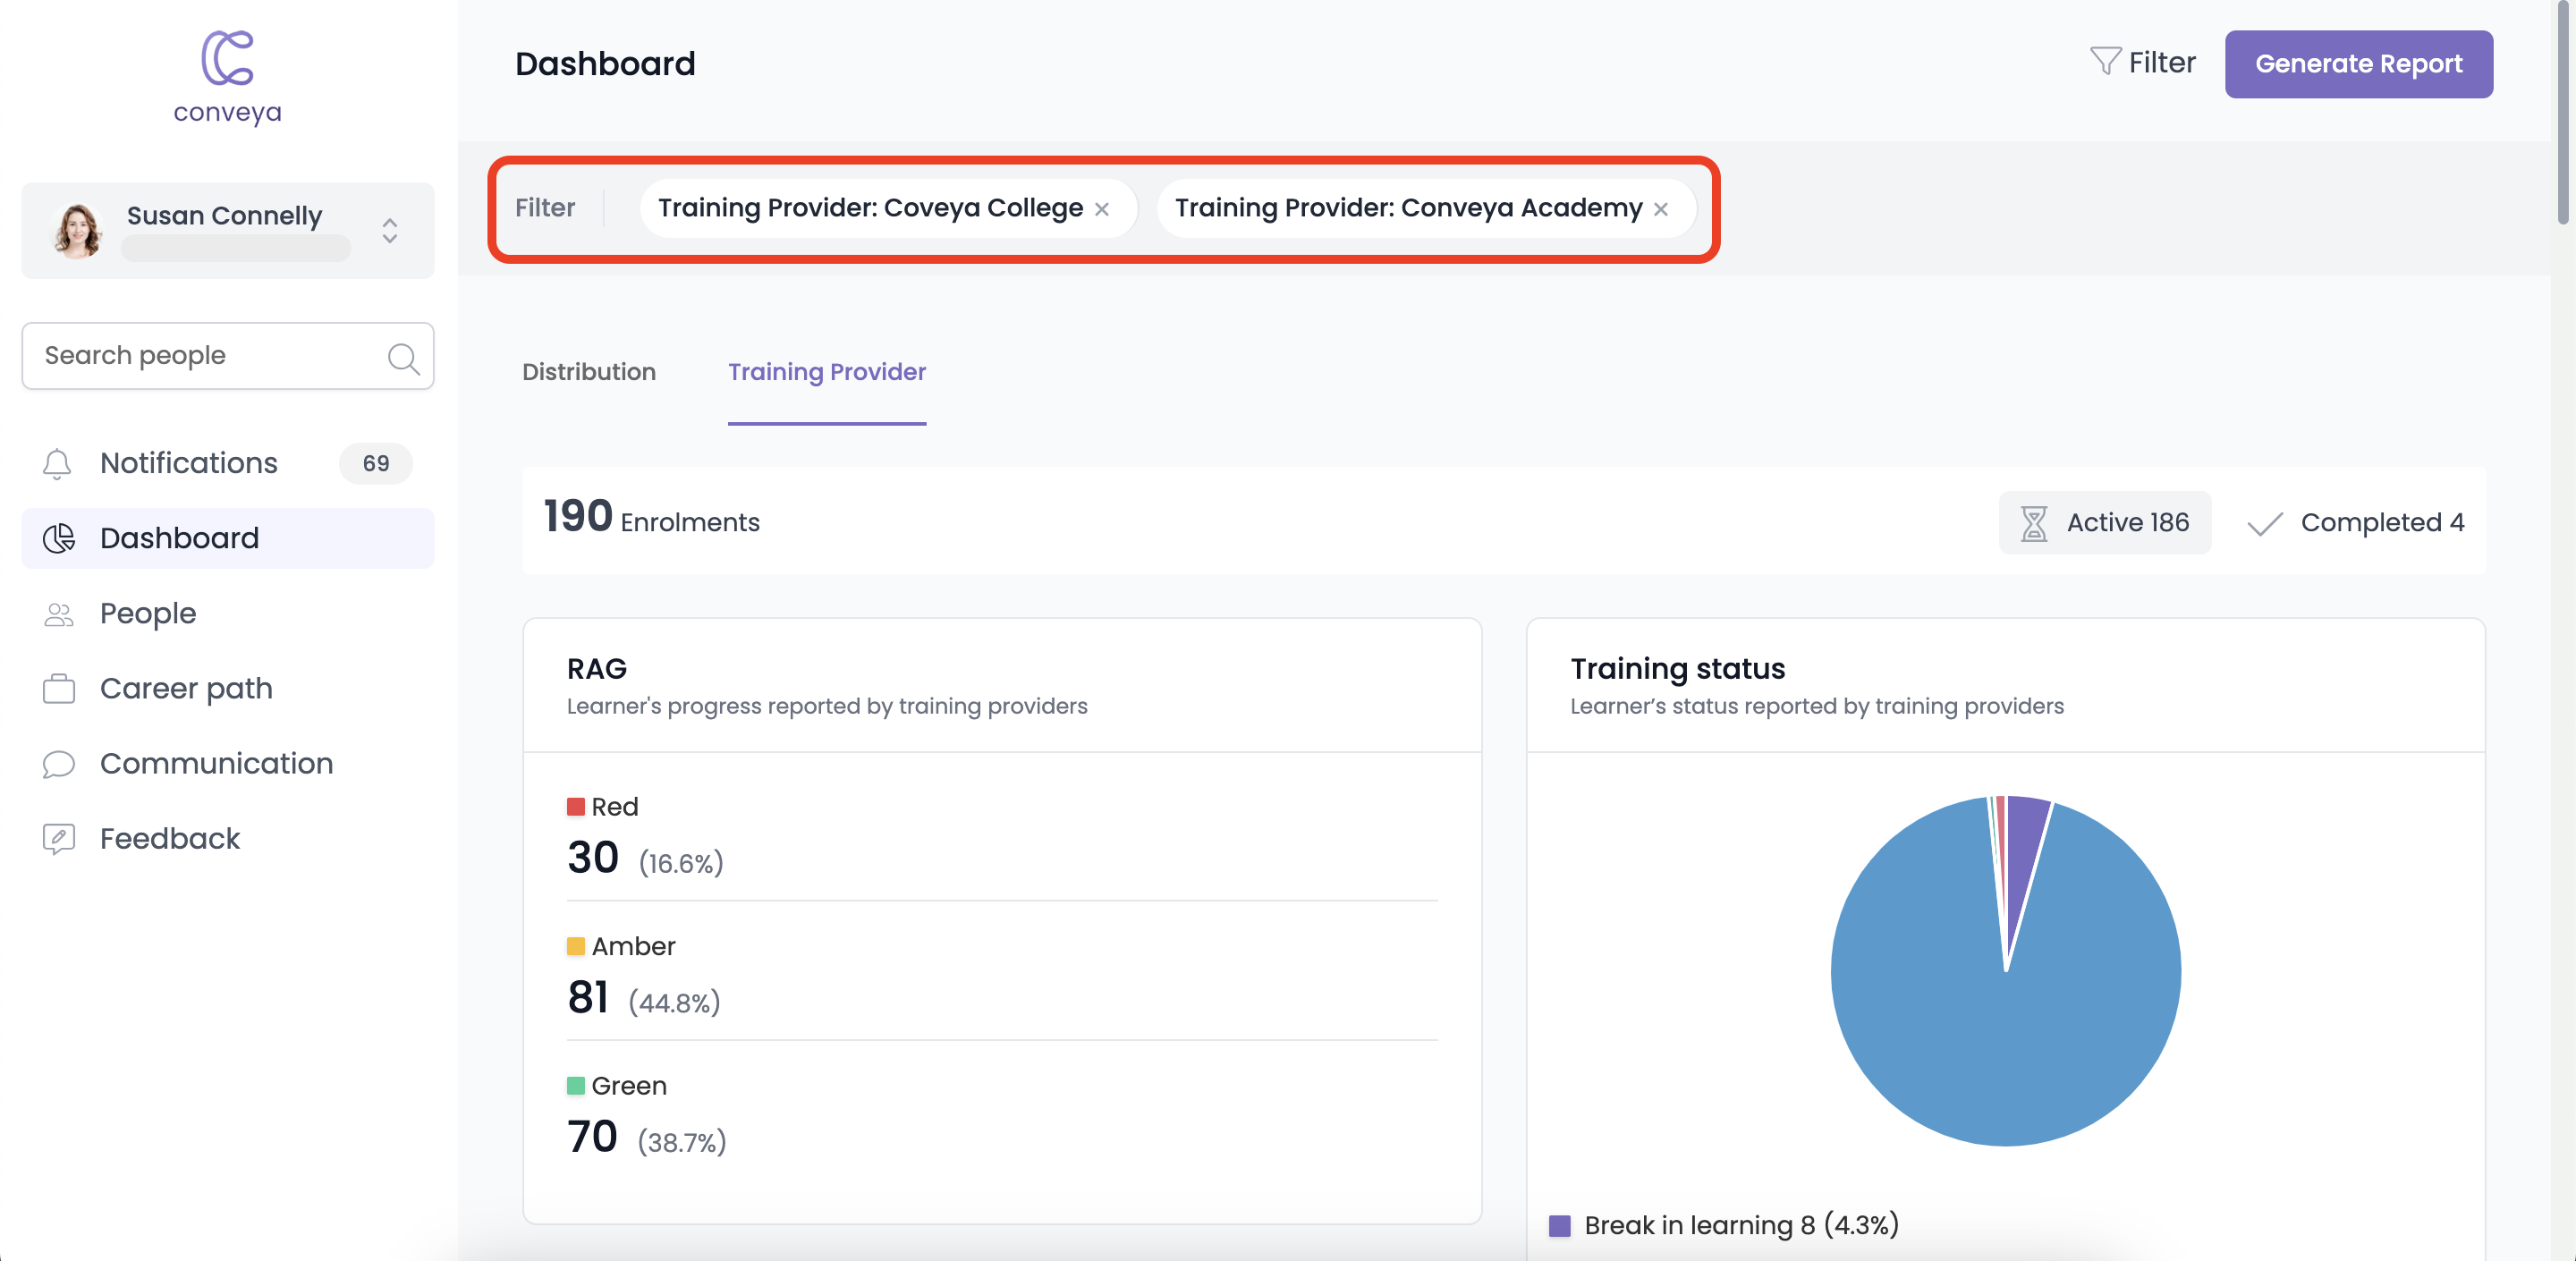
Filtering your dashboards
Conveya has a filtering feature that allows you to narrow down the information that your dashboards are displaying to you. This is applicable to all dashboards, but for the purpose of this guide — the training dashboard is used as an example.
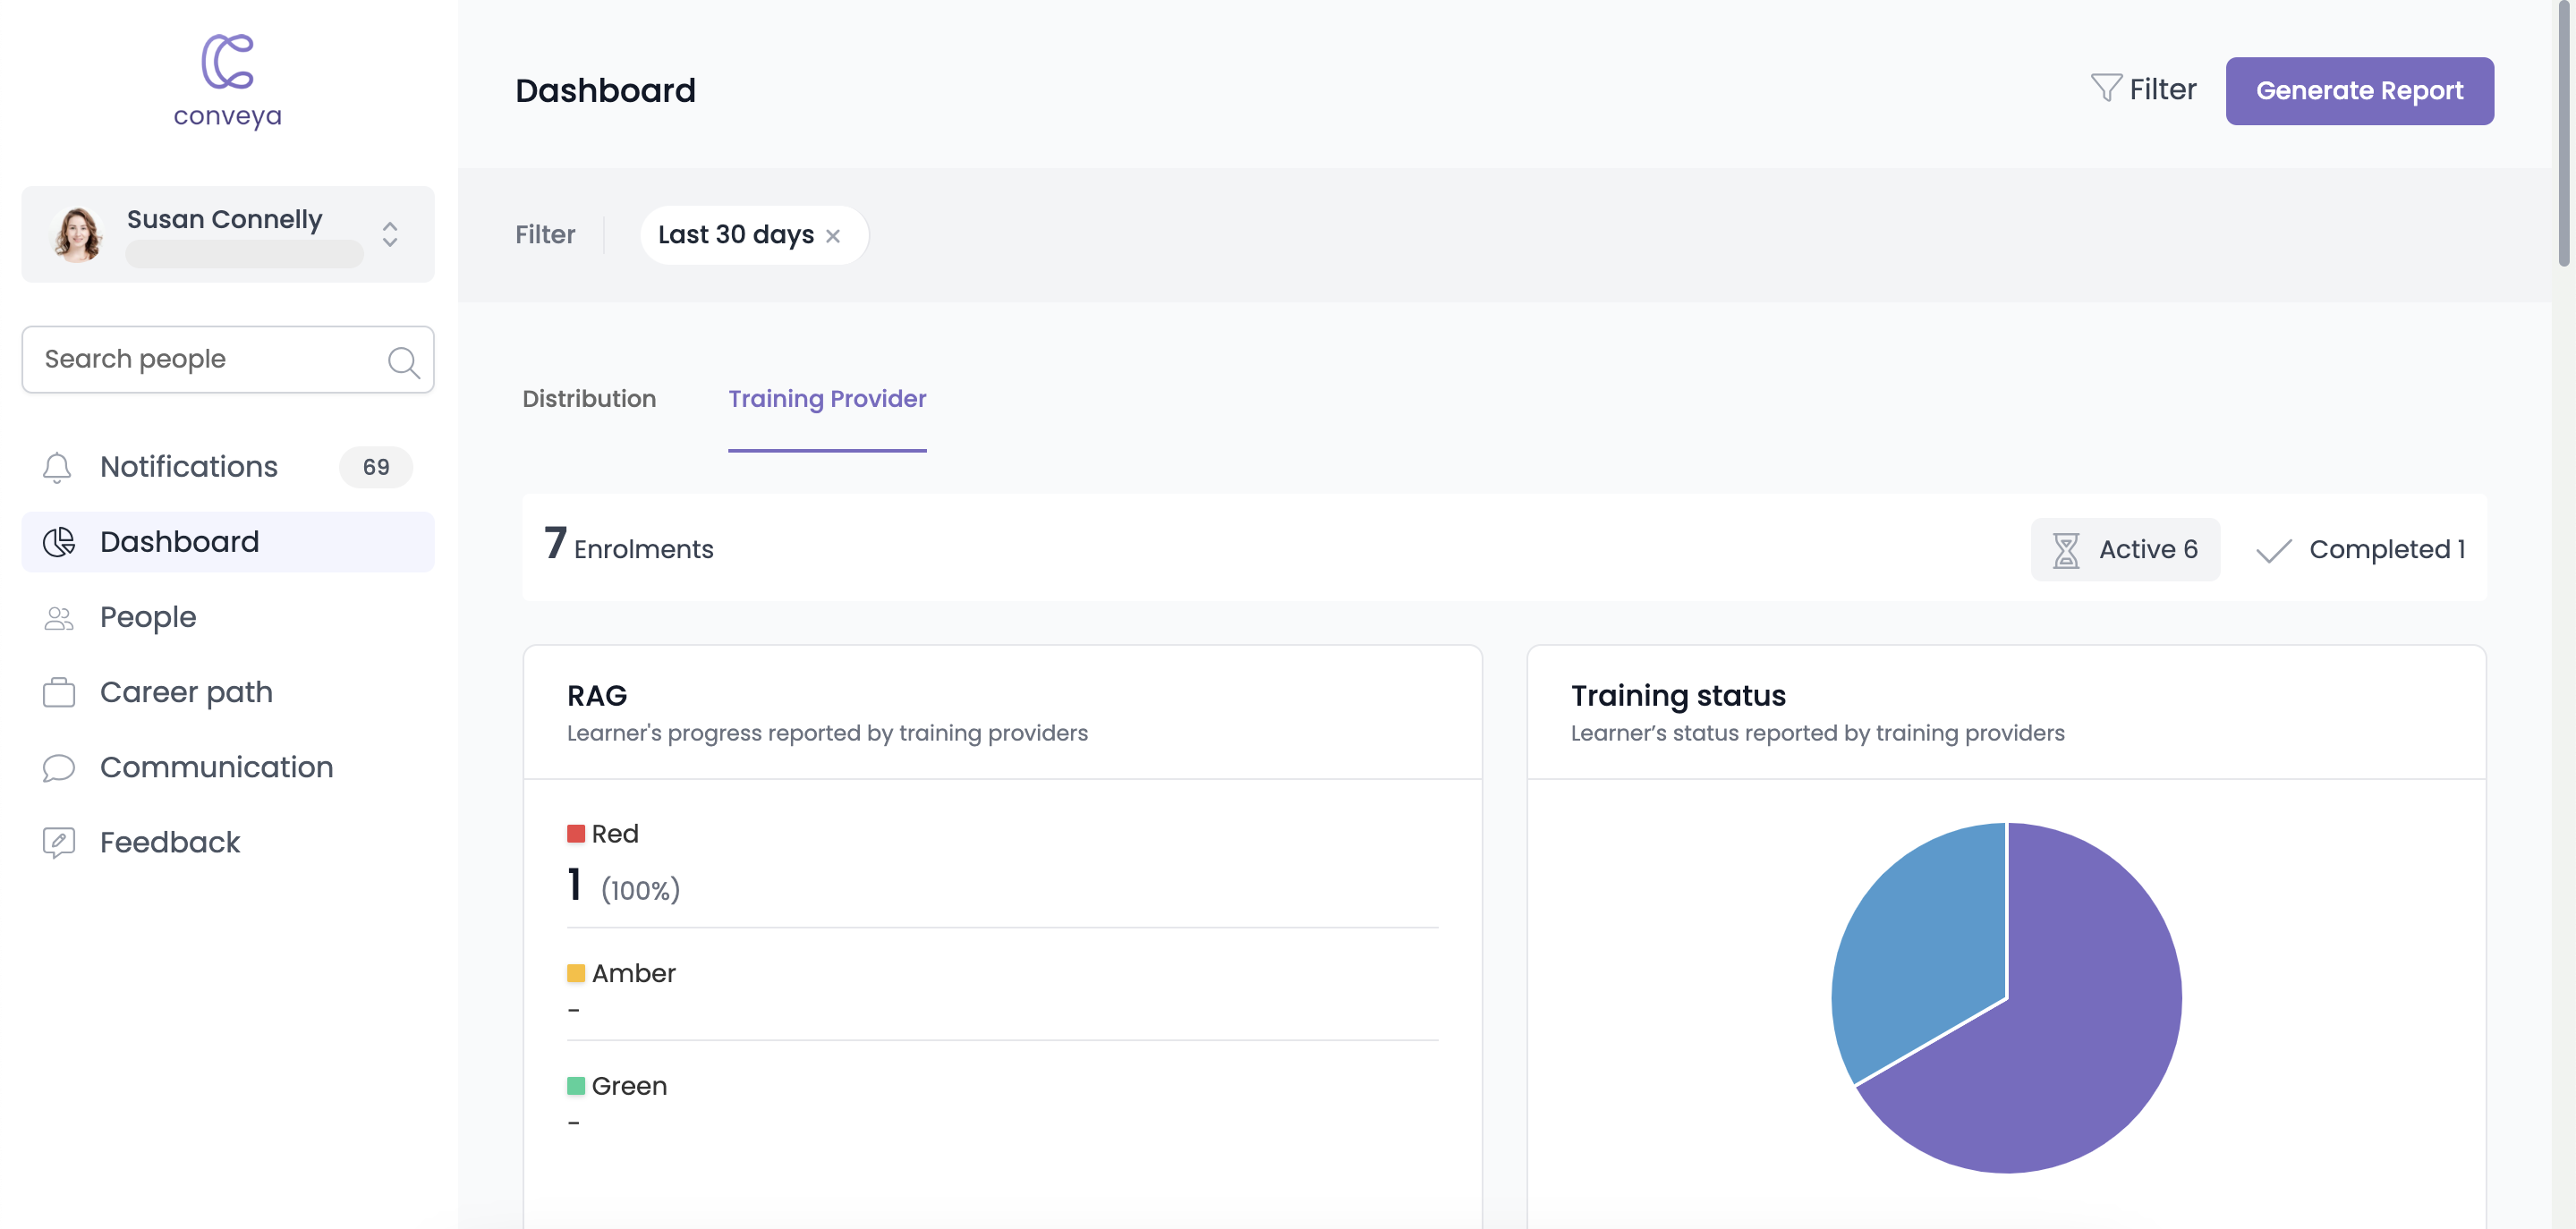
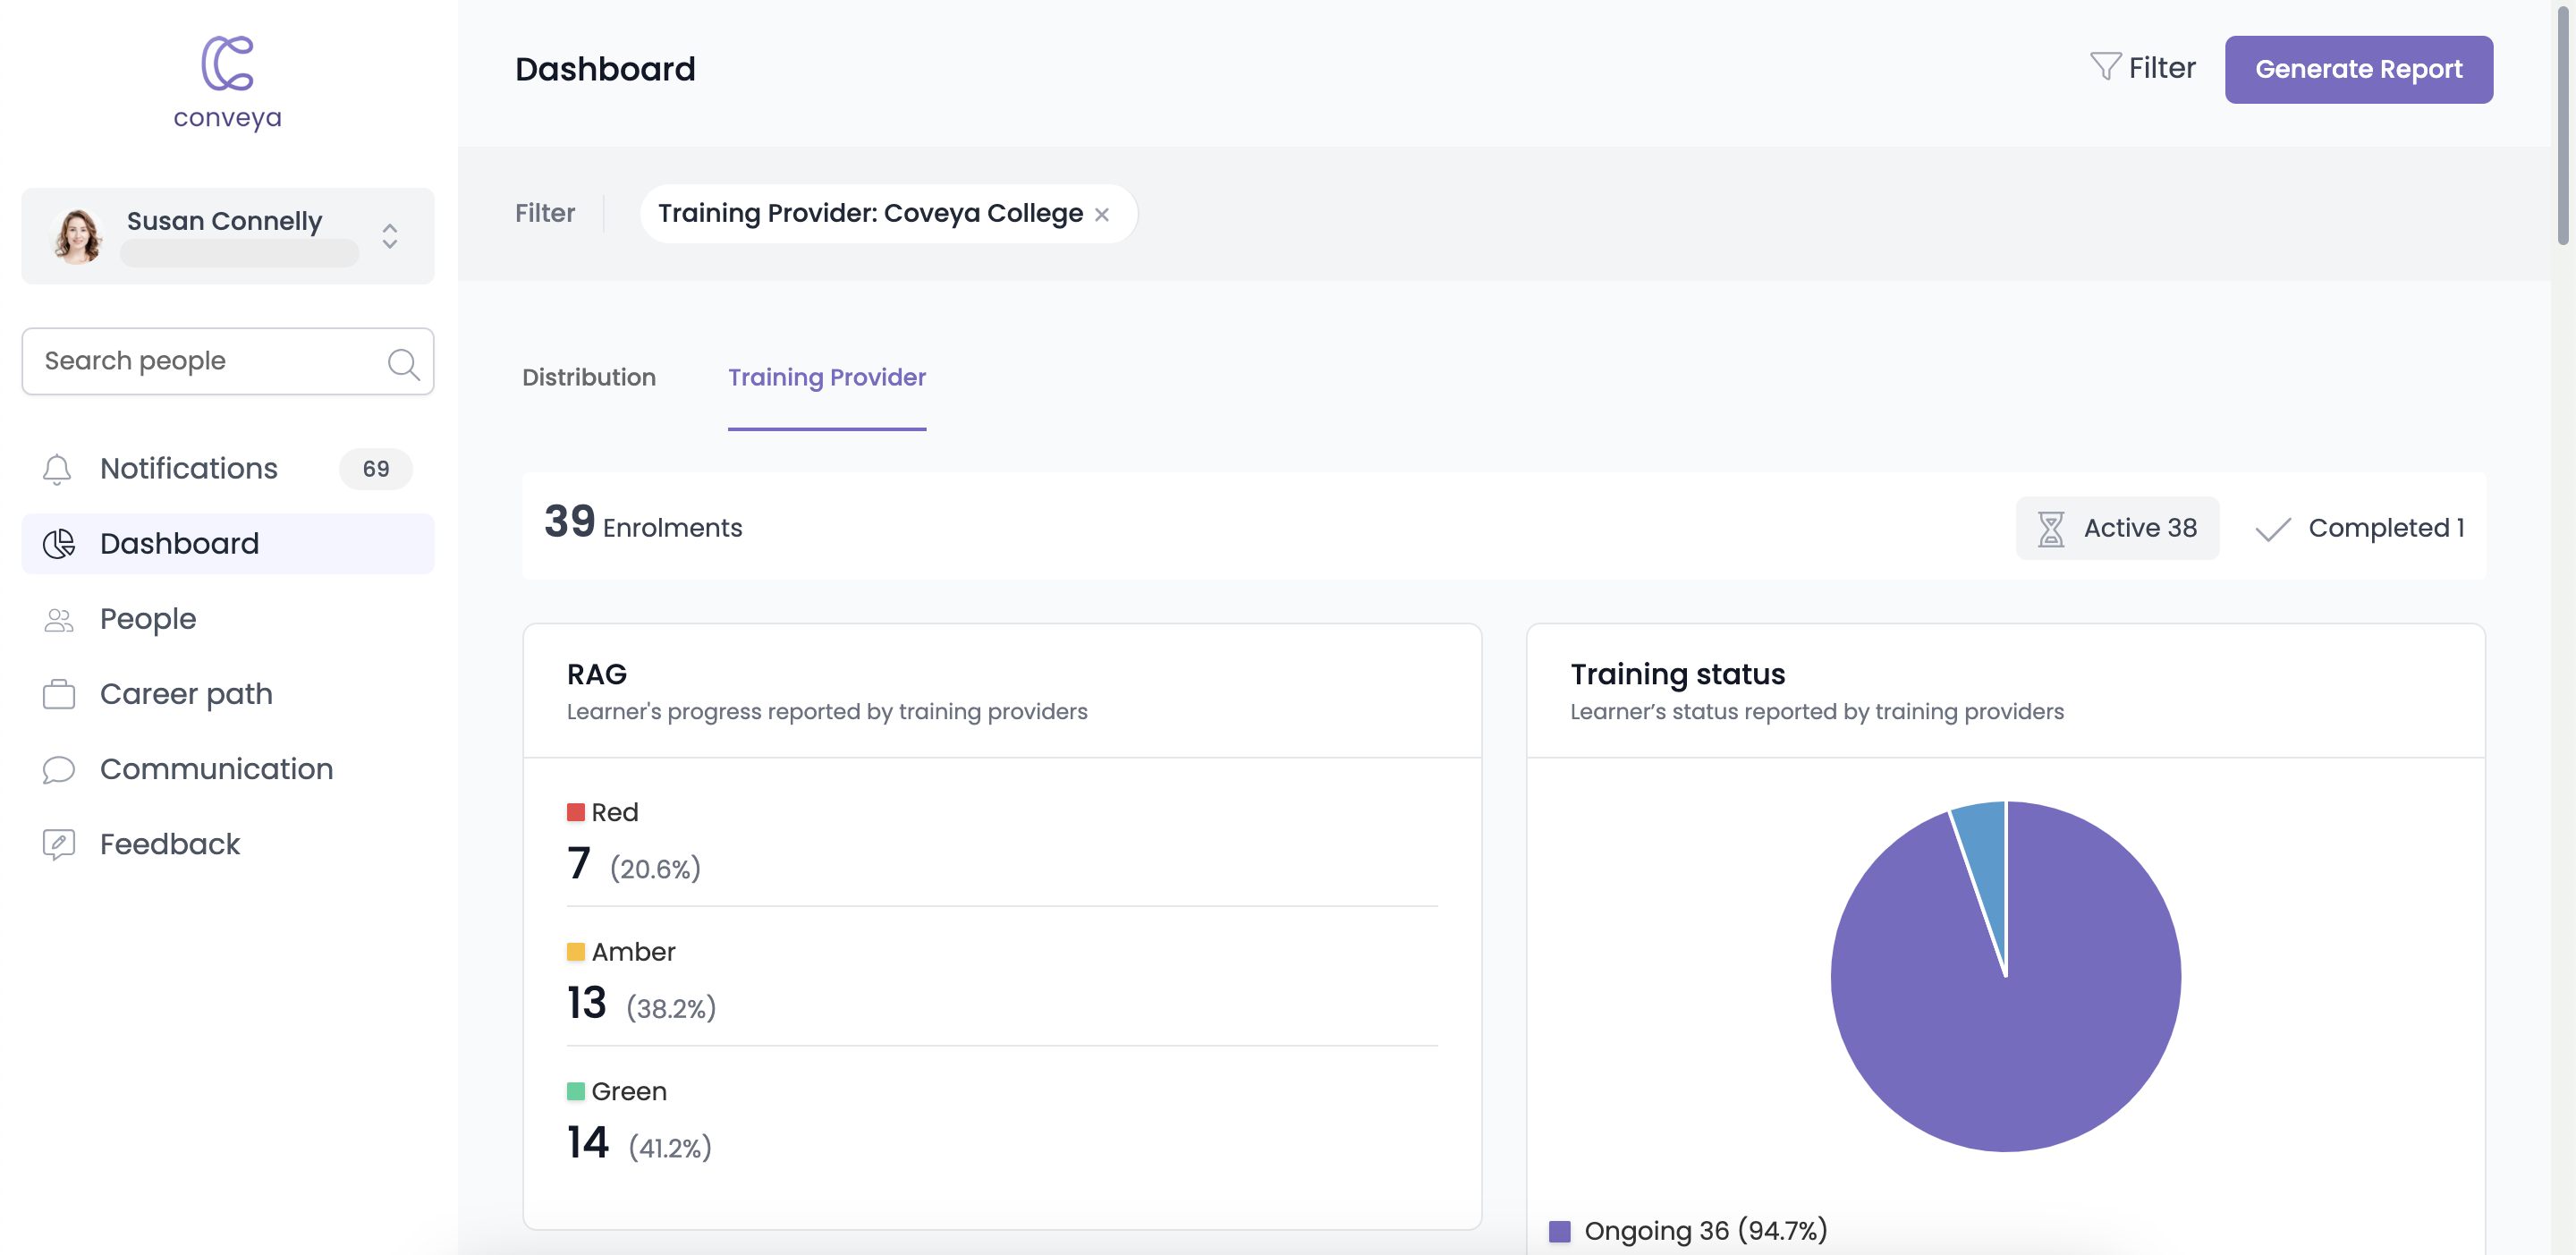
ℹ️ All dashboards are defaulted to show data from the last 30 days.
Step by step guide
- On the top right of the training dashboard, you'll see a filter button. Click the 'filter' button to open the slideover.

- The slideover separates the filters into different sections (such as profile information, personal information, employment, course information, etc...). Click any dropdown to expand the filtering options.
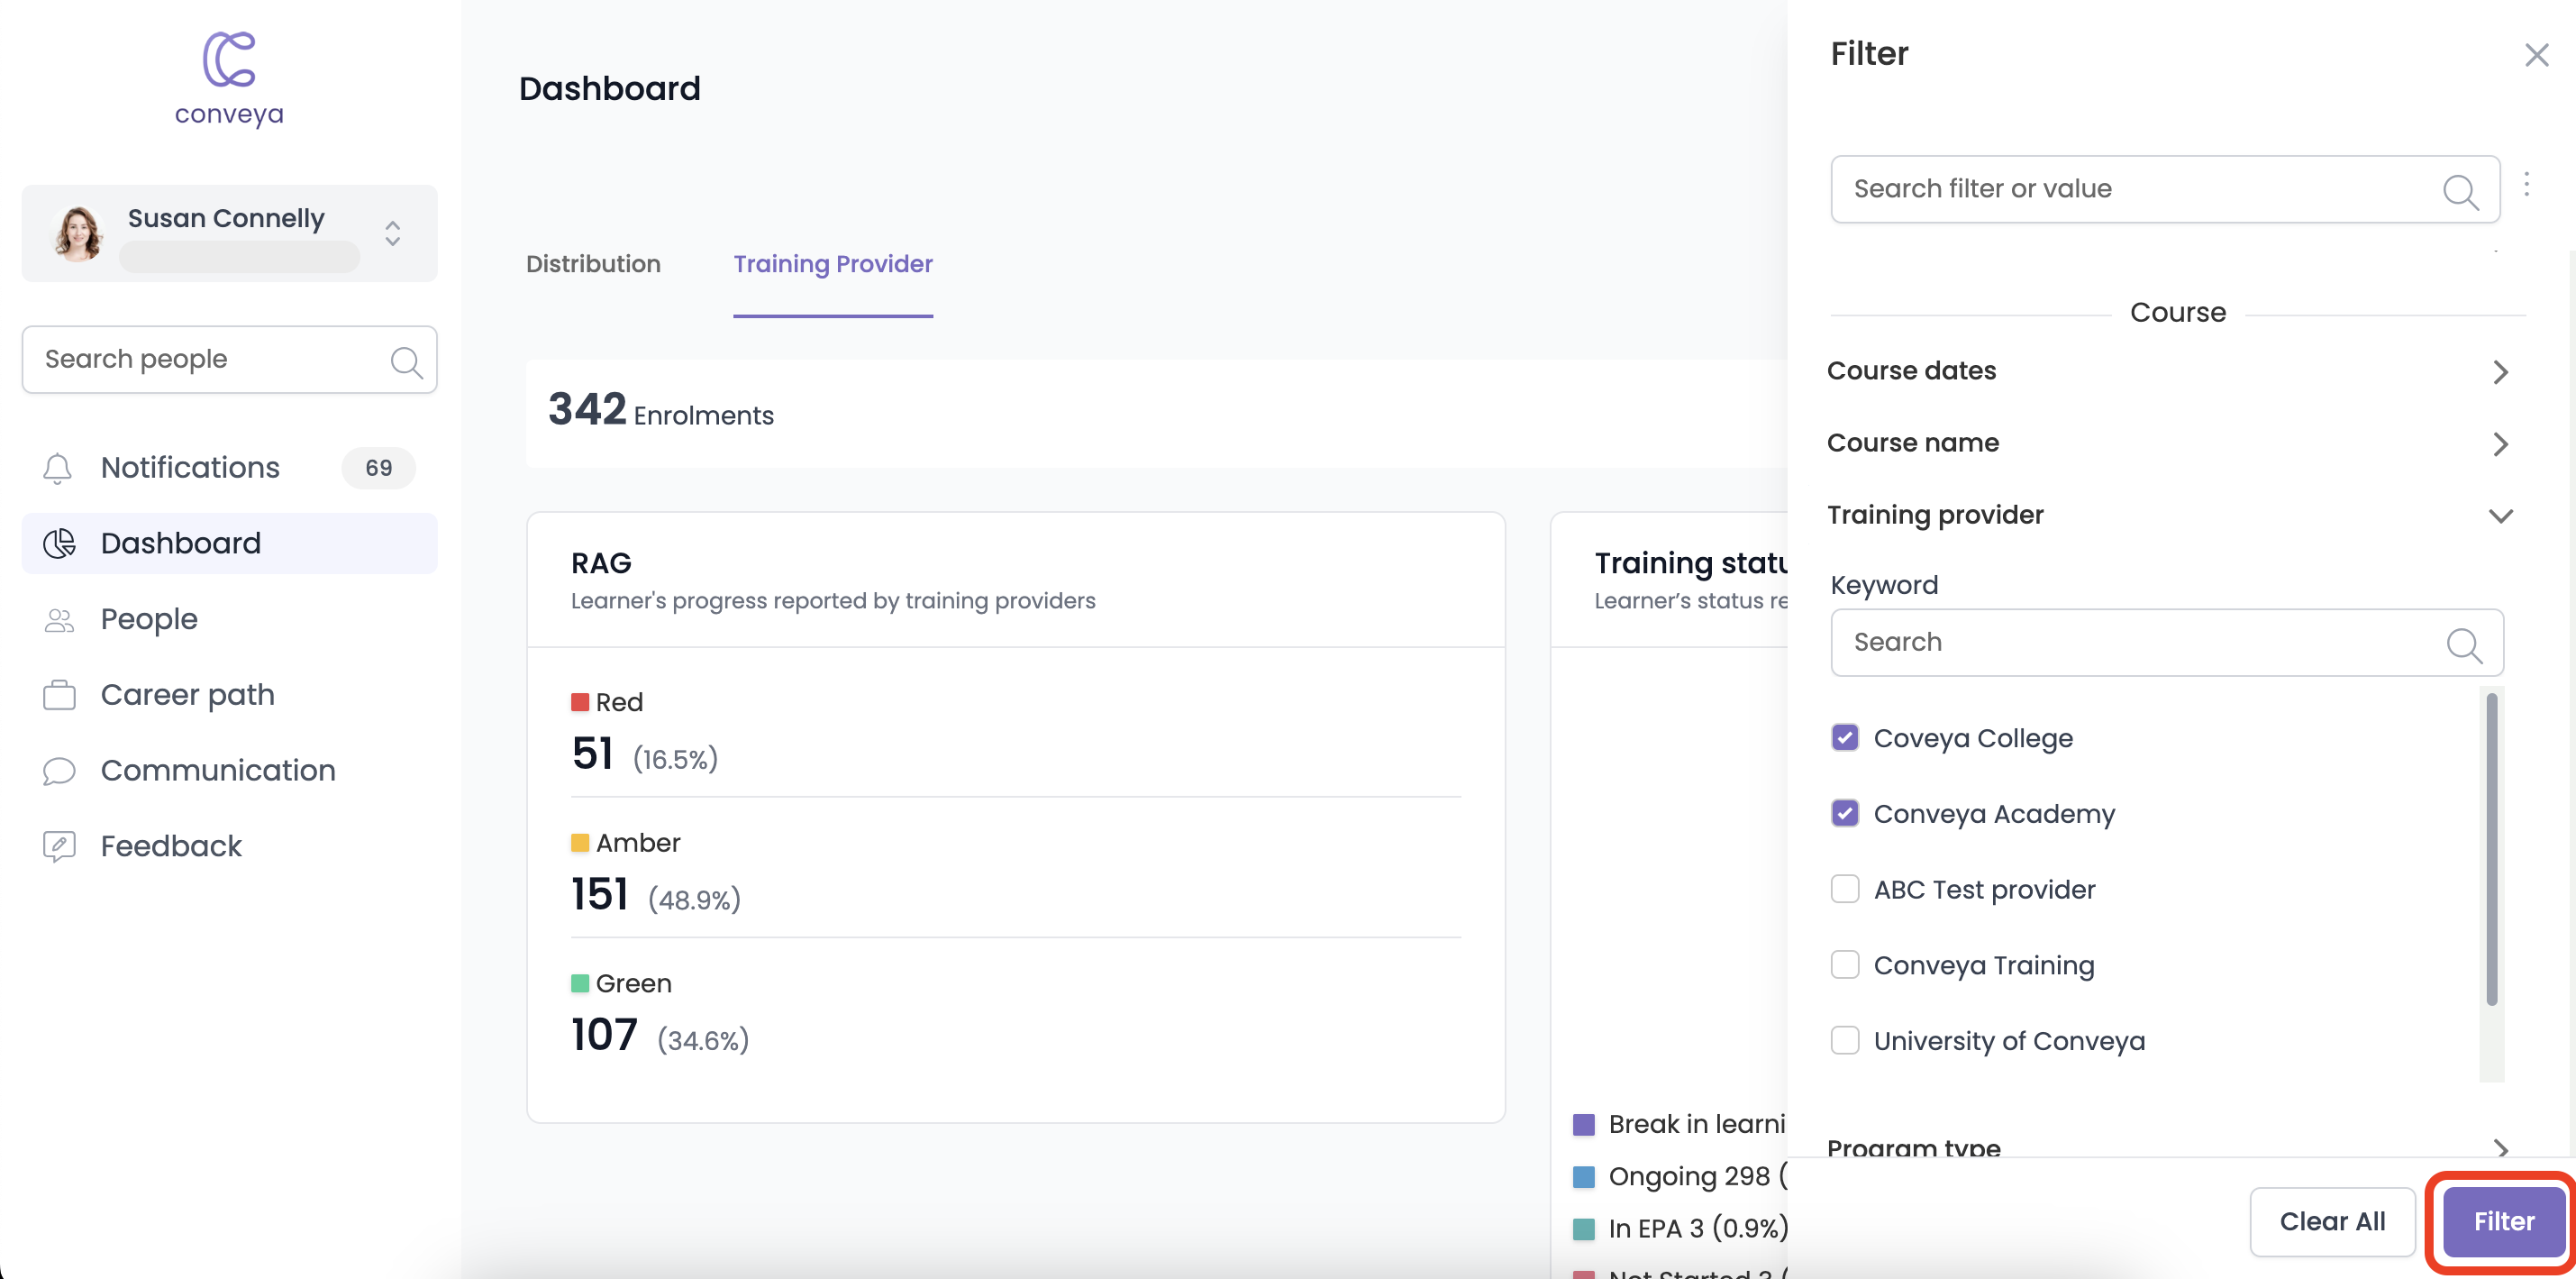
- You'll see that a number of checkboxes appear under the dropdown — click on any applicable checkboxes to set the filters you want applied.
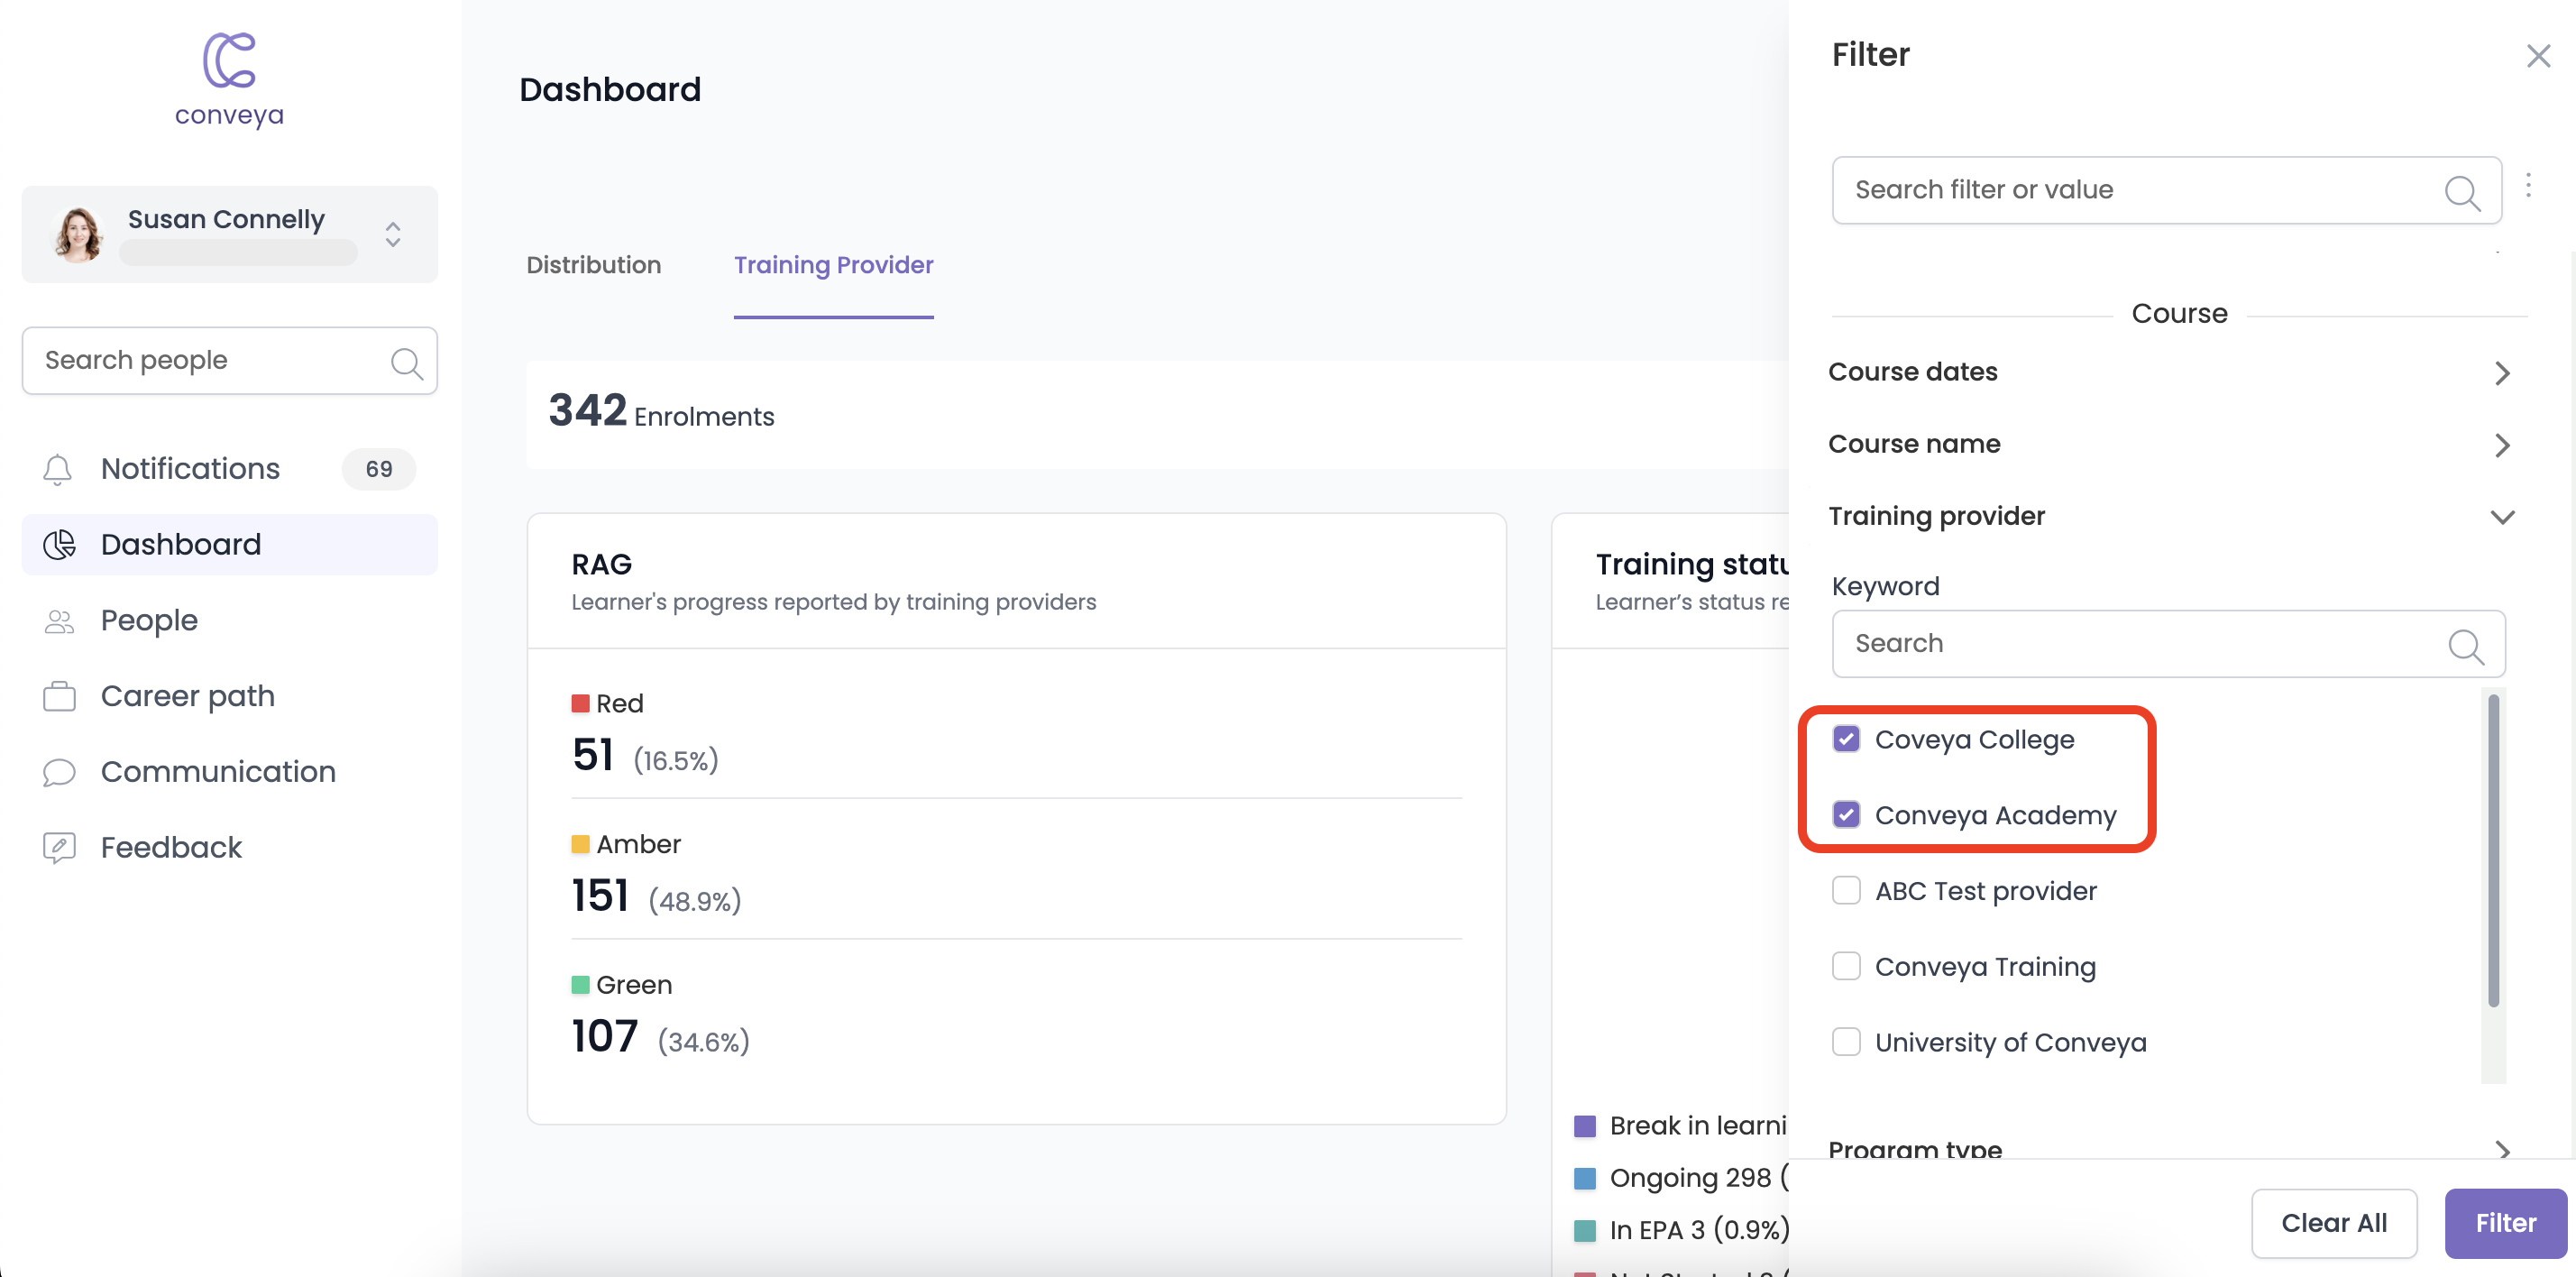
- If you are happy with the filters you want applied, click 'Filter' at the bottom right of the filter slideover. This will update your dashboard to reflect the filters you have selected.
ℹ️ If you are running a report, you can filter the data as above and these will apply to the report you wish to generate.
Removing filters
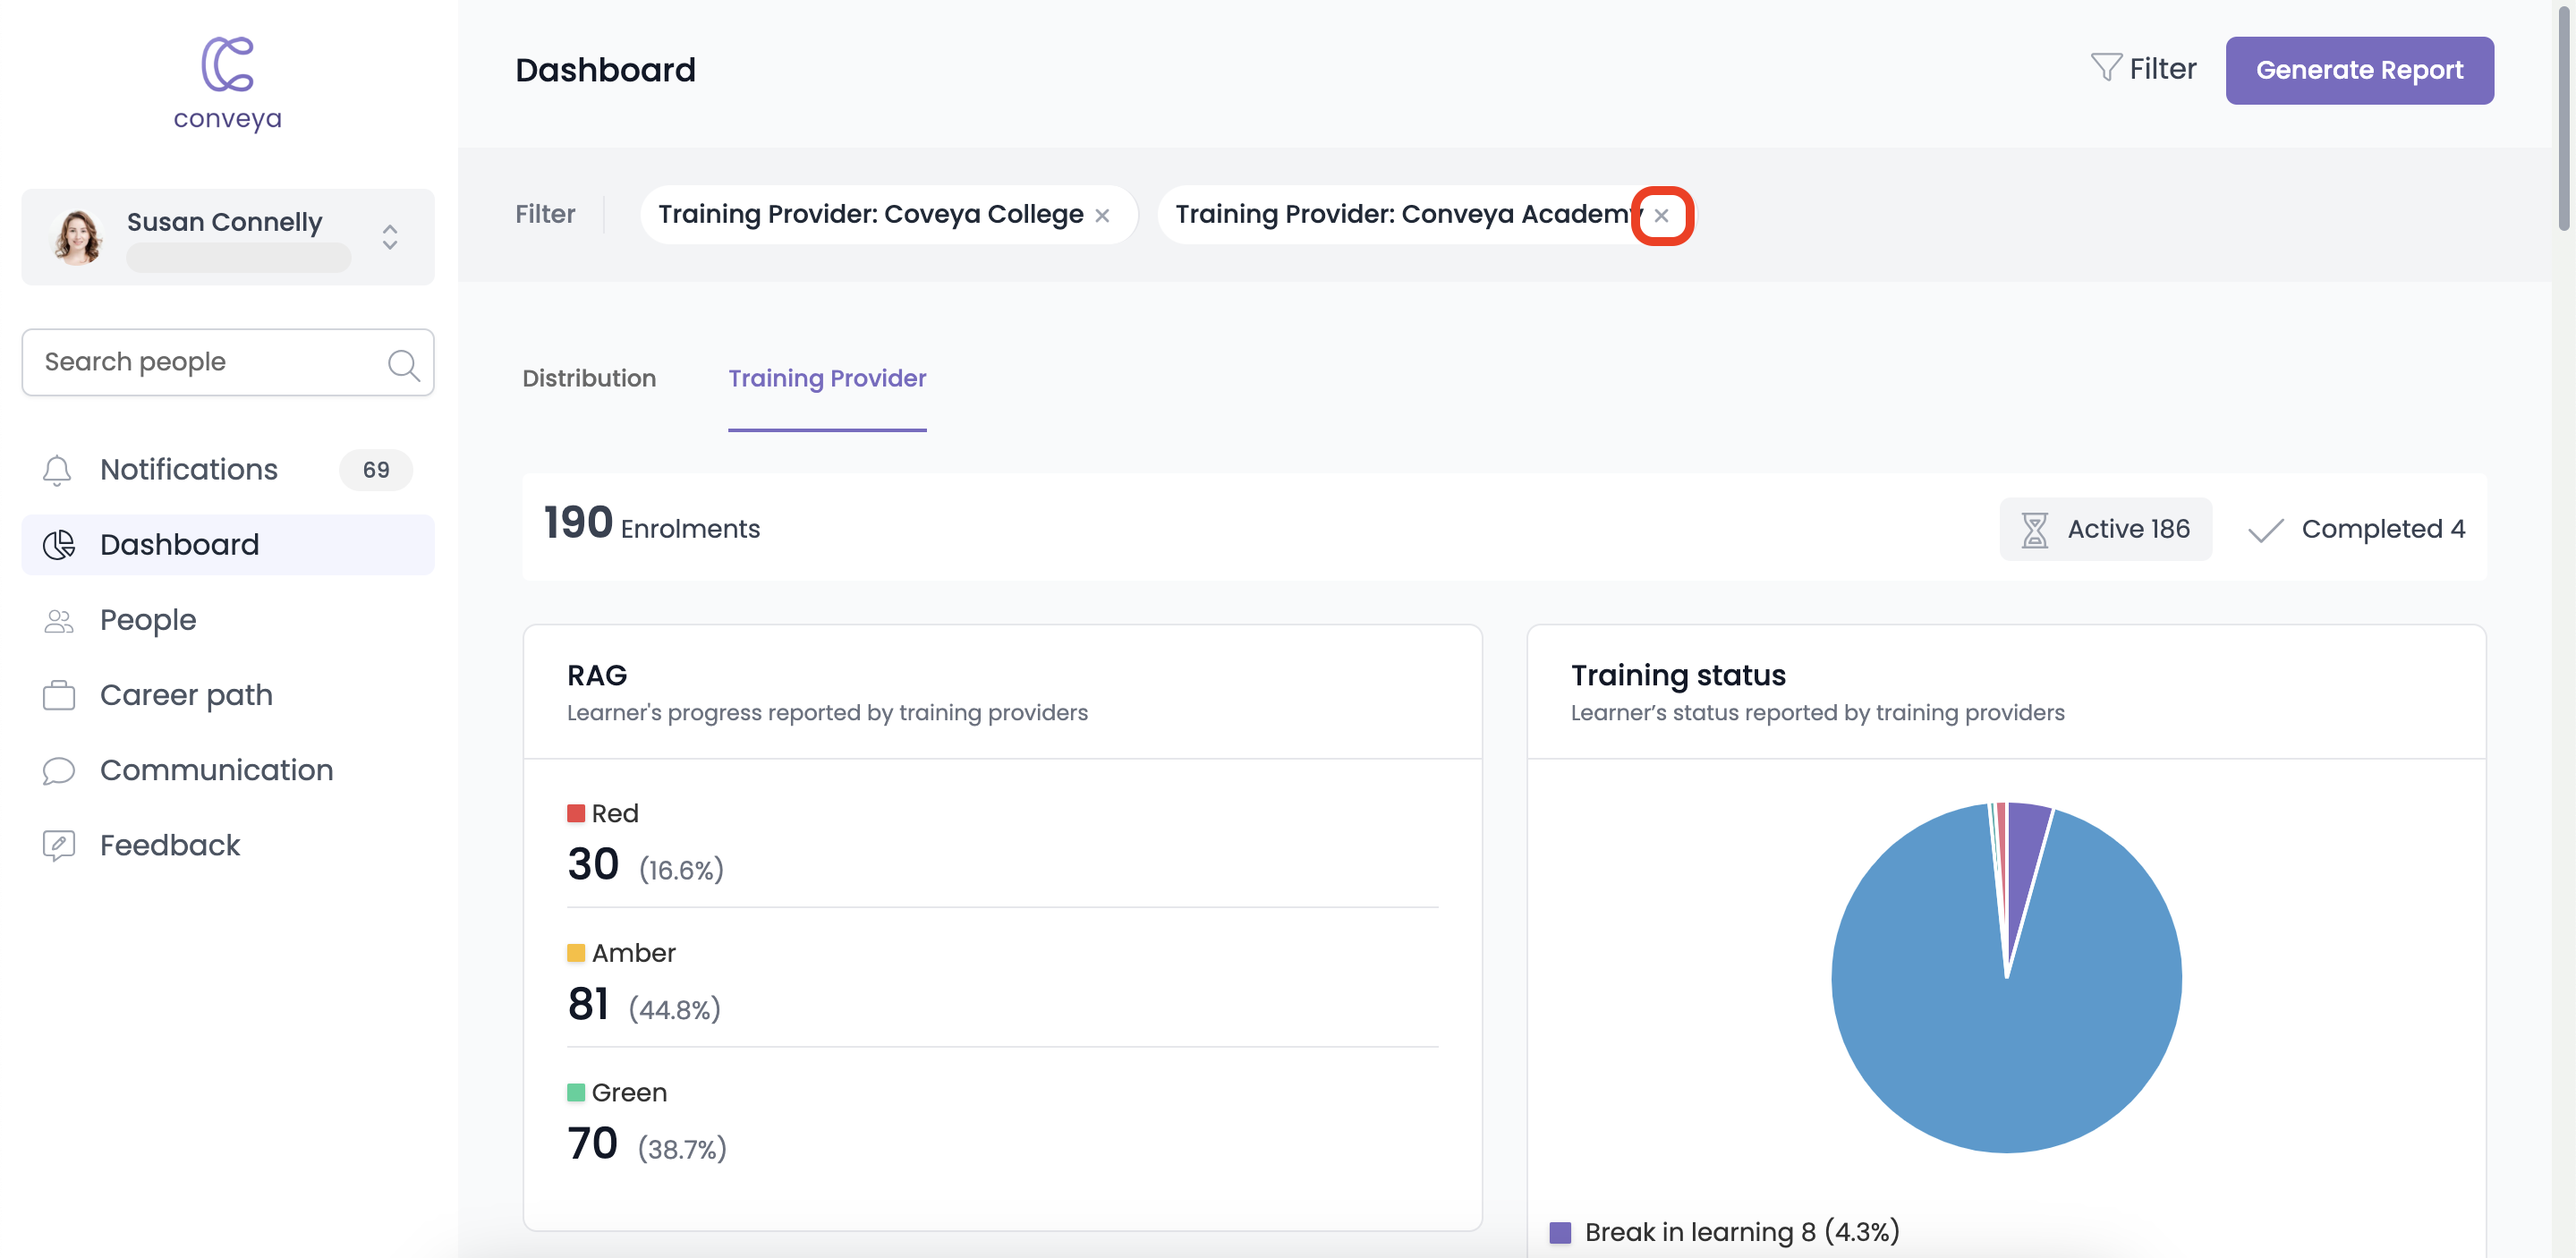
You'll be able to see which filters are active at the top of a dashboard. On these active filters, you'll notice a 'x' button next to them, click the 'x' to remove the filter which will instantly update the dashboard.