Using the file uploader
Our file drop uploader helps sort the files into a readable format for upload and enables you to map your data to our system. Here’s what you can expect from the process.
Step by step guide
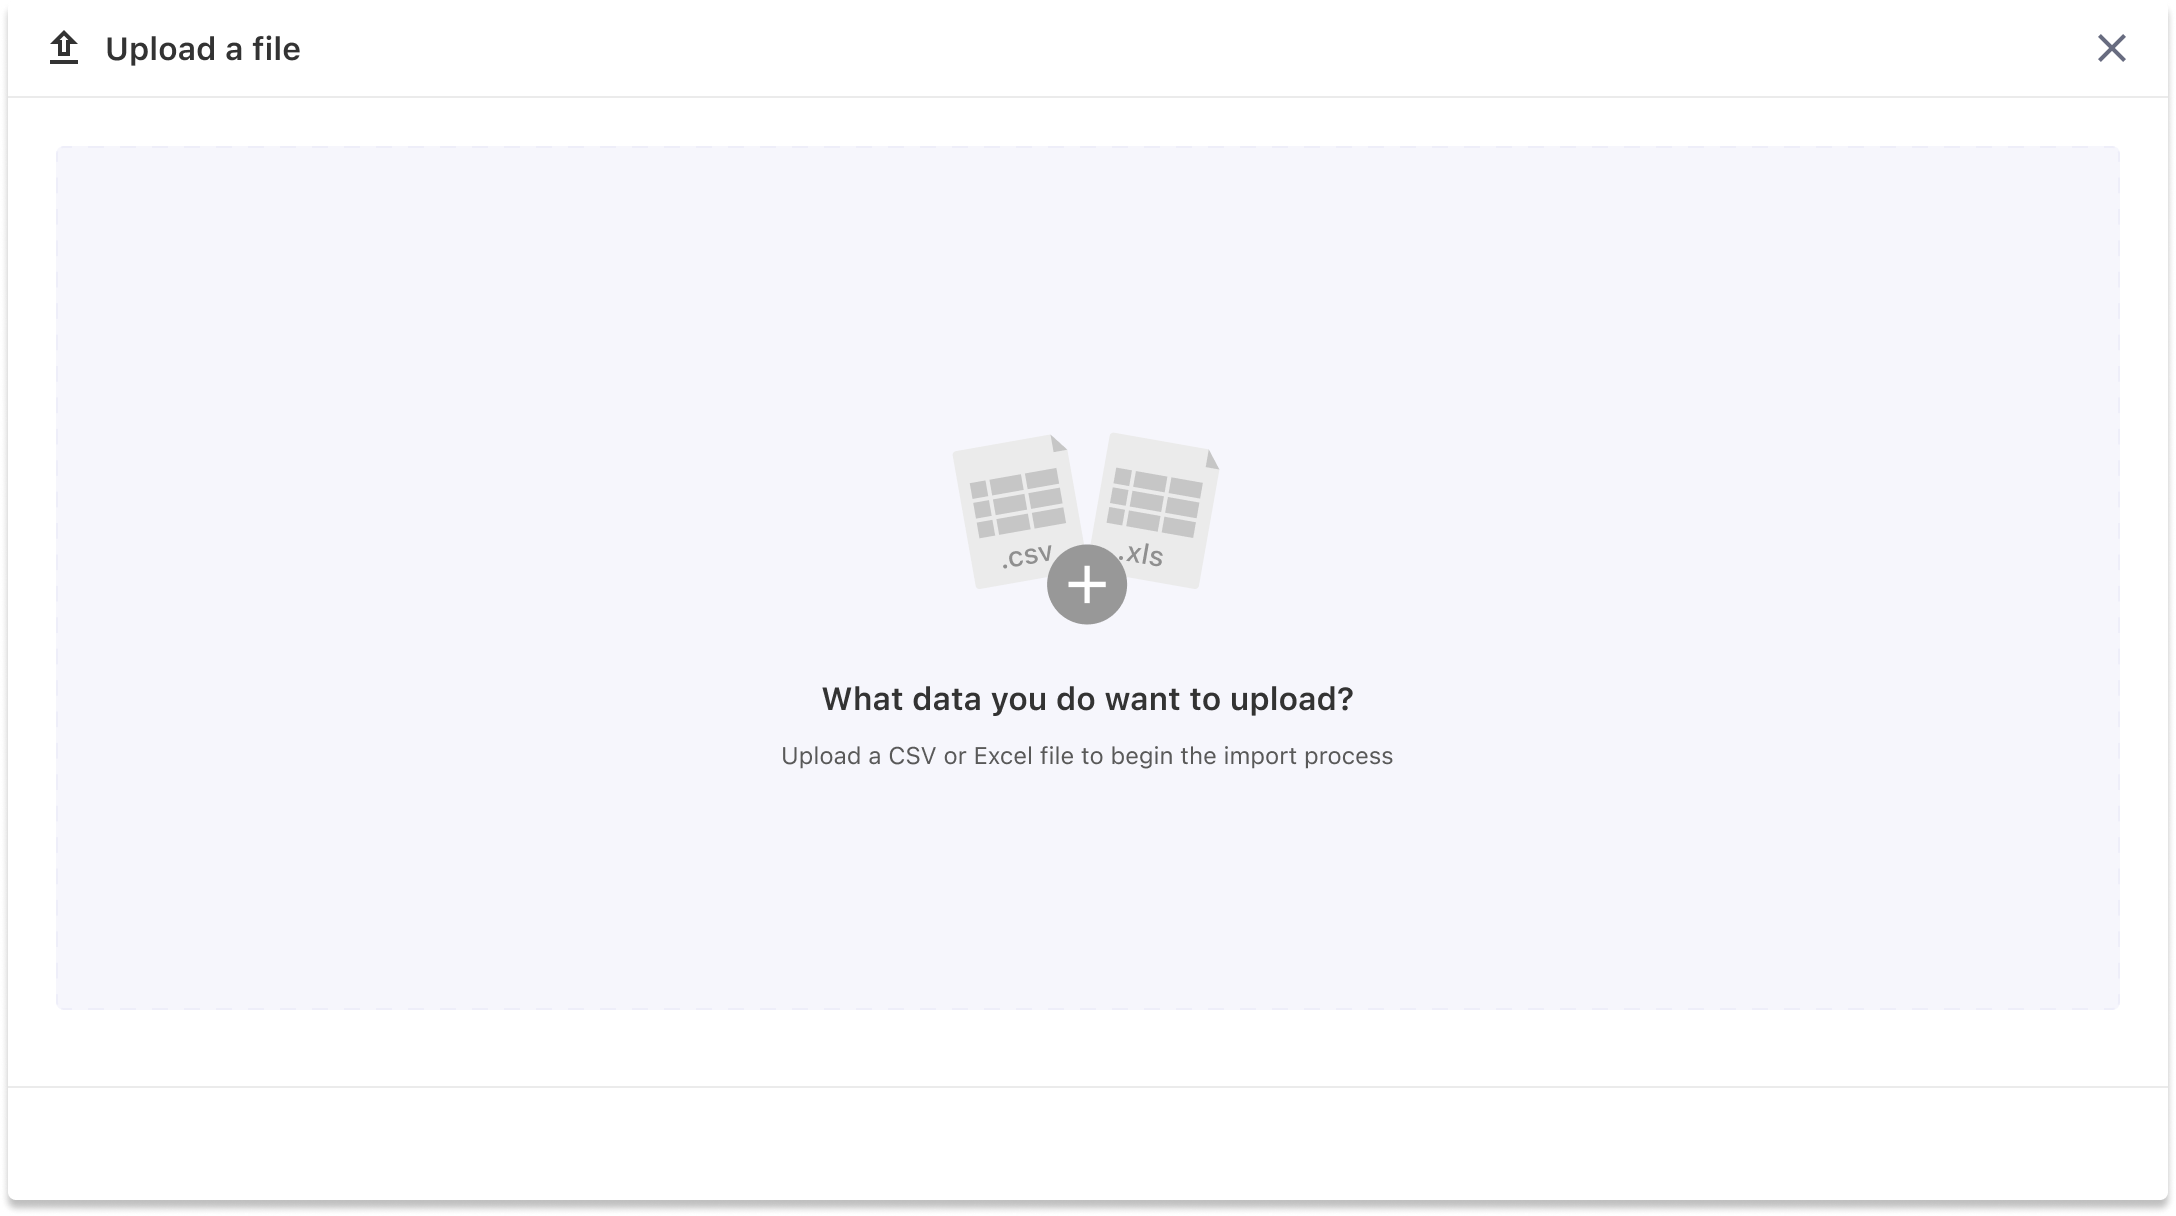
- Upload a CSV or excel file.
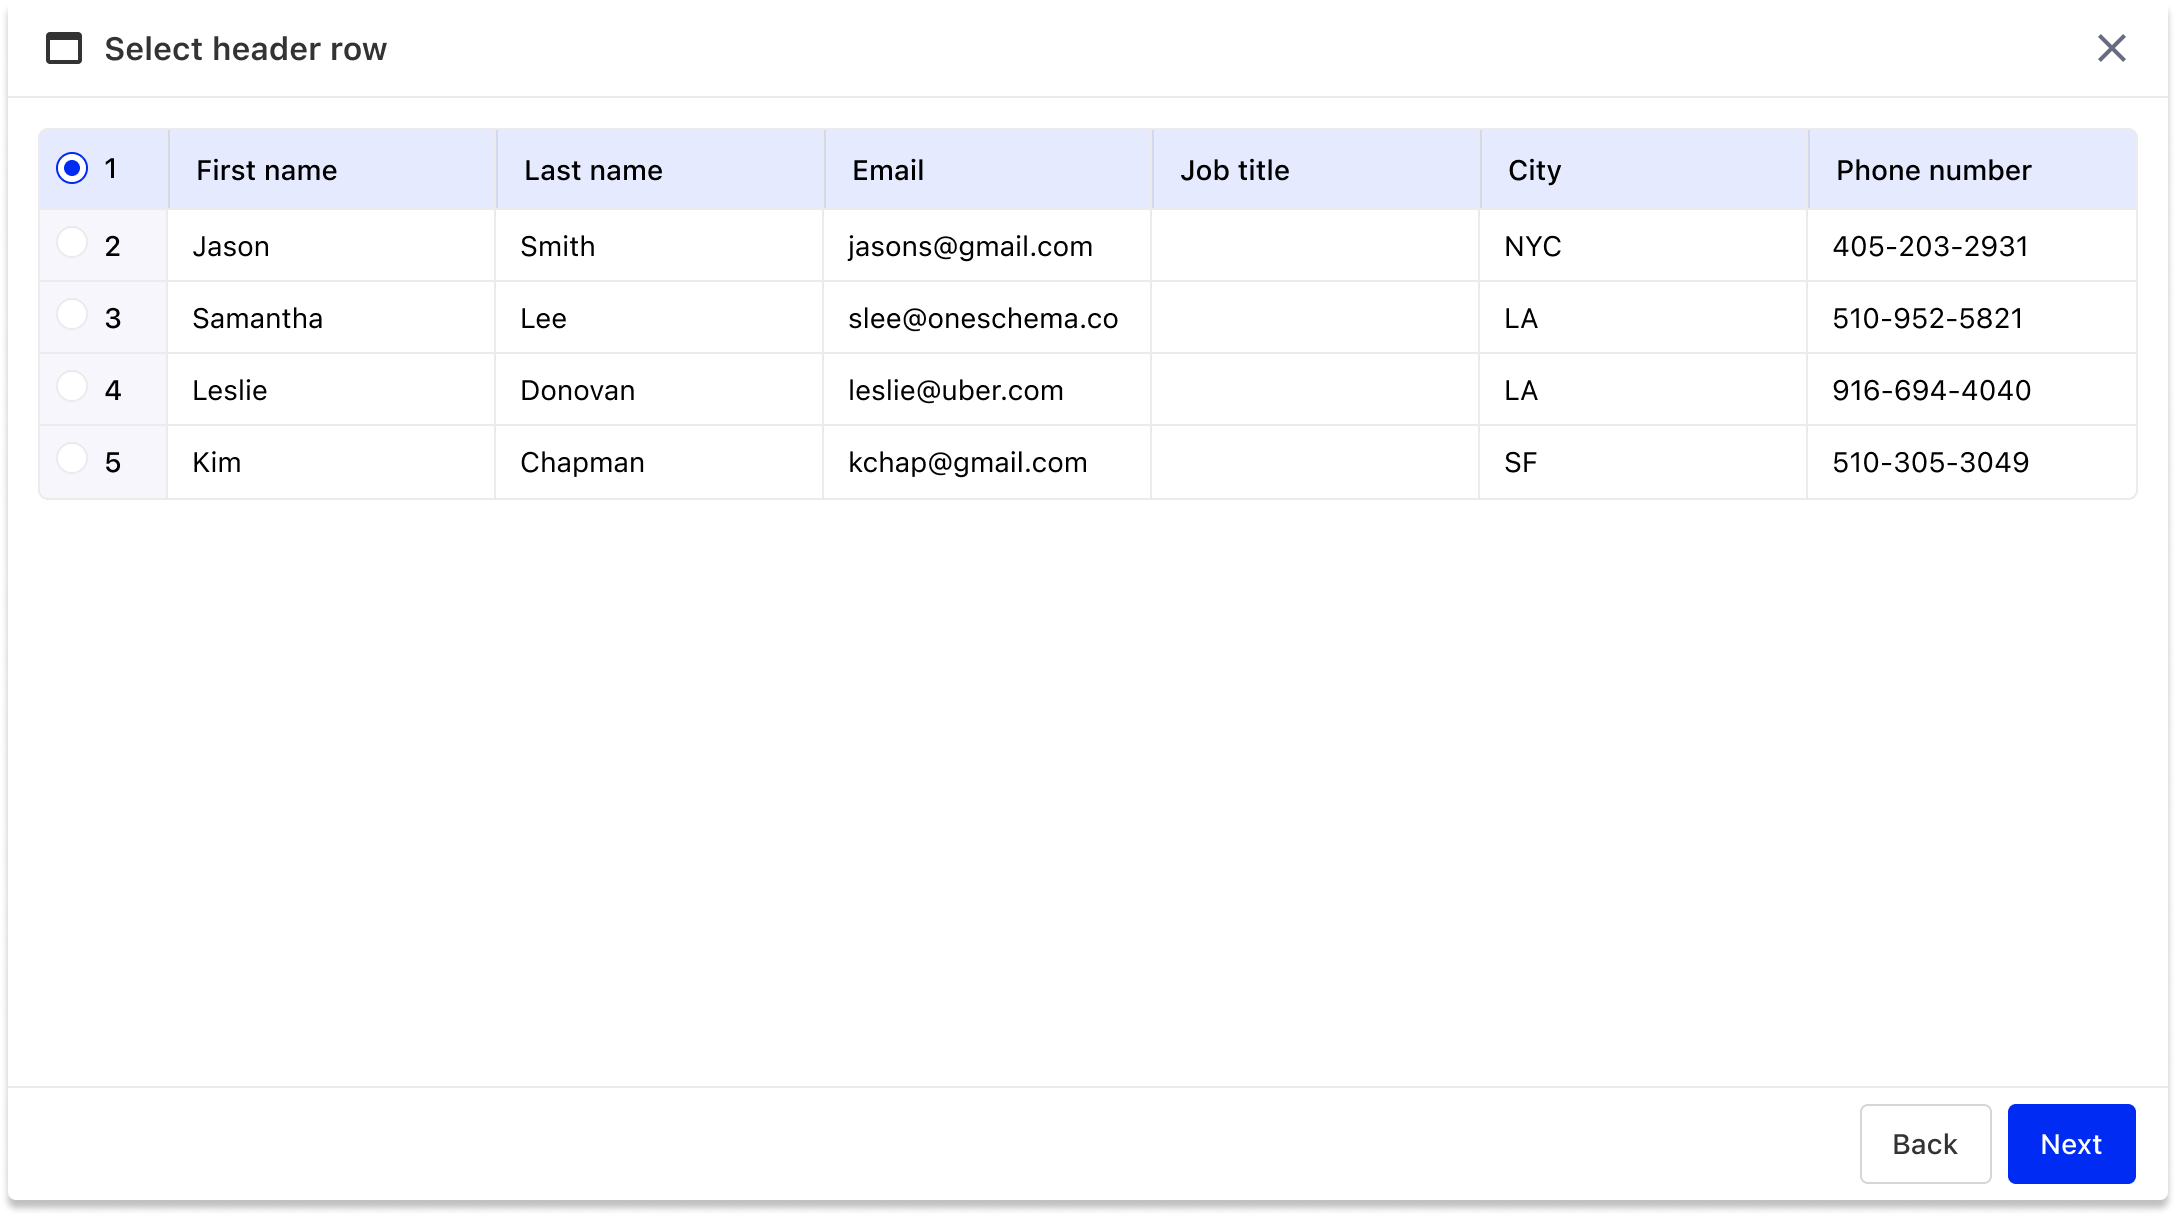
- Select header row: Click on the row that contains your column headers.
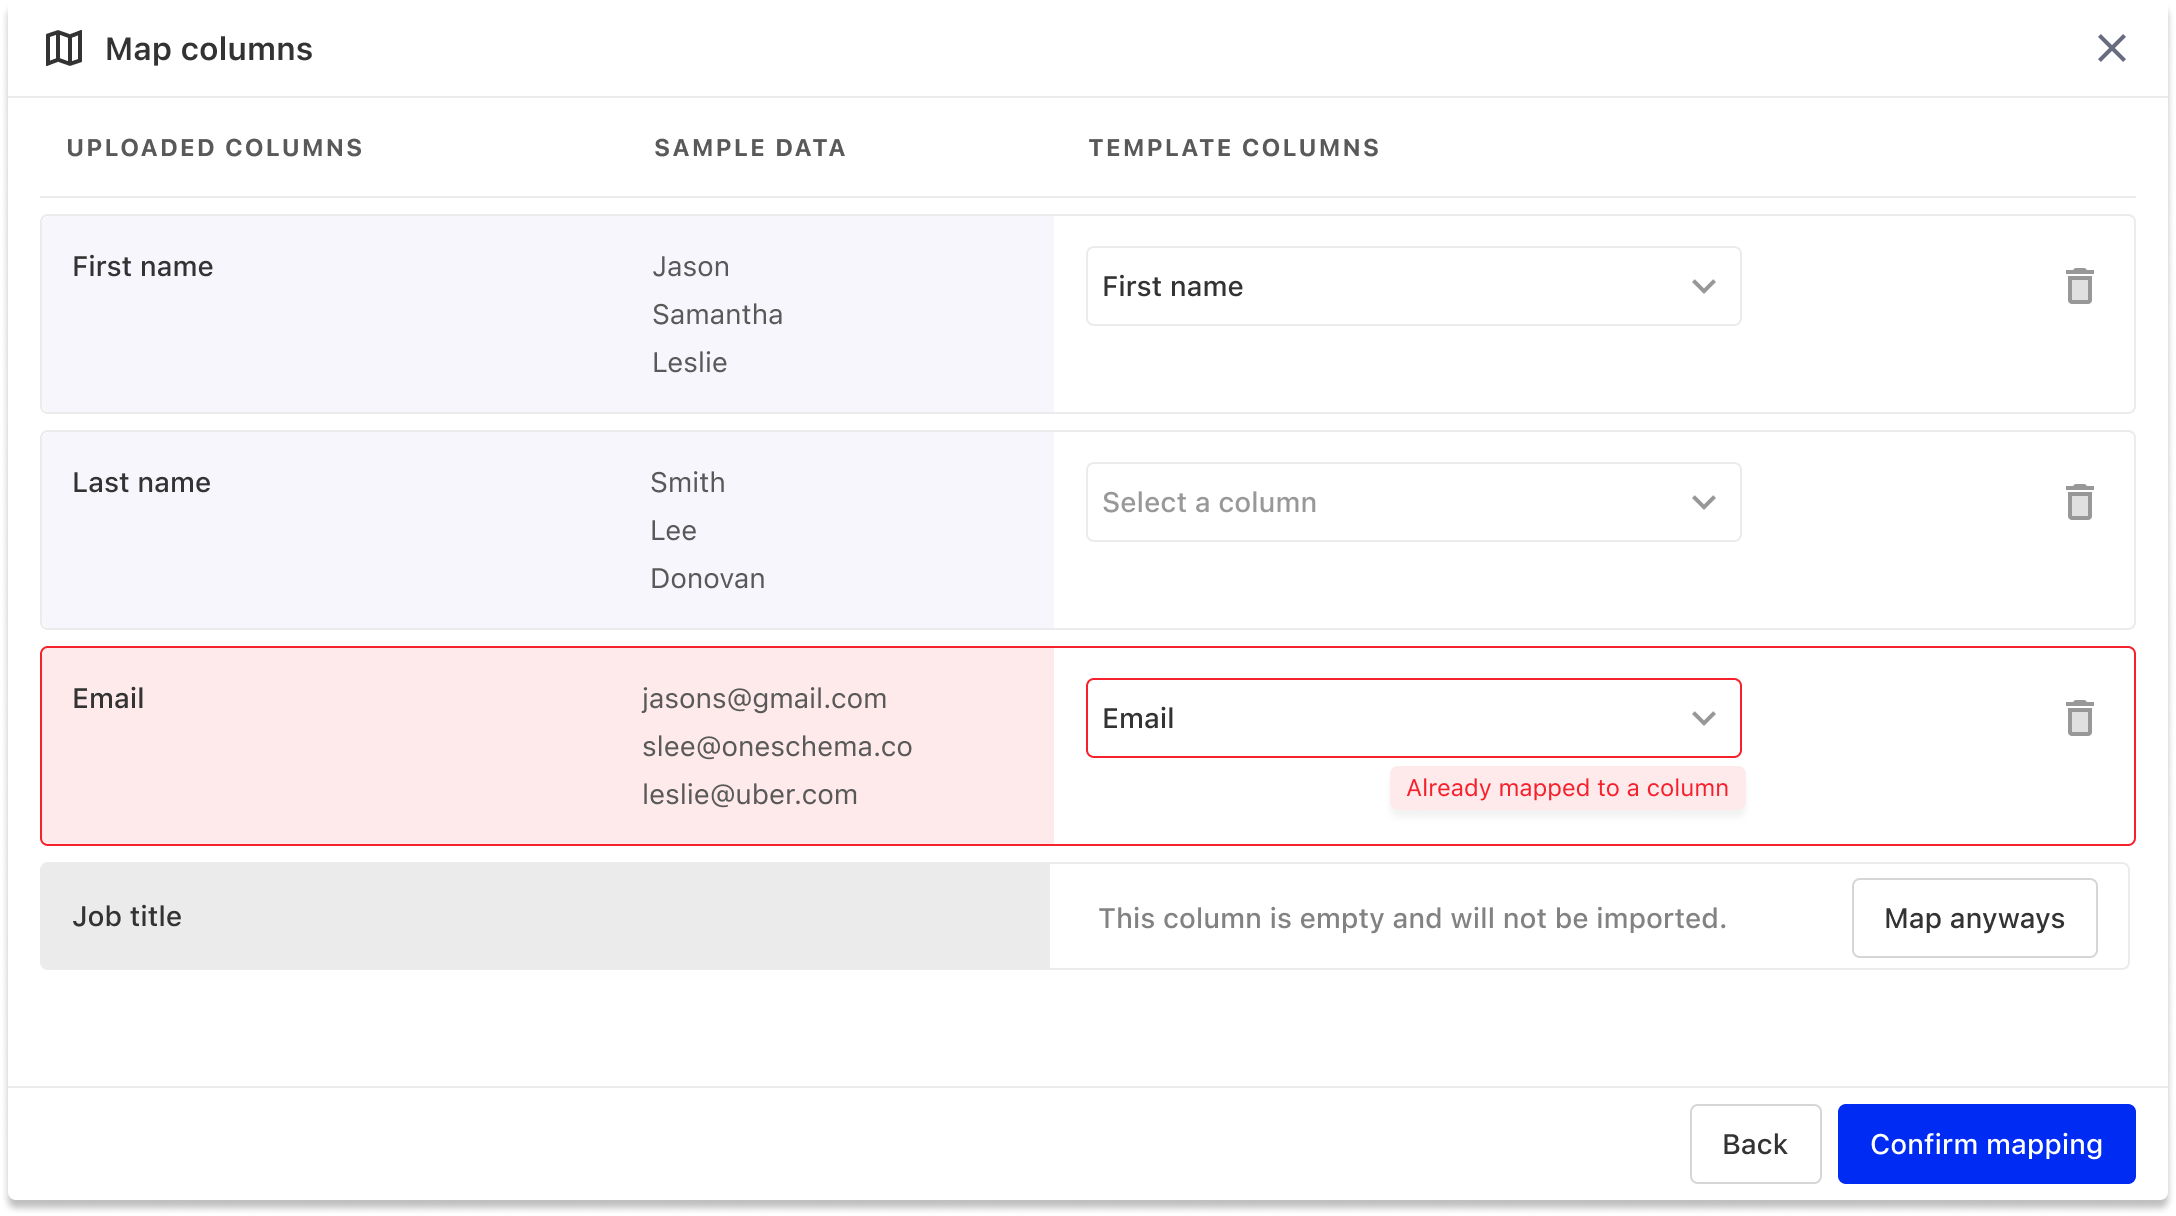
- Map template columns: On the Map Columns pane, you will be prompted to map your uploaded columns to the template columns Conveya provides. If our system detects an exact text match between the two columns, we will automatically map them. If there are any columns that don't contain any data, our system will automatically detect them and will by default, skip those columns from being imported.
- Review and finalise: You will be presented with a spreadsheet-like experience where they can fix any validation errors. You can edit data during this stage to save you from having to reupload again.

FAQ:
Q: Does the uploader recognise split cells?
A: The uploader doesn’t recognise split cells at the moment.
Related articles
| Uploading people via spreadsheet filedrop | View |
| Preparing your spreadsheet for enrolling and uploading | View |
| Enrol and upload people via spreadsheet filedrop | View |