Uploading people via spreadsheet filedrop
This guide will walk you through the process of uploading people into the system using a spreadsheet. By following these steps, you will ensure that your data is correctly imported and linked, avoiding any duplicates or errors.
Video tutorial
User Guide: Uploading People into Conveya
1. Prepare Your Spreadsheet
1.1 Include Required Columns
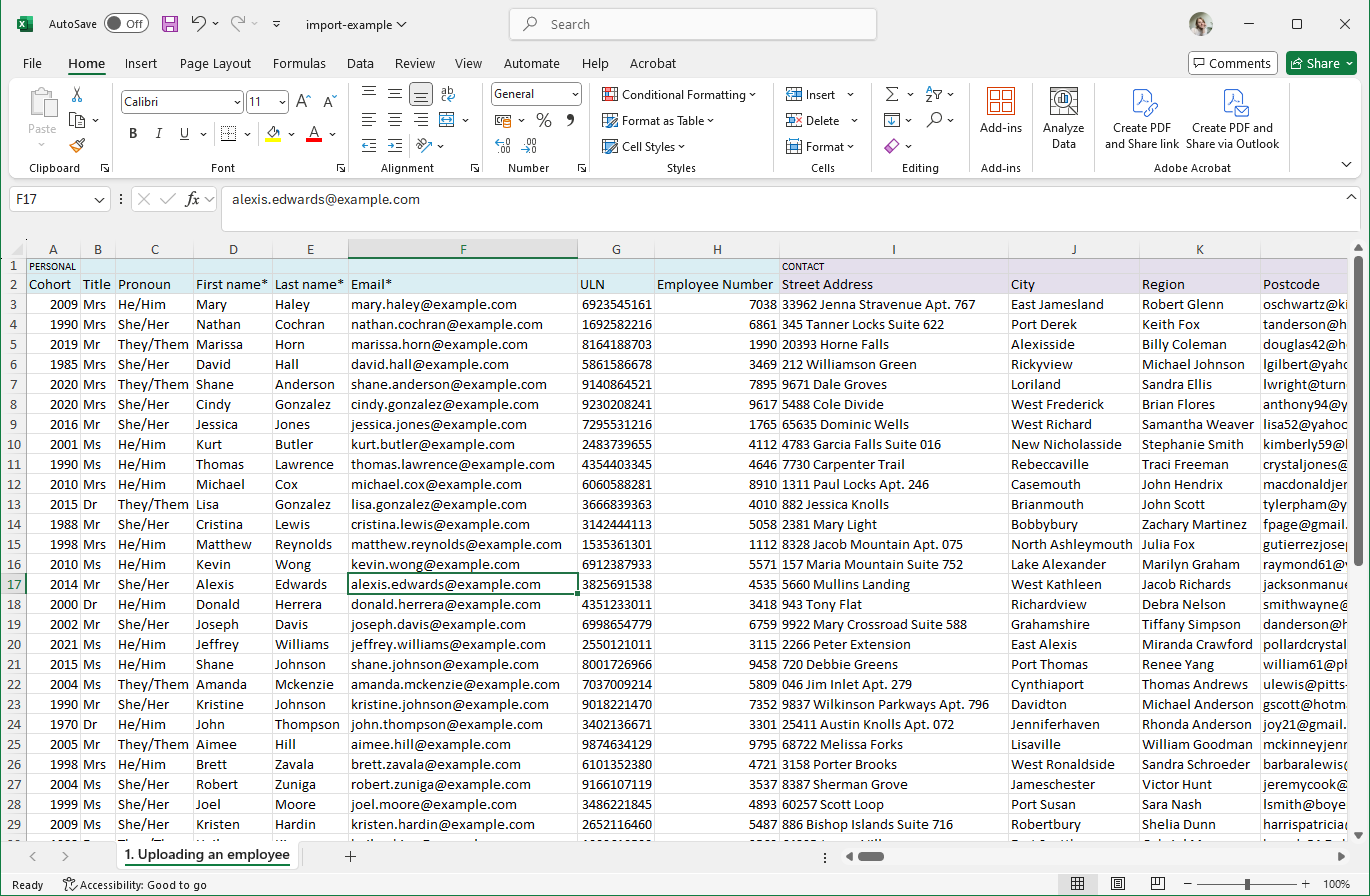
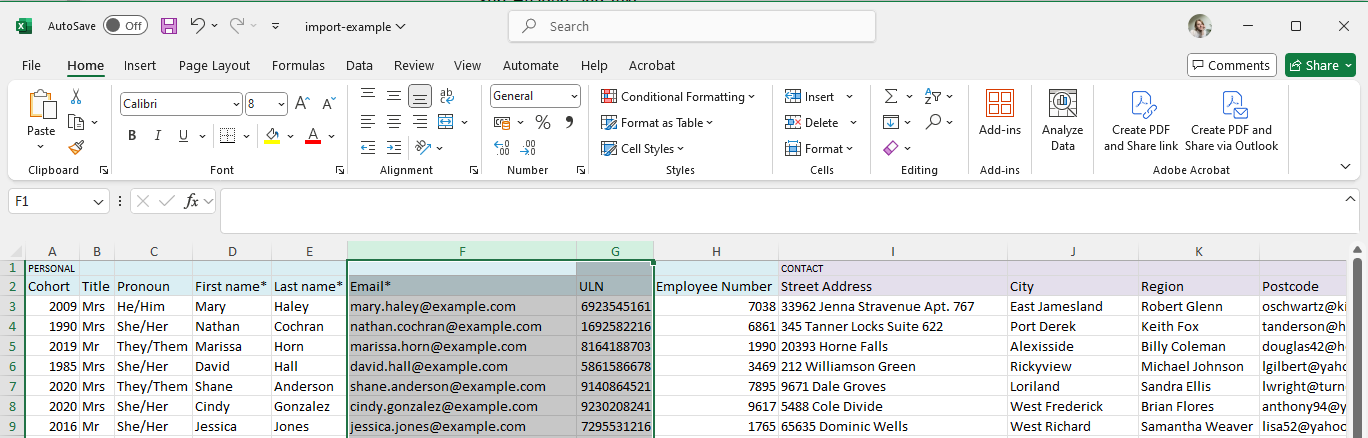
Ensure that your spreadsheet includes the following columns:
- First Name
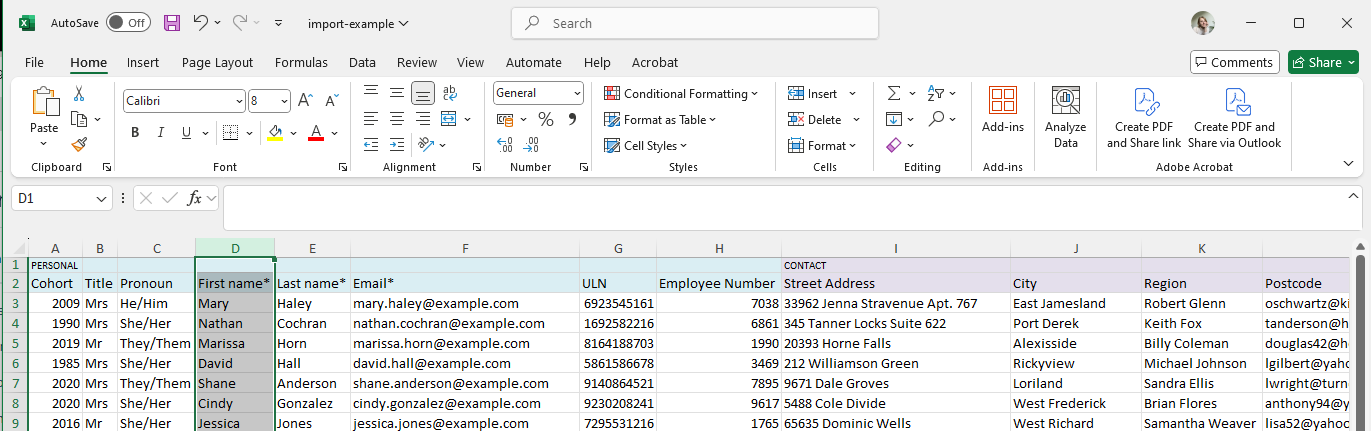
- Last Name
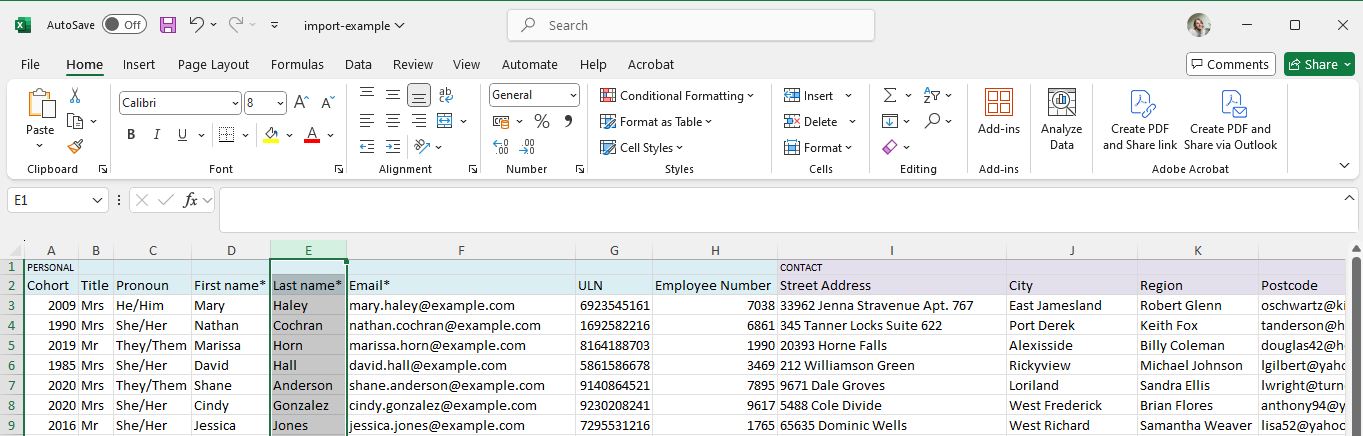
- Unique Learner Number or Email
ℹ️ Note: It is crucial to include either the Unique Learner Number or Email in your spreadsheet. This identifier helps connect the data to existing accounts and prevents duplicate entries.
1.2 Choose File Format
Your file should be in one of the following formats:
- CSV (Comma-Separated Values)
- XLS (Excel Spreadsheet)
1.3 Add All Relevant People
Include information of all individuals you wish to add to the system, including:
- Learners
- Supervisors
- Managers
📁 To speed up the process, download our template here.
2. Navigate and Upload Your File
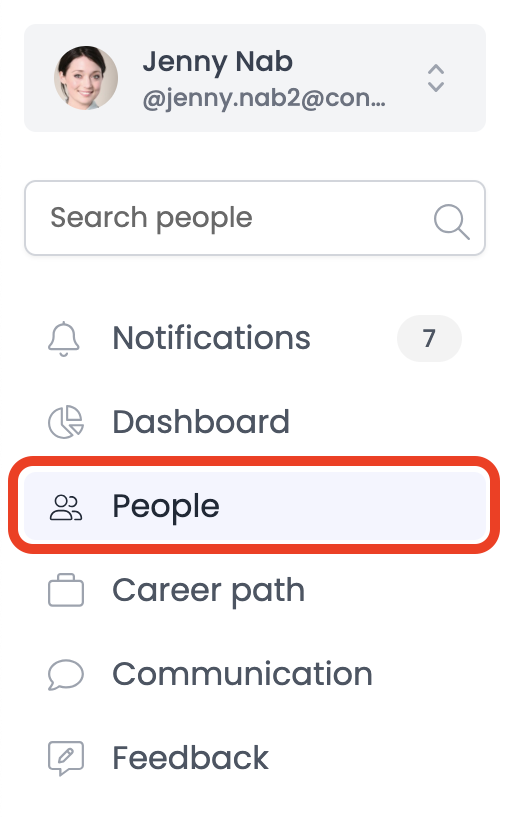
2.1 Access the People Page
- Log in to your Conveya account.
- Use the side menu to navigate to the “People” section.
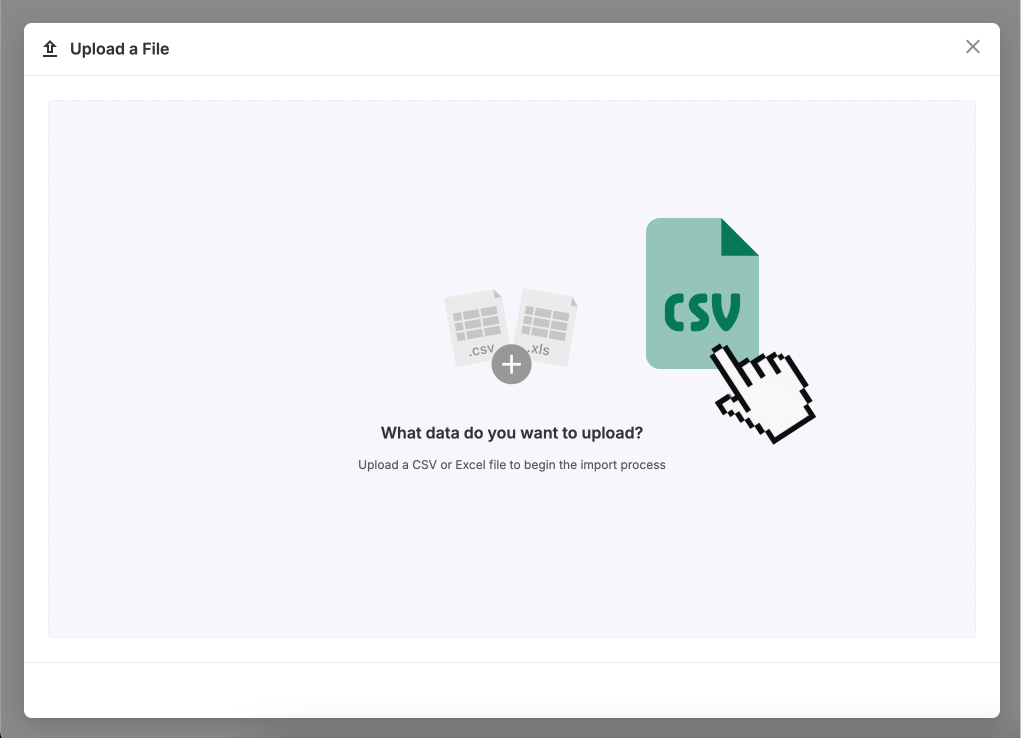
2.2 Upload Your File
- Click on the more option on the “Add People” button located at the top right of the page.

- Select the “Upload People” option from the dropdown menu.
- Drag and drop your prepared spreadsheet into the upload area or click to select your file.
3. Select Header Row
3.1 Identify the Header Row
- After uploading, you might be prompted to select the header row. If not continue with step 4. Map Columns
- Click on the row that contains your column headers. This step is necessary to help you understand how to map your data.
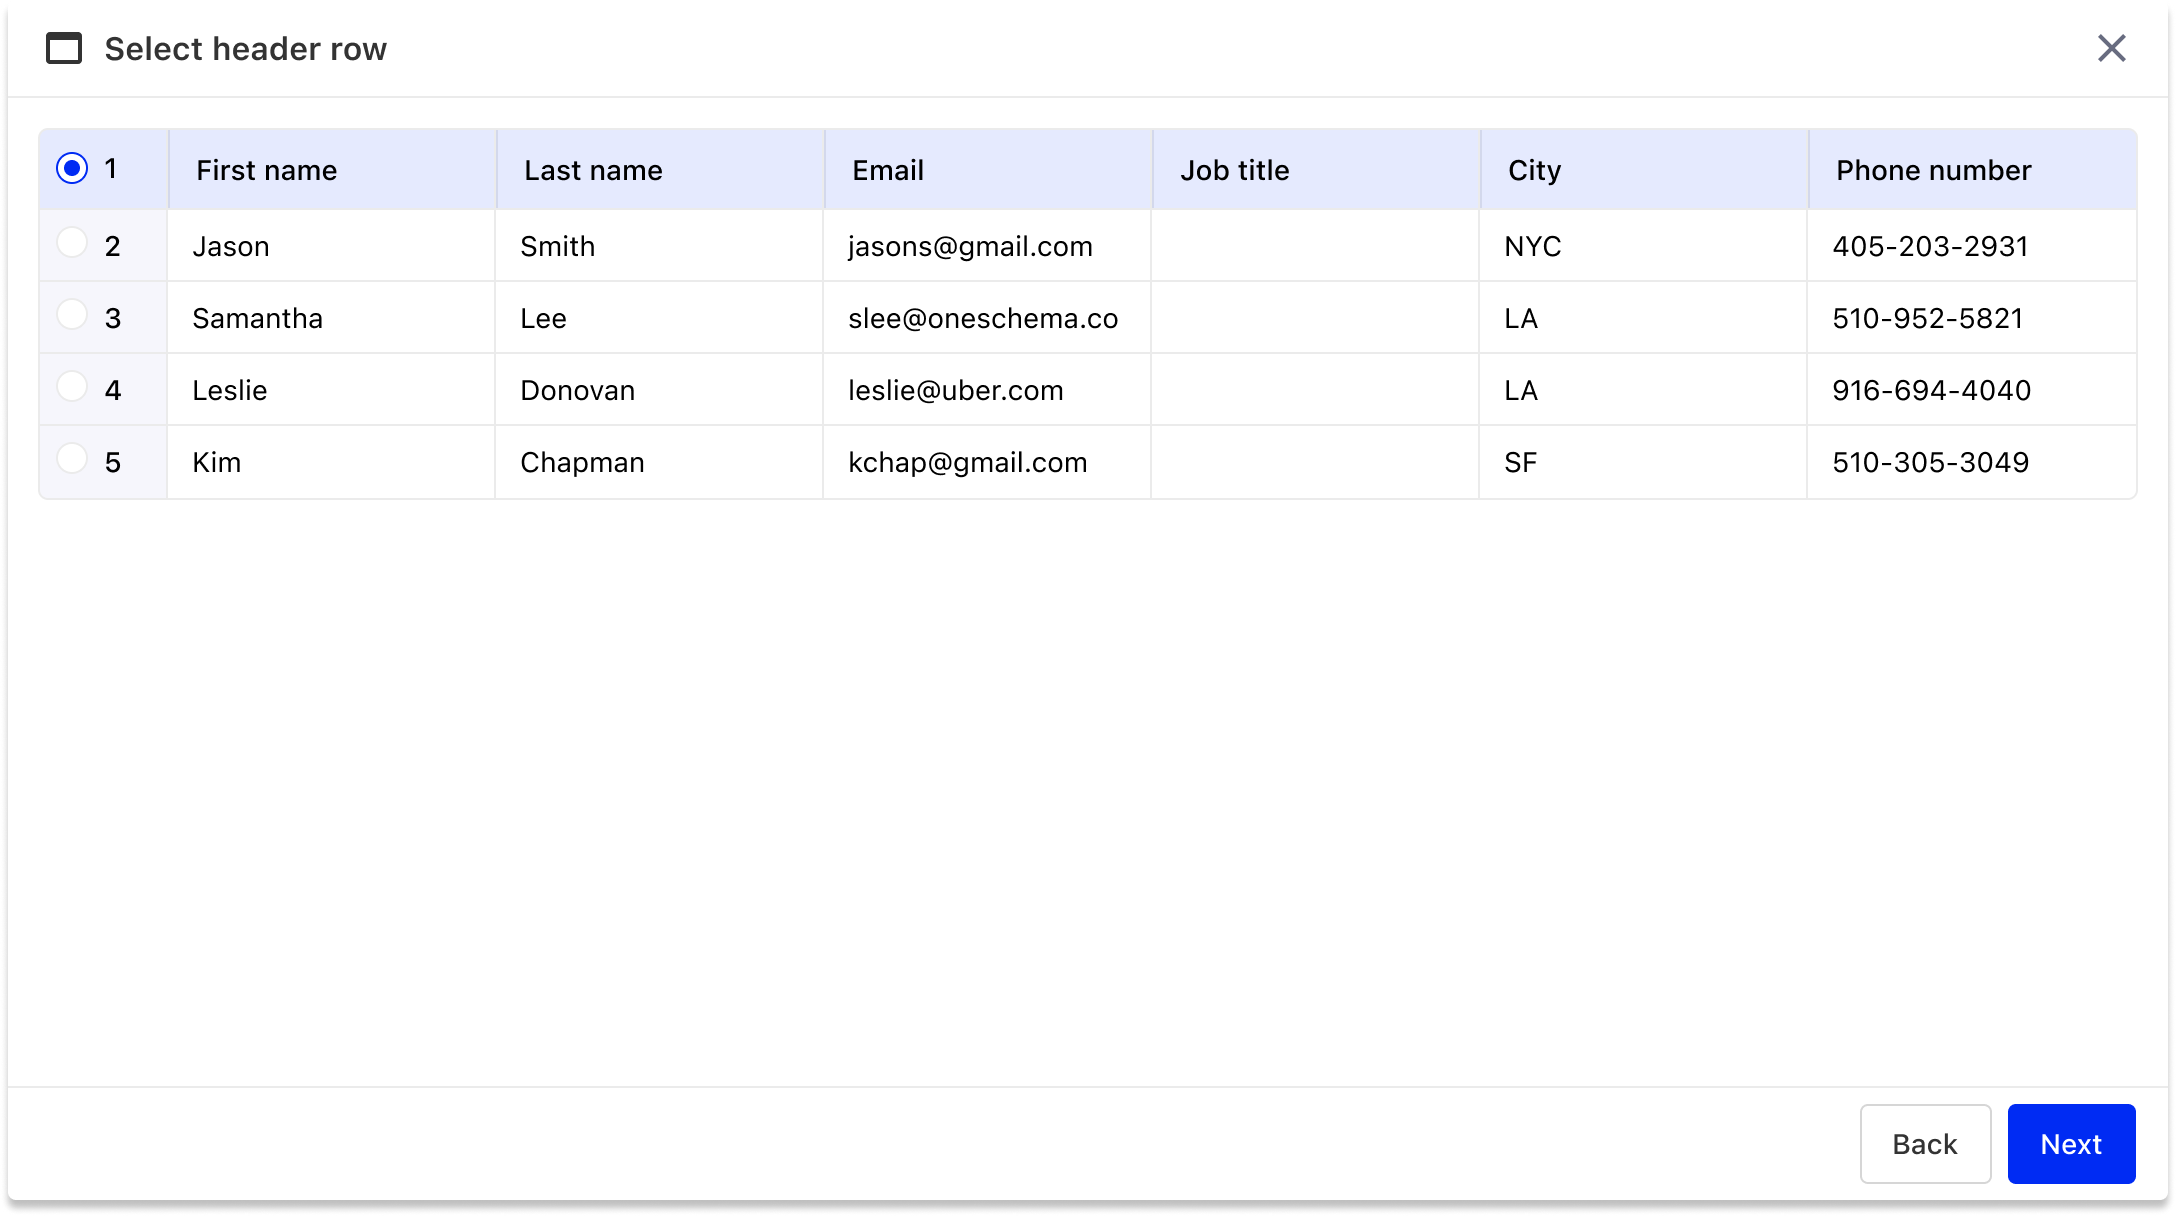
- Click “Next” to proceed to the next step.
4. Map Columns
4.1 Map Template Columns
- On the Map Columns pane, you will see a list of columns from your spreadsheet and columns available on Conveya.
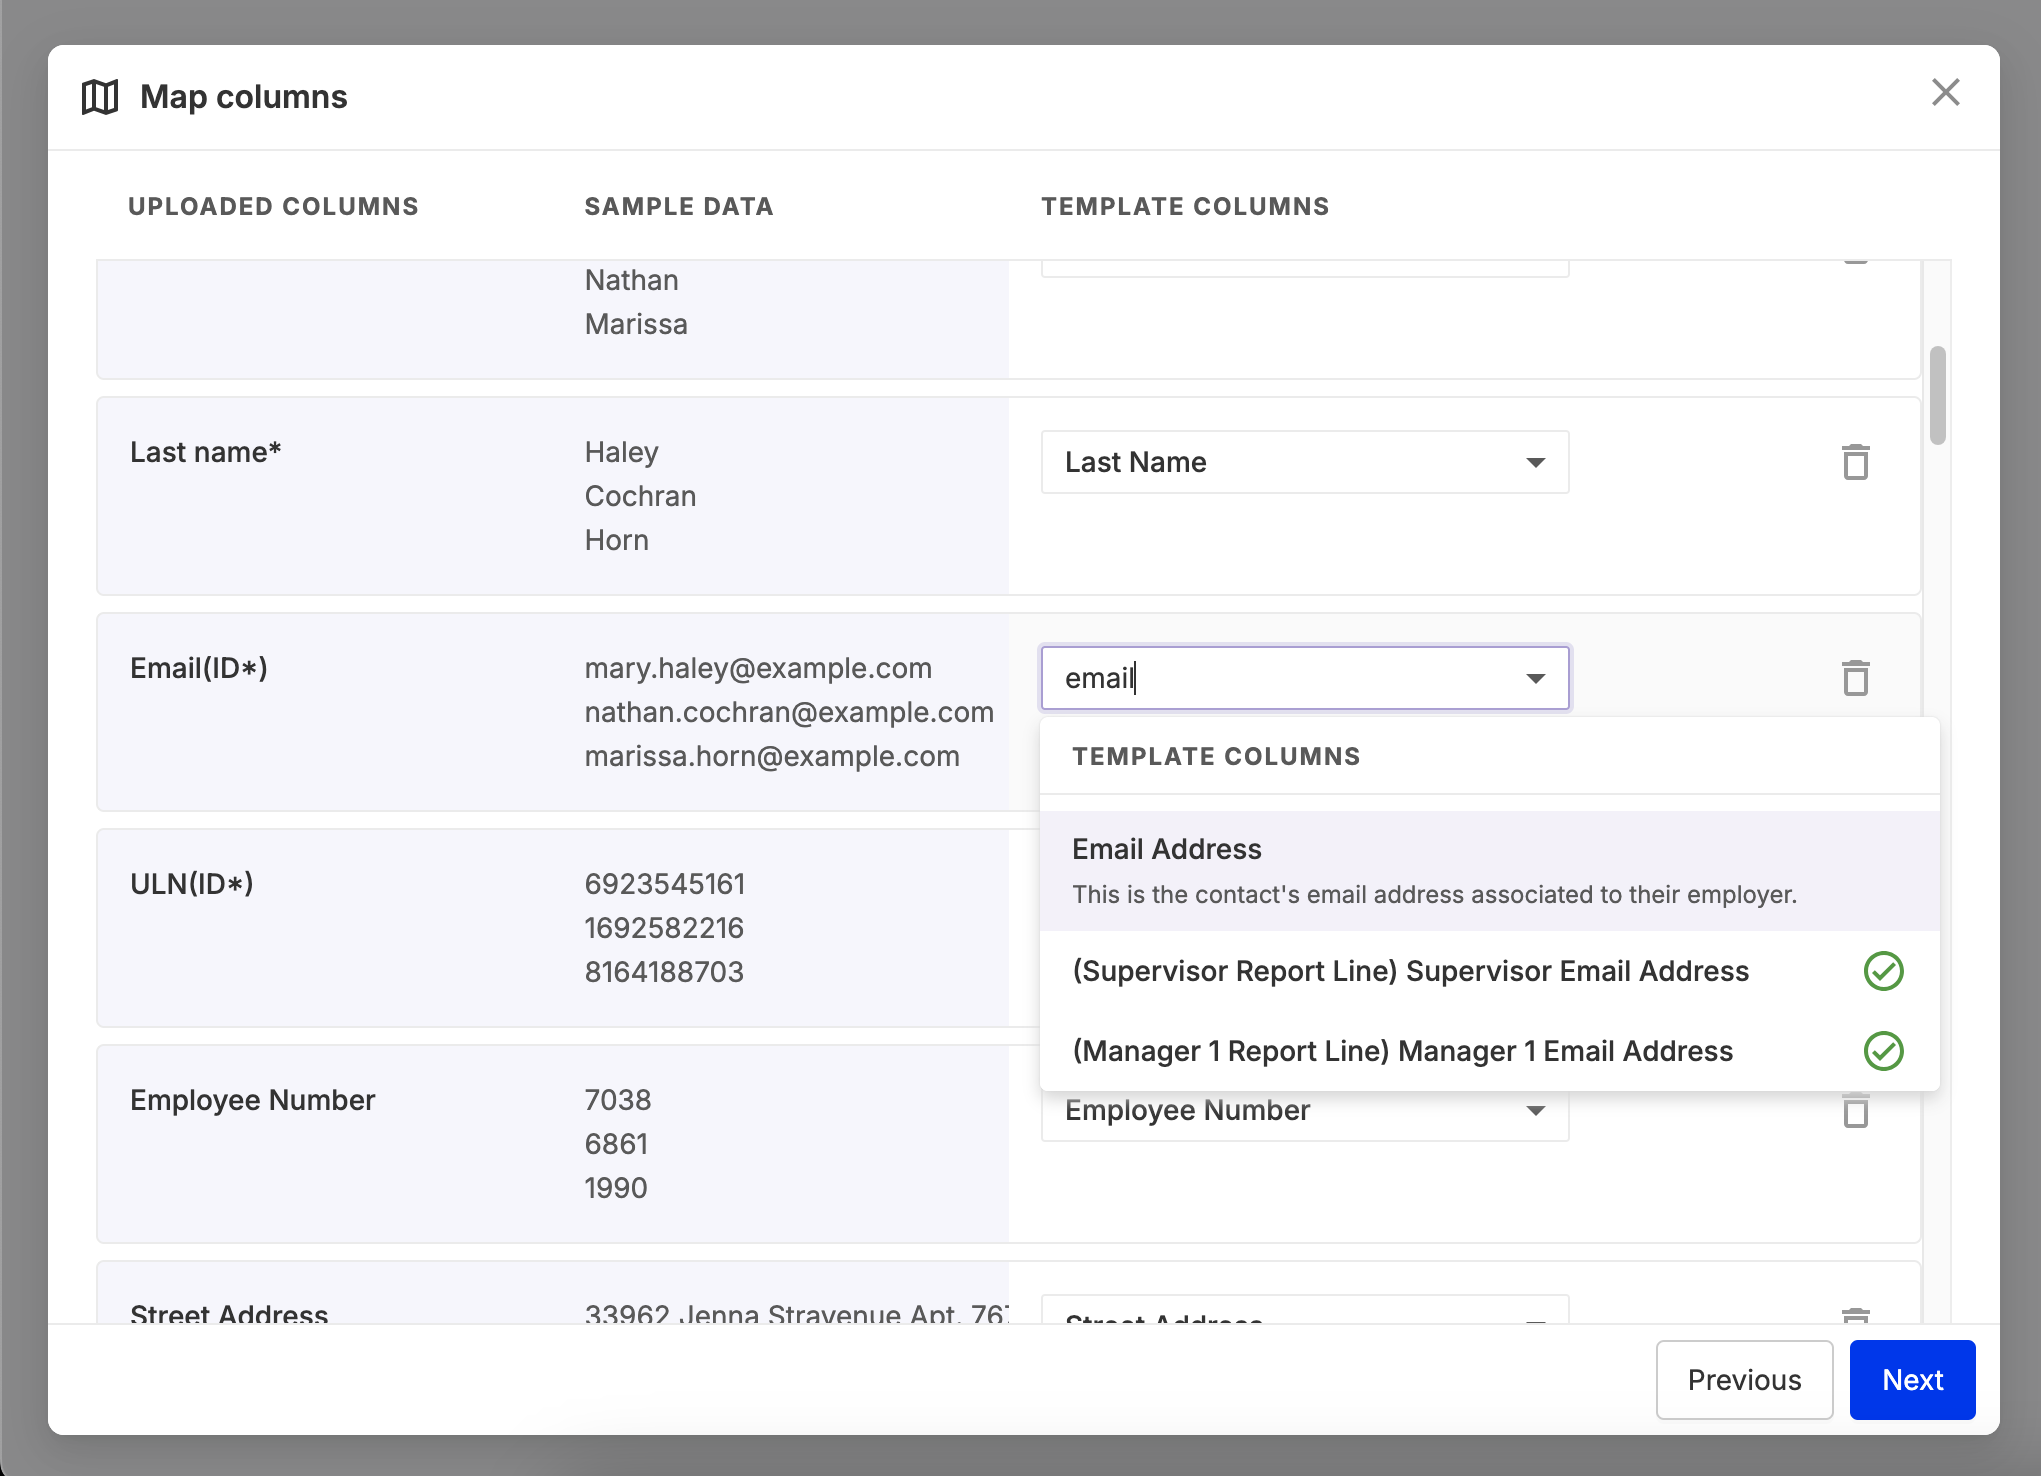
- Align your columns with the options available. We will auto-map columns with exact text matches.
- Click “Next” to proceed to the next step.
5. Validate Formats and Import
5.1 Validate File Formats
- Ensure that all data formats are correct. The system will check for format consistency and highlight any issues.
5.2 Start the Import Process
- Click “Import” to begin processing your file. This will initiate the upload process.
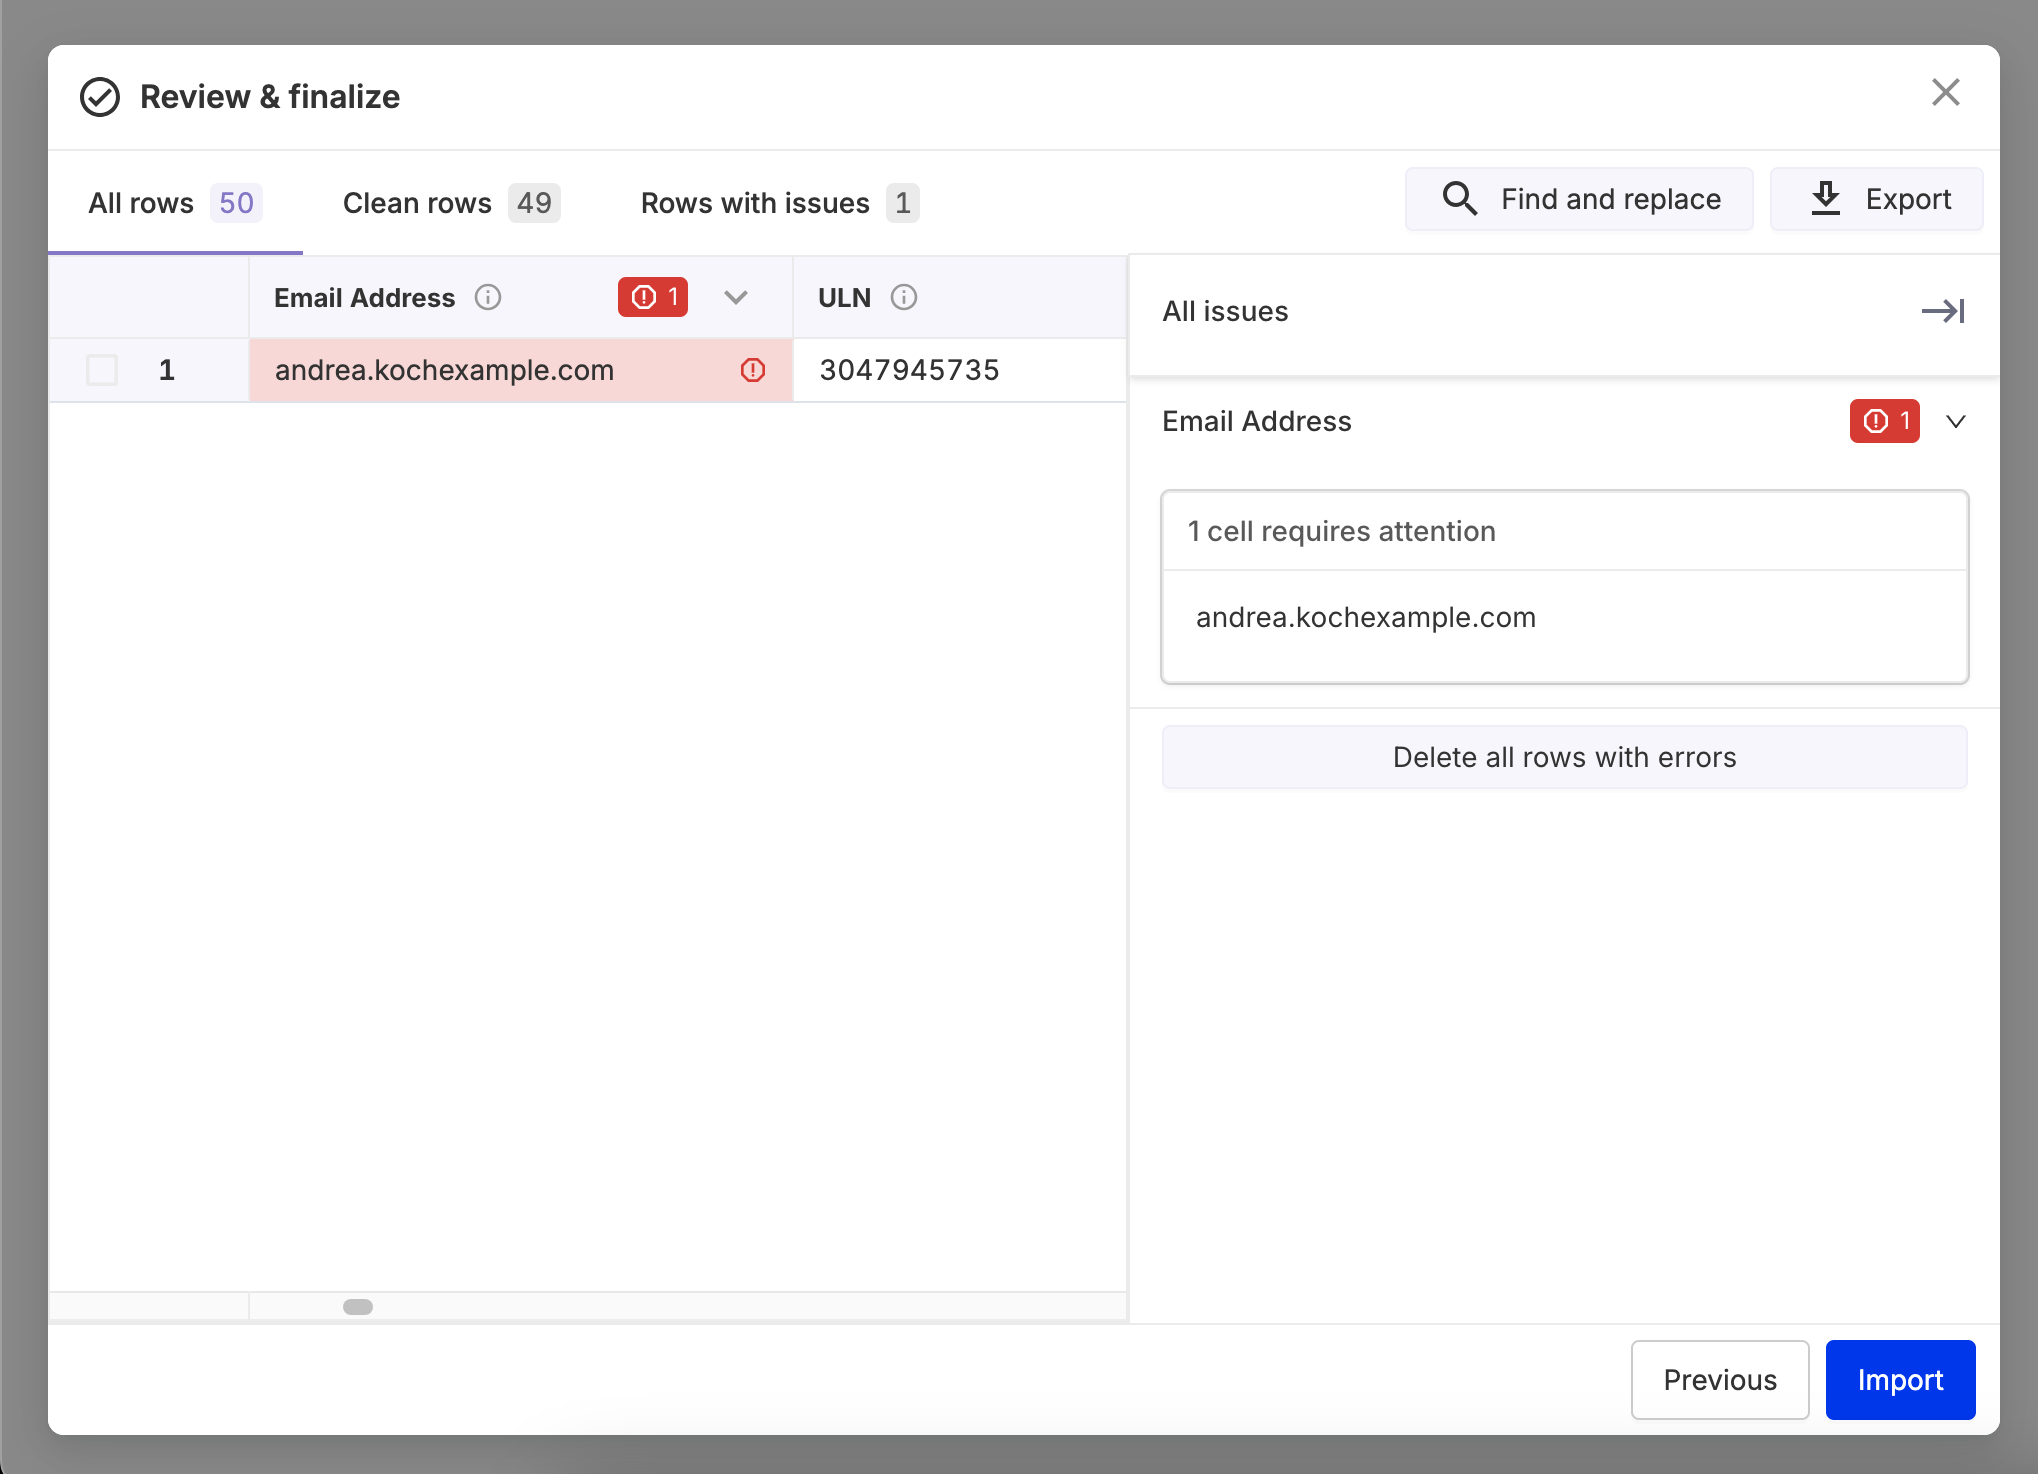
6. Review
6.1 Validate Data
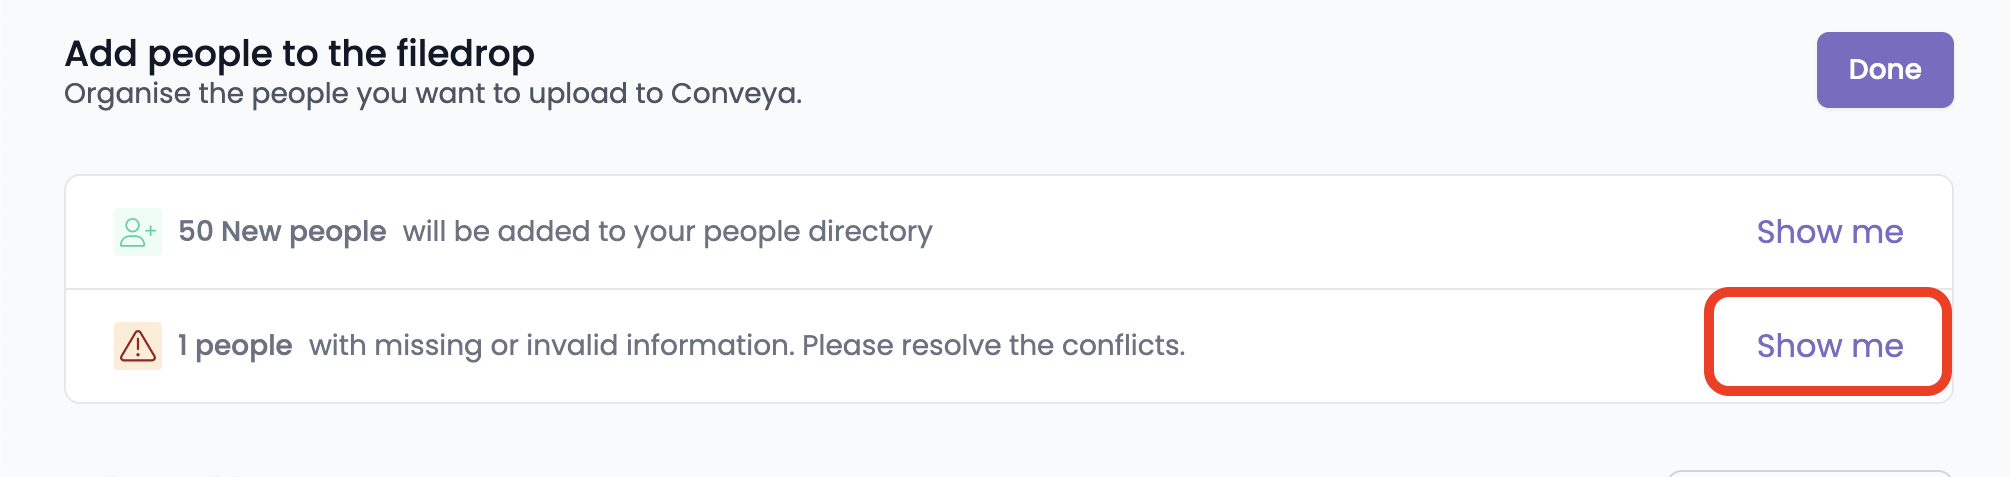
- The system will review the imported data for errors or logical inconsistencies.
When applicable Click on “Show Me” to view any issues that need addressing.
6.2 Resolve Issues
- Click “Resolve” to address any issues identified.
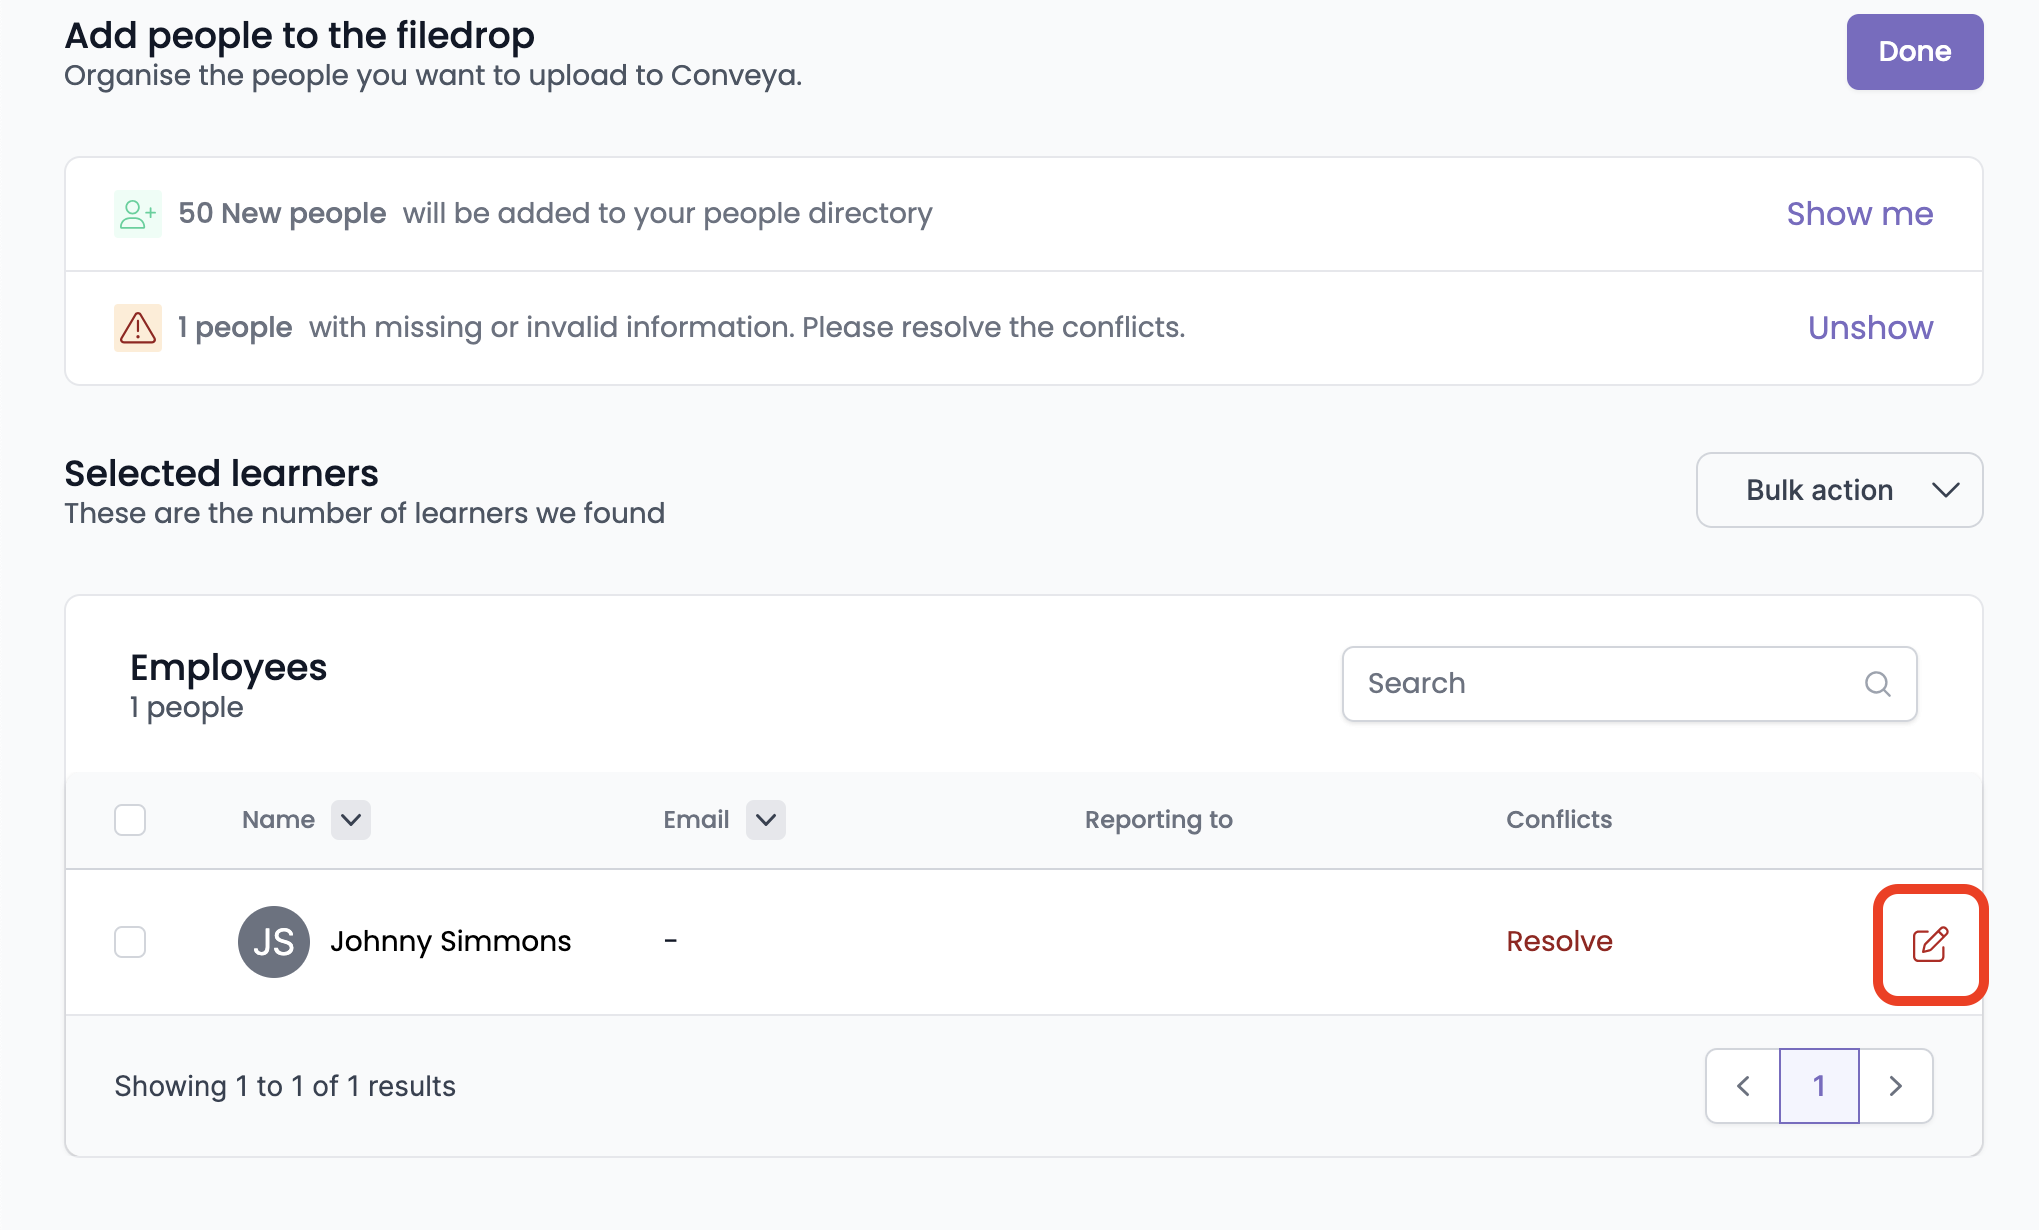
- Make necessary corrections to the data.
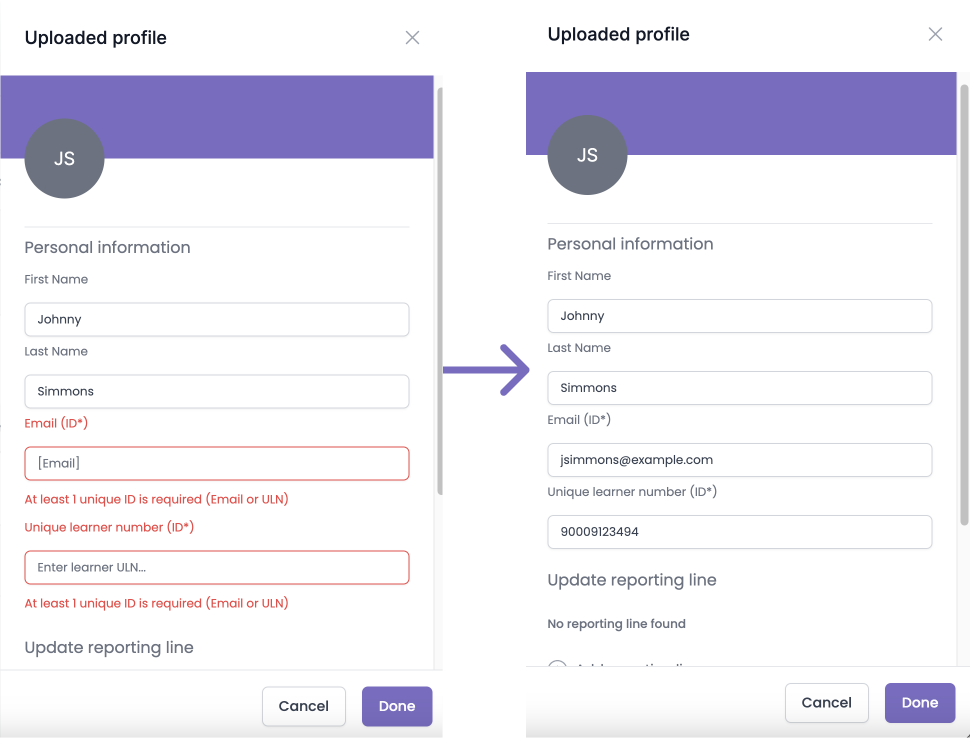
7. Finalise
7.1 Finalise the Upload: After resolving any issues, press “Done” to complete the upload process. Your data will now be successfully added to Conveya.
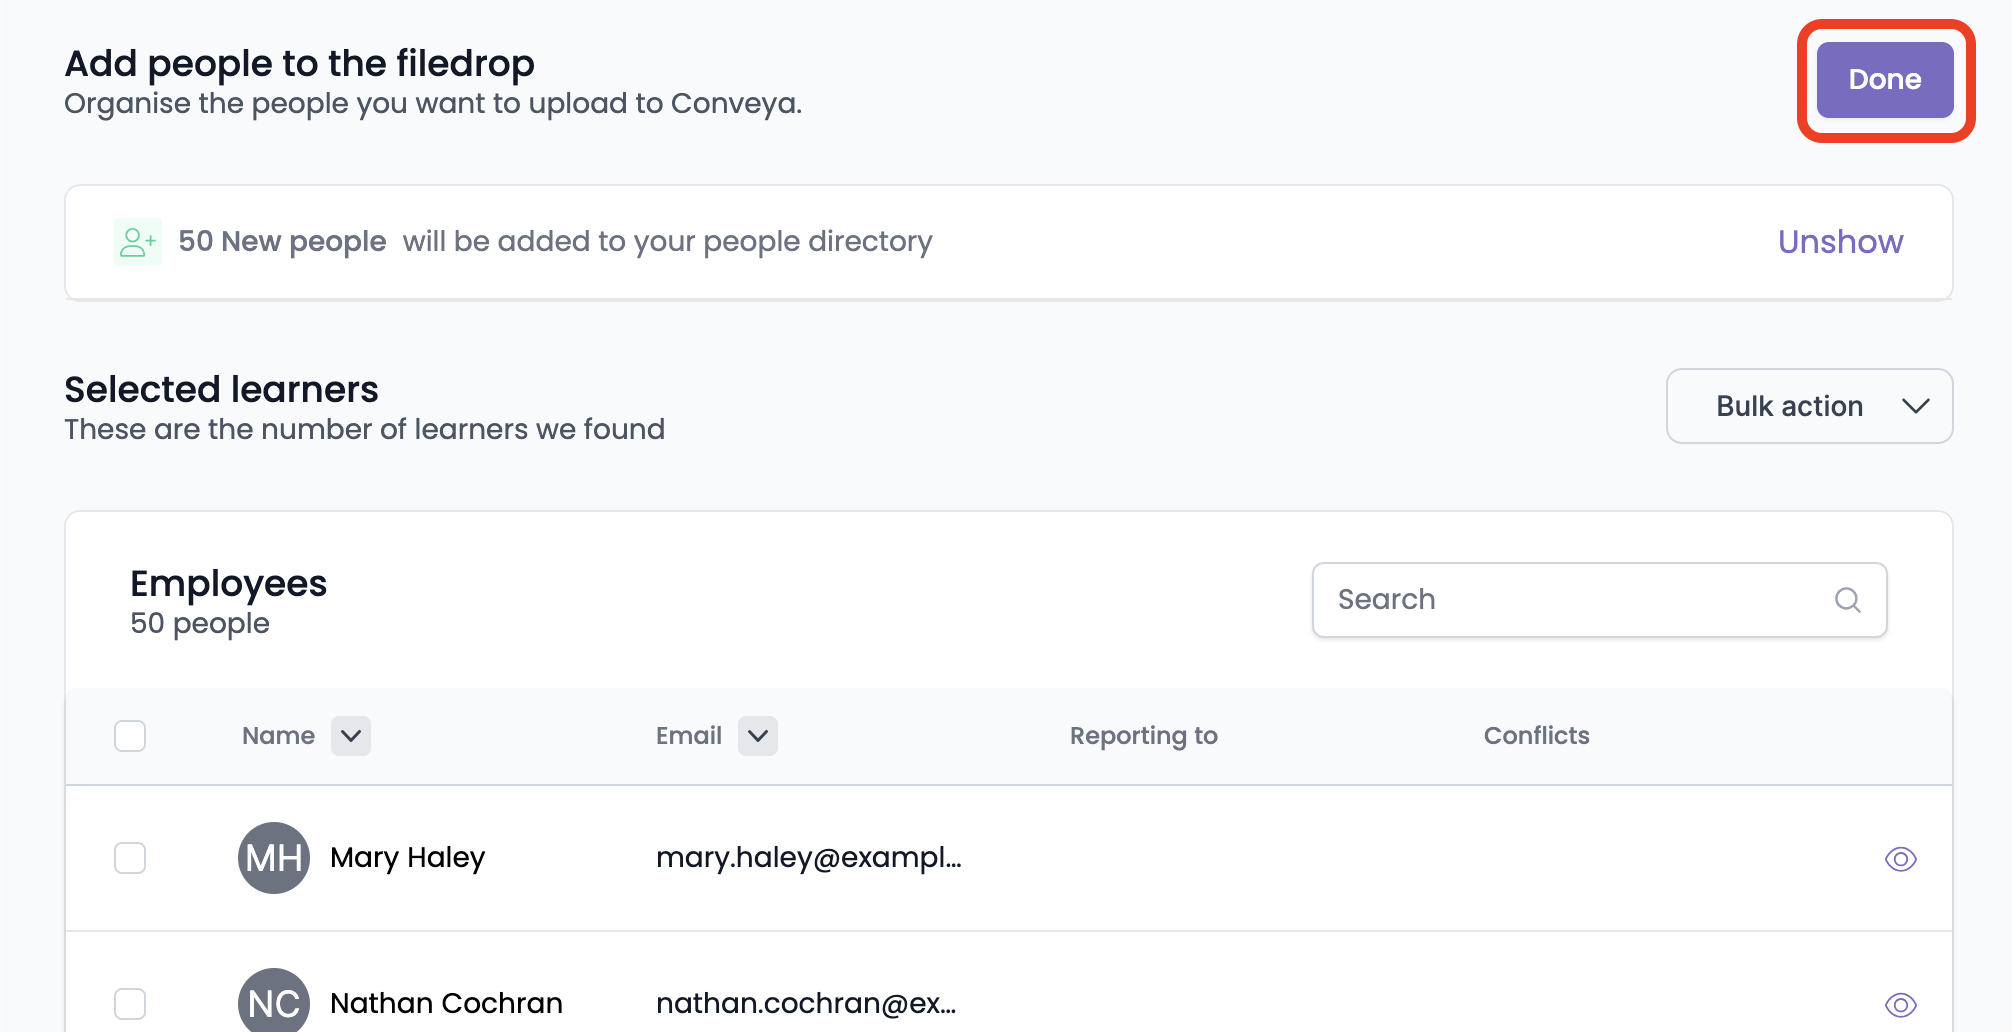
ℹ️ Note: Your people are not added to the system until you press the “Done” button. This final step ensures that you have reviewed and confirmed the data before finalising the upload. If you encounter any issues or need further assistance, please do not hesitate to contact our support team.
FAQ:
Q: What format should the spreadsheet be in for uploading?
A: The spreadsheet should be in CSV or excel format.
Q: I have some data that I can’t find on your set list of fields available - can I add them?
A: Absolutely! You can use custom001 - custom010
Q: How will I know if there are errors in my upload?
A: The system will alert you to any validation issues during the upload process, and you will have the opportunity to fix them directly within the interface or re-upload the corrected spreadsheet.
Q: Can I update existing employee information using this feature?
A: Yes, We will recognise employees by either their email or ULN so make sure their information are unique! The information on the spreadsheet will replace the information we have collected before.
Q: What happens if I’ve accidentally uploaded someone or if I’m not ready to upload someone yet.
A: Your batch of people will not be uploaded until you hit the “done” button on the top right corner of the “add people to the filedrop” screen. By clicking on their name, a slide-over will appear and you can omit someone from this batch.
Q: What information is required in the spreadsheet for a successful upload?
A: Required information typically includes employee full names, email addresses, roles, and any other mandatory fields specified by Conveya.